

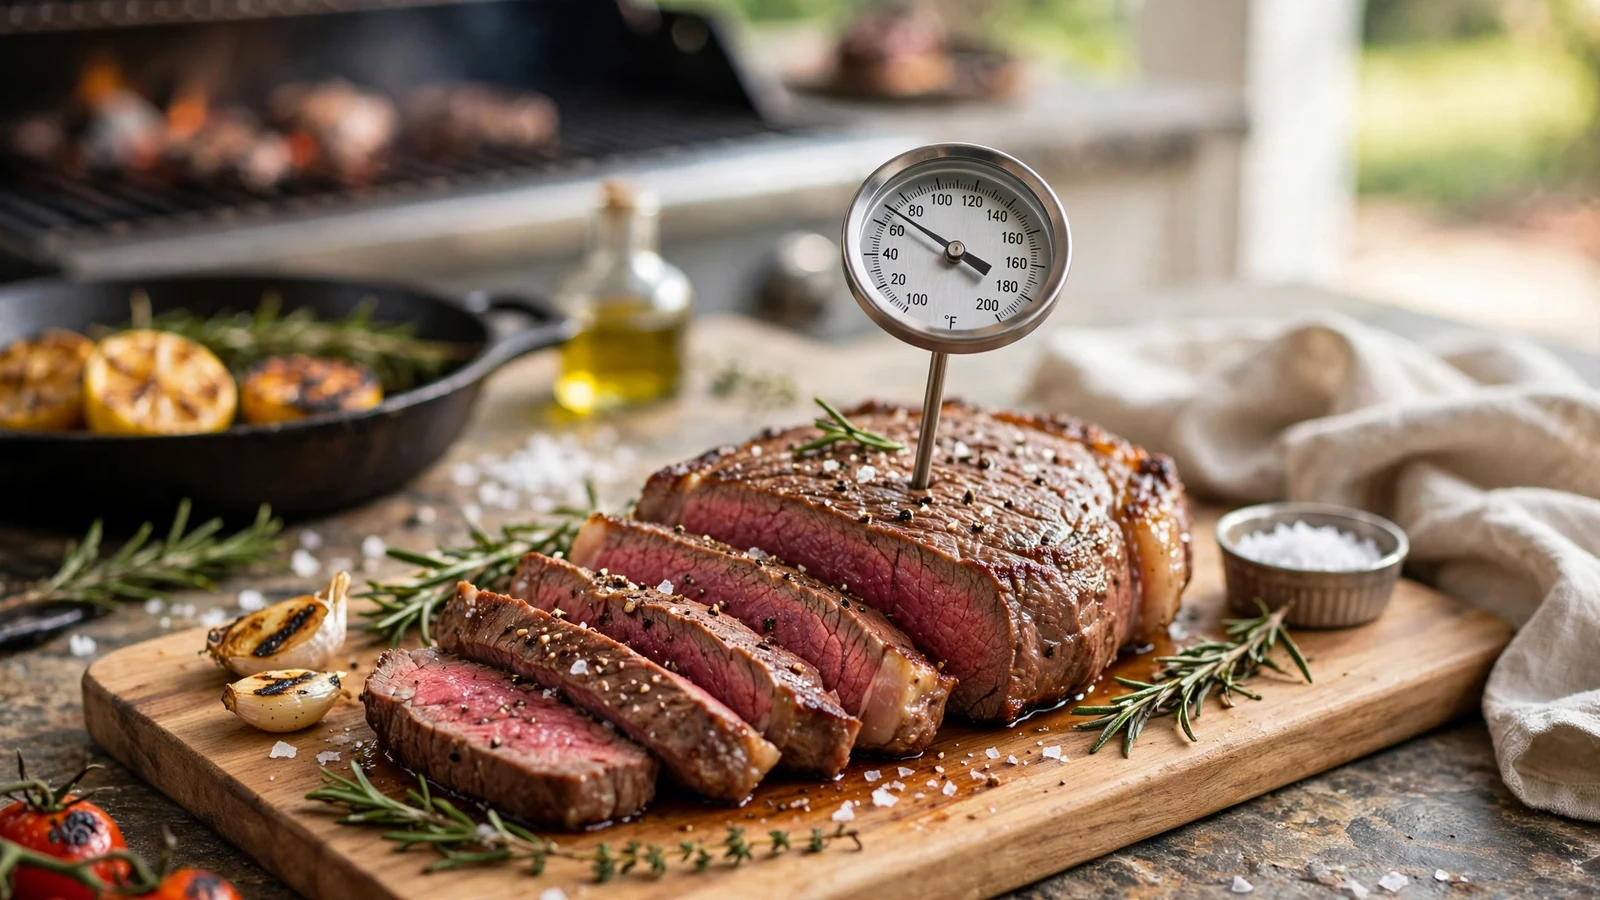
Mastering how to read a meat thermometer dial takes the guesswork out of cooking. Whether you are roasting a holiday turkey or searing steaks on the grill, knowing how to interpret the moving needle ensures your food is both safe and delicious.
Without a proper grasp of these analog gauges, dry chicken and undercooked roasts can easily ruin a meal. Learning to read the face, locate the sensing zone, and verify your equipment transforms you into a much more confident home cook.
Anatomy of an Analog Dial Thermometer
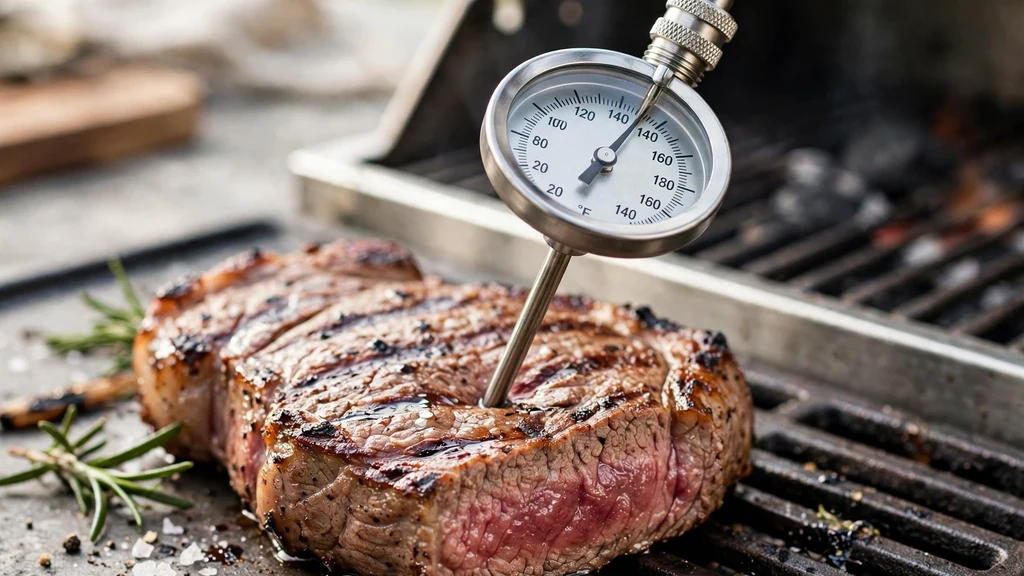
The mechanical face of a dial thermometer looks a lot like a tiny clock, featuring a circular scale printed with numbers and a central pivot point holding the indicator needle. Unlike digital screens that flash instant digits, a mechanical gauge relies on a bimetallic coil inside the housing that expands and contracts with temperature changes. This physical movement shifts the needle across the calibrated dial.
Understanding this visual layout helps you process readings quickly while standing over a hot stove or smoker. The numbers printed around the edge represent specific temperature increments in Fahrenheit, Celsius, or both.
You will usually see major tick marks for every ten or twenty degrees, with smaller sub-divisions representing tighter increments. Spotting the needle position relative to these lines is the core skill of reading a meat thermometer dial successfully.
Take a close look at the glass or plastic cover on the face. Many modern mechanical units feature a small adjustment nut right underneath the dial face, which comes into play during calibration. If your gauge has this hex nut, do not twist it unless you have verified that the device is giving inaccurate readings during a test.
Locating the Sensing Area on the Stem
One of the biggest mistakes people make with mechanical gauges is assuming the very tip of the probe does all the work. In reality, the Locating the Sensing Area principle dictates that the temperature-sensitive portion of a dial thermometer usually occupies the lower portion of the metal stem, typically spanning the bottom half-inch to two inches.
If you only push the needle in a tiny fraction of an inch, the ambient air cooling the top of the probe will throw off your reading. You have to insert the metal stem deep enough into the thickest part of the meat to cover this entire sensing zone. Otherwise, the bimetallic coil inside the dial will register a hybrid temperature of the meat and the hot oven air surrounding it.
Manufacturers often etch a small dimple or line on the shaft to show where this active zone begins. Always scan your probe before cooking to see if yours has a marker. Inserting past this point ensures your reading reflects the true internal temperature of the protein rather than surface heat.
Step-by-Step Measurement Instructions
Getting an accurate reading requires a deliberate sequence of physical actions rather than just jamming the probe in blindly. Step-by-Step Measurement Instructions start with pulling your meat away from direct heat sources to prevent false high readings from flames or heating elements.
Before taking a measurement, a metal stem must be wiped clean so it slides smoothly into the protein without dragging grease or bits of seasoning into the inner flesh. Push the probe firmly into the thickest section of the cut, taking care to avoid major obstacles. The following checklist covers the essential insertion parameters:
- Target the thickest part of the muscle, away from any hollow cavities in poultry.
- Ensure the probe avoids bone, gristle, and fat pockets.
- Push the shaft in deep enough to fully submerge the lower sensing zone.
- Wait roughly fifteen to twenty seconds for the mechanical needle to come to a complete stop.
Once the needle stops moving, keep your eyes level with the dial face to avoid parallax distortion. Reading the gauge from an extreme side angle makes the needle look like it is pointing at a higher or lower temperature than it actually is. Read the value directly head-on for maximum precision.
Navigating Temperature Requirements for Different Proteins
Different types of meat require distinct internal temperatures to ensure food safety while maintaining peak texture and juiciness. Poultry demands a higher threshold than beef or lamb because harmful bacteria like Salmonella are more prevalent in bird flesh. For instance, whole chicken and turkey must reach higher targets than a medium-rare ribeye steak.
Grilling, roasting, or baking: demands careful attention to these targets, as pulling food even a few degrees too early or late changes the final result entirely. The table below outlines standard internal safety and culinary targets for common cuts.
| Meat Type | Target Internal Temperature | Notes |
|---|---|---|
| Poultry (Whole bird, breast, thigh) | 165°F (74°C) | Check thickest part of thigh and breast |
| Ground Meats (Beef, Pork, Lamb) | 160°F (71°C) | Ensures bacteria are killed throughout |
| Beef Steaks and Roasts (Medium-Rare) | 135°F (57°C) – 140°F (60°C) | Resting will carry heat up a few more degrees |
| Pork Chops and Tenderloin | 145°F (63°C) | Slight pink in the center is safe and juicy |
Keep in mind that carryover cooking causes internal temperatures to rise after you remove meat from the heat source. If you want a steak cooked to a specific finish, accounting for this post-cooking rise is just as important as reading your dial accurately in the first place.
Ensuring Accuracy Through Calibration
Mechanical dial thermometers can get knocked out of alignment if dropped or exposed to sudden, extreme thermal shock. Ensuring Accuracy Through Calibration is a quick maintenance habit that prevents ruined meals caused by faulty readings. You should test your gauge every few months, or whenever you suspect it has taken a hard bump against a countertop.
The two most common home testing techniques involve extreme water states. The Ice Bath Method is the safest and most popular option because it relies on a stable freezing point of water. Fill a tall glass with crushed ice, top it off with cold water, and stir gently to chill the liquid thoroughly.
Insert your thermometer stem into the center of the ice slurry without letting the tip touch the sides or bottom of the glass. Wait thirty seconds for the needle to settle.
If the dial points precisely to 32°F (0°C), your tool is ready for action. If it is off by a few degrees, use a small wrench or pliers on the calibration nut under the dial to shift the needle back.
Alternatively, The Boiling Point Method uses boiling water to test the upper end of your scale. Bring a pot of clean tap water to a rolling boil and submerge the sensing zone of your probe.
At sea level, the needle should rest at 212°F (100°C). Remember that boiling points drop at higher elevations, so adjust your expectations if you live in a mountainous region.
Common Challenges with Mechanical Gauges
Even when you know how to read your tool, Common Challenges with Mechanical Gauges can occasionally frustrate your cooking process. One major issue is the sluggish response time of bimetallic coils compared to digital thermistors. While a digital readout pops up in three seconds, an analog dial often requires twenty seconds or more to stabilize.
Another frequent frustration is fogging underneath the glass face during high-humidity cooking or dishwashing. Moisture trapped inside the housing can corrode the internal spring or make the numbers nearly impossible to see. If condensation builds up inside your dial face, you may need to replace the unit to ensure reliable performance.
Parallax error also trips up many cooks who look at the dial from an awkward angle while leaning over a hot oven. Always position yourself directly in front of the gauge face. Taking these minor mechanical quirks into account keeps your cooking on track.
Proper Care and Maintenance Practices
Taking care of your analog thermometer extends its lifespan and keeps your readings trustworthy over years of regular use. Never toss a hot metal probe straight into a basin of freezing cold dishwater. This drastic thermal shock warps the internal bimetallic strip and permanently ruins the calibration.
Wipe the warm stem clean with a damp, soapy cloth or disinfecting wipe immediately after use. Avoid submerging the actual dial housing in water unless the manufacturer explicitly states that the model is fully waterproof. Most dial gauges feature sealed bezels, but aggressive soaking can still force liquid past the seams and fog the glass.
Store your thermometer in a protective sleeve or a designated kitchen drawer where the delicate metal stem won’t bend. A slightly warped shaft makes it difficult to slide the probe cleanly into tight cuts of meat. For further reading on safe internal temperatures and food handling guidelines, consult resources like the USDA Food Safety and Inspection Service.
Troubleshooting Inconsistent Readings
If your meat thermometer gives you wildly different readings from one test to the next, a few troubleshooting steps can pinpoint the problem. First, check the physical condition of the shaft for any microscopic bends or residue buildup. Even a thin layer of cooked-on protein can act as an insulator, slowing down heat transfer.
Verify that you are actually hitting the deep center of the cut rather than resting the tip against a hot grill grate or a cold bone. Bones conduct heat much faster than muscle tissue, which creates artificially high readings that do not reflect the overall doneness of the roast.
If calibration tests fail repeatedly and adjusting the hex nut does not restore accuracy, the internal spring has likely worn out. Mechanical gauges have a finite lifespan, and replacing an old, sluggish thermometer is much cheaper than wasting expensive cuts of meat.
Frequently Asked Questions
How long do I need to leave a dial meat thermometer in the meat?
You should leave a mechanical dial thermometer in the meat for fifteen to twenty seconds. Because bimetallic coils take longer to react to heat than digital sensors, waiting ensures the needle stops moving completely.
Can I leave a dial thermometer in the meat while it cooks in the oven?
Most standard dial thermometers are oven-safe and designed to stay in the meat during roasting. However, you should always check the manufacturer instructions, as some quick-read models are not meant to withstand prolonged high heat.
Why does my meat thermometer read high when I test it in boiling water?
If your thermometer reads higher than 212°F in boiling water, the calibration has slipped. You can fix this by holding the hex adjustment nut under the dial with pliers and turning the face until the needle points to 32°F in an ice bath.
Does the whole length of the stem need to be inside the meat?
No, you only need to insert the lower portion containing the active sensing zone, usually the bottom half-inch to two inches. Inserting the entire stem is unnecessary as long as the sensing area sits squarely in the thickest muscle.
Conclusion
Mastering how to read a meat thermometer dial removes the anxiety from cooking proteins to perfection. By respecting the sensing zone, checking calibration regularly, and reading the gauge from a straight-on angle, you guarantee safe and delicious meals every time.
Put these techniques into practice during your next kitchen session and enjoy the confidence that comes with perfectly cooked food. Feel free to share your own grilling tips or ask questions in the comments below.