

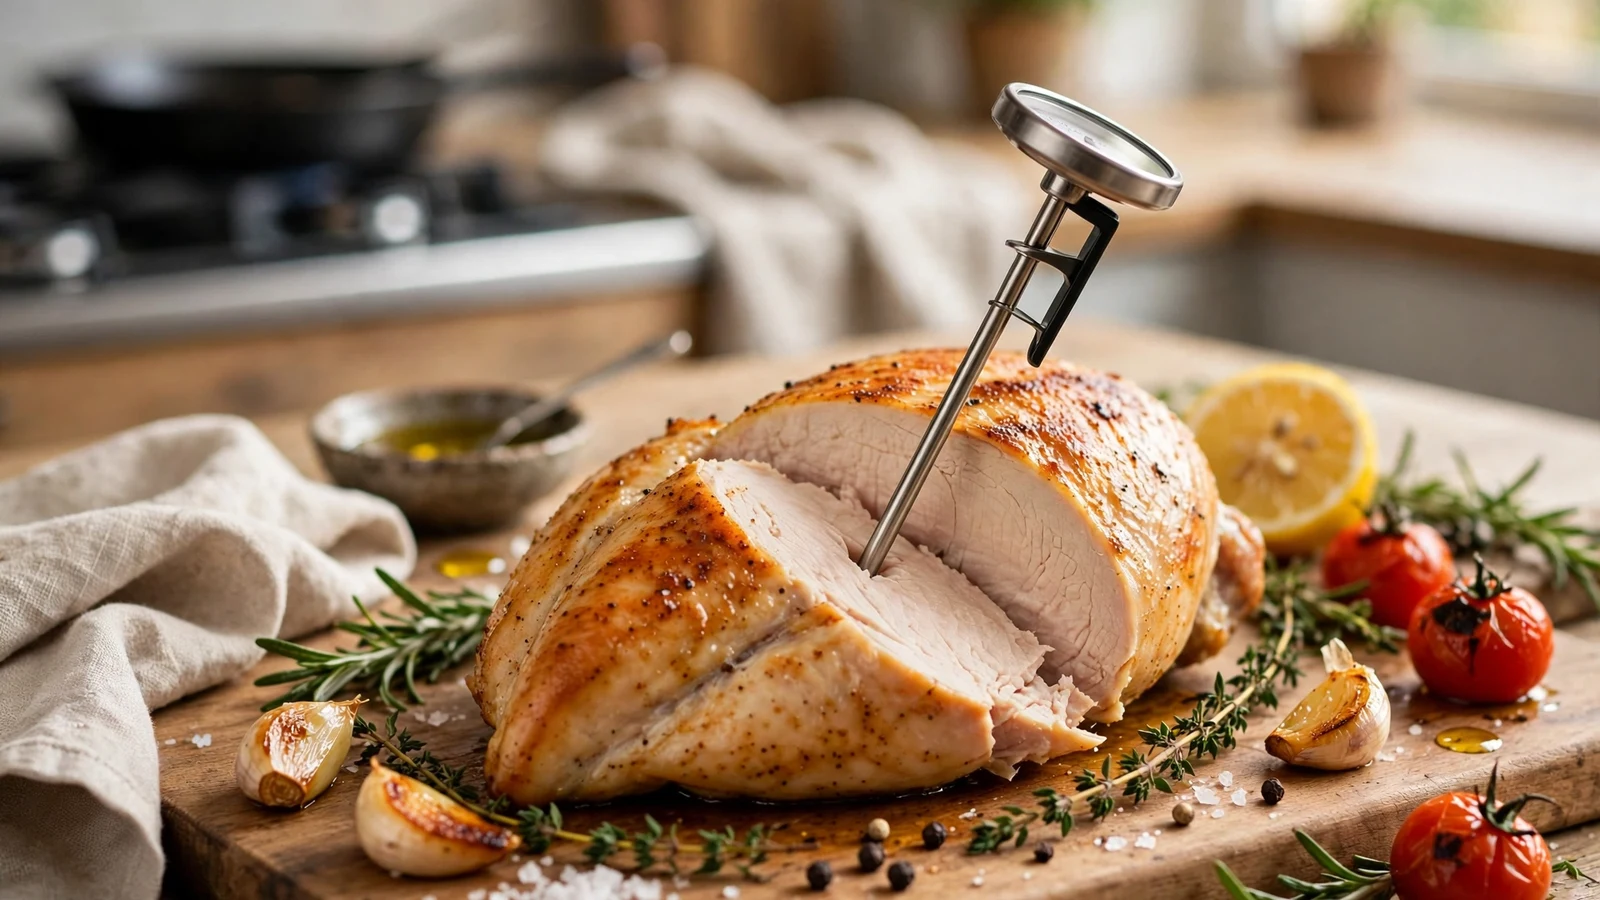
If you have ever stared anxiously at a roasting pan wondering how far do you stick a meat thermometer in, you are definitely not alone in the kitchen. Getting that probe into the correct spot is the absolute secret to serving juicy chicken, perfectly safe pork, and tender beef every single time. Nail the depth, and you will never have to guess whether dinner is actually done.
Let’s dive into the mechanics of proper placement, common mistakes to avoid, and how mastering this simple skill changes your cooking forever.
Understanding the Mechanics of a Meat Thermometer
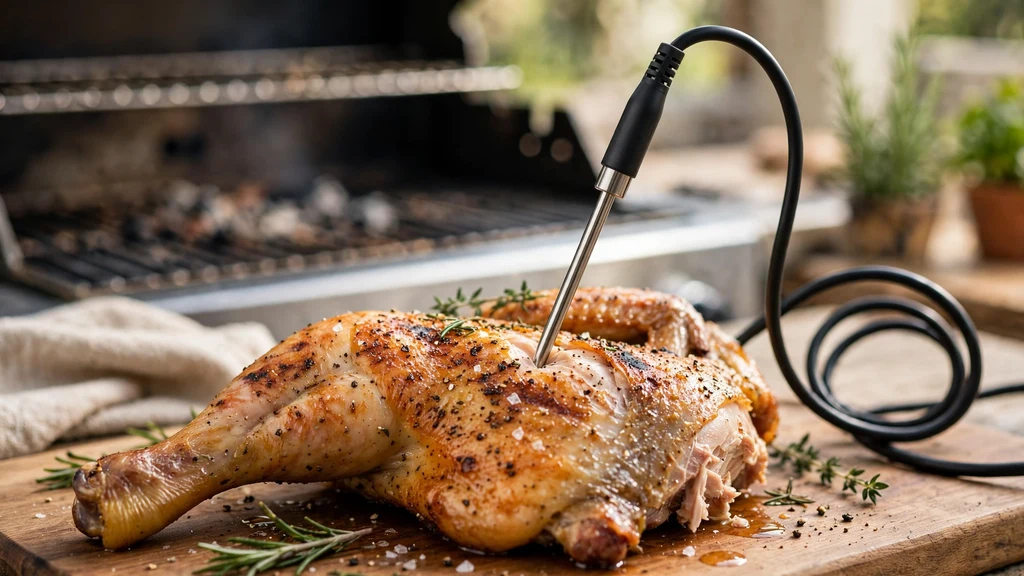
To master your thermometer, you need to know where the actual sensor sits inside the hardware. Many home cooks assume the entire metal shaft reads temperature, but that is a common misconception.
Most standard digital and analog kitchen gauges actually detect heat at the very tip, typically within the final quarter-inch to half-inch of the metal stem. If you leave that tip hanging out in the air or pushed completely through to the other side, your numbers will be completely wrong.
When you use a thermometer probe, pay close attention to manufacturer guidelines regarding insertion depth. Some dial models feature a small dimple or line on the shaft indicating where the sensing zone begins.
If your tool lacks this mark, assume the magic happens right at the point. This design requires you to place that exact tip into the thickest part of whatever you are roasting, baking, or grilling.
Ignoring this basic design flaw ruins countless holiday turkeys and weeknight steaks. When you slide the stem into your roast, visualize where the tip ends up relative to the mass of the protein. Achieving a trustworthy reading depends entirely on hitting that sweet spot on the first try without guessing.
Finding the Deepest Core of Your Cut
The thickest part of any protein holds the coldest mass, which dictates whether your food is safe to consume. When figuring out how far to push your hardware, always target the absolute center of the thickest muscle. Avoid resting the metal against any major bones, since bone conducts heat much faster than muscle tissue and will give you a falsely high evaluation.
Grabbing a heavy-duty roast or a whole bird means you have to account for irregular shapes. For instance, a bone-in ham requires you to slide the metal in at an angle so the tip reaches the center without hitting the femur. If you happen to bump into bone, simply pull the stem back a fraction of an inch and redirect it slightly to clear the obstruction.
Fat and gristle also throw off your assessment. Pushing the tip directly into a pocket of pure fat or connective tissue will yield misleading data because fat transfers heat differently than lean muscle fibers. Always aim for the deepest, meamiest zone to ensure the entire meal reaches the required internal temperature safely.
Navigating Poultry and Whole Birds Safely
Cooking a whole bird introduces unique challenges because poultry features distinct sections with different cooking times. People often wonder how far do you stick a meat thermometer in a turkey without ruining the breast meat. The golden rule for poultry is to target the thickest part of the breast and the inner thigh, making sure the metal never touches the bone.
When testing a whole turkey, insert the stem into the thickest part of the breast muscle, angling it toward the cavity without poking all the way through to the inside space. For the thigh, slide the probe into the meamiest part of the upper leg, staying clear of the hip joint. You can consult the USDA food safety guidelines to verify the precise temperature thresholds for poultry and other proteins.
Let’s look at standard targets for different parts of the bird:
- Breast Meat: Insert horizontally into the thickest section, aiming for 165 degrees Fahrenheit.
- Thigh Meat: Slide into the meamiest part away from the bone, looking for 175 degrees Fahrenheit for optimal texture.
- Wings: Rarely measured due to size, but require visual inspection and quick checks if large.
Getting these placements right prevents dry, overcooked breast meat while ensuring the deeper thigh joints are thoroughly done. Precision at this stage separates an amateur kitchen disaster from a magnificent holiday centerpiece.
Steaks, Chops, and Thin Cuts
Thin cuts like flank steaks, pork chops, and chicken cutlets demand a completely different approach than massive roasts. Trying to push a bulky digital probe straight down into a half-inch steak usually means the tip punches right through the meat and rests inside your hot skillet. To get an accurate evaluation on thin items, you must insert the stem from the side.
Slide the tip horizontally into the open edge of the steak or chop, guiding it until the sensor rests directly in the center of the meat. This technique keeps the metal surrounded by protein from all sides, shielding it from direct pan heat or ambient air. It takes a little practice, but side insertion is the only reliable method for thinner proteins.
Here is a quick comparison of insertion techniques based on the type of food you are preparing:
| Food Type | Recommended Insertion Angle | Target Depth |
|---|---|---|
| Large Roasts | Top-down or angled | Deep center, avoiding bone |
| Whole Poultry | Angled into breast/thigh | Deepest muscle mass |
| Steaks & Chops | Horizontal from the side | Exact middle of the cut |
| Ground Meat Patties | Horizontal through the edge | Center of the patty |
Mastering this side-insertion method ensures you never overcook expensive cuts of beef or pork. You will enjoy perfectly medium-rare steaks every single time you fire up the grill.
Instant-Read Versus Leave-In Probes
The type of tool you own changes how you approach the insertion process. Instant-read digital models are designed for quick checks near the end of the cooking cycle, meaning you pull them out before returning the food to the heat. Leave-in probe models, on the other hand, stay buried inside the roast for the entire duration of the cooking process.
When using a leave-in probe, you must position the stem securely before closing the oven door or smoker lid. Because it stays in place, improper initial placement will ruin your entire dinner without you realizing it until it is too late. Take an extra ten seconds to verify that the tip sits squarely in the center of the meat before you walk away.
Instant-read tools give you the flexibility to test multiple spots if you suspect uneven heating. If a large roast seems done on one side, you can quickly poke a few different zones to confirm uniform doneness. Both styles have their place in a well-equipped kitchen, provided you respect their unique insertion requirements.
Common Mistakes That Lead to Bad Readings
Even experienced cooks occasionally fall victim to simple measurement errors that ruin their meals. One major blunder is pushing the metal stem completely through the roast so the tip pokes out the bottom or the far side. When this happens, the tool measures the hot air inside your oven rather than the temperature of the protein.
Another frequent issue involves failing to calibrate your gear regularly. Over time, drops and thermal shock can knock digital and analog devices out of alignment. Testing your equipment in ice water or boiling water takes less than a minute and guarantees your numbers are trustworthy.
Rushing the placement process also leads to disaster. Take a slow, deliberate approach when sliding the metal into your food, feeling for resistance changes as you pass through fat layers or near bones. Rushing usually means your sensor ends up in empty air or a fat pocket.
Preventing Juice Loss and Flavor Drain
Home cooks often worry that poking holes in meat will drain all the precious juices onto the cutting board. While puncturing a steak does release a tiny amount of moisture, a thin digital probe makes a microscopic hole that has virtually no impact on juiciness. Thick analog dials leave a larger mark, but even then, the loss is minimal compared to the tragedy of serving raw or scorched food.
To minimize any moisture loss, insert the metal cleanly and smoothly without wiggling it back and forth inside the protein. Wiggling creates a wider channel that allows juices to escape rapidly during the cooking process. Treat the insertion as a single, smooth motion for the best culinary results.
Letting your protein rest after cooking also helps retain moisture. Even if you poked the cut a few times to check progress, a proper resting period allows the muscle fibers to relax and reabsorb those savory juices before you slice into dinner.
Frequently Asked Questions
How far in should you stick a meat thermometer?
You should insert the metal stem far enough so that the sensing tip rests in the absolute center of the thickest part of the meat. For most digital models, this means putting the final half-inch of the tip right in the core.
Should the thermometer touch the bone?
No, you should always avoid letting the metal touch bones, gristle, or large pockets of fat. Bone conducts heat much faster than muscle tissue, which will cause your equipment to give you a falsely high reading.
Can you leave a meat thermometer in the oven while cooking?
It depends entirely on the model you own. Leave-in digital probes featuring oven-safe cables can stay inside during the entire roasting process, but standard instant-read models will melt or break if left in high heat.
How do you check thin cuts of meat accurately?
For thin cuts like pork chops or chicken breasts, insert the metal stem horizontally into the side of the meat rather than from the top. This ensures the tip stays centered without poking through to the hot pan below.
Conclusion
Mastering how far do you stick a meat thermometer in takes your home cooking from a guessing game to a precise science. By targeting the absolute center of the thickest muscle mass and avoiding bones and fat pockets, you ensure every meal turns out safe and delicious. Grab your tools, check your placement angles, and enjoy perfectly cooked dinners every time you step into the kitchen.