


You find yourself standing in front of a roasting pan, a golden bird smells amazing, but your kitchen gadget drawer has let you down. Knowing how to check a turkey without a meat thermometer requires leaning on sensory cues, structural shifts, and physics rather than digital digits.
This situation happens to home cooks every holiday season, and it doesn’t mean your holiday dinner is doomed. You can still serve a safe, juicy centerpiece by watching for visual and physical signs of doneness.
The Physics of Juices and Clarity
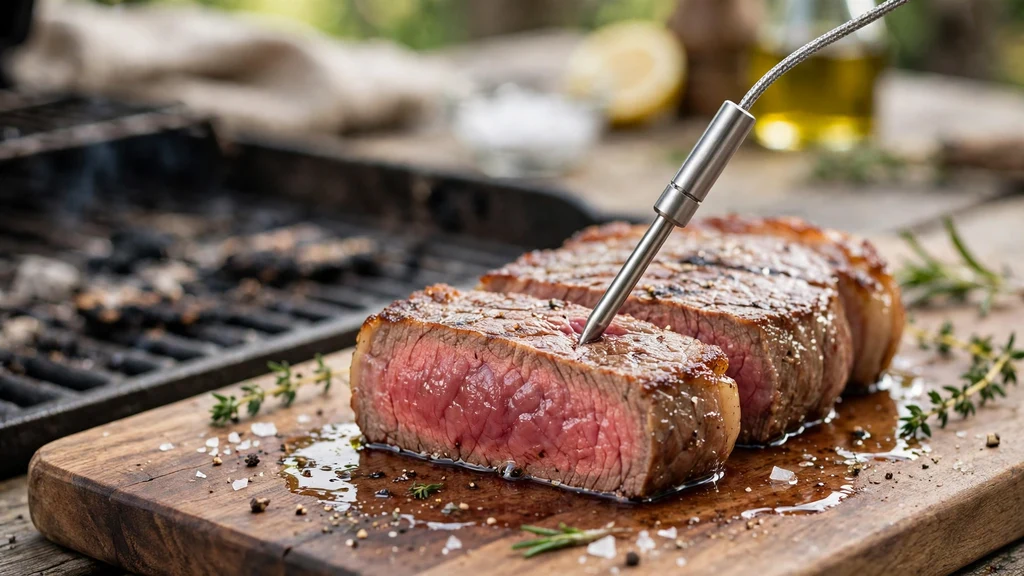
One of the most reliable visual indicators that your bird is ready involves piercing the flesh and watching the escaping liquid. When poultry starts cooking, the natural fluids inside are cloudy and often tinged with pink. As the proteins coagulate and the internal environment reaches safe zones, those juices undergo a dramatic transformation.
You want to take a clean skewer or the tip of a paring knife and press it deep into the thickest part of the thigh, making sure to avoid the bone. If the liquid running out is completely clear, you are very close to the finish line.
Any hint of pink or red means the bird needs more time in the heat. It is a simple technique that professional kitchens rely on when equipment fails.
Checking the juices works because muscle fibers contract as they cook, squeezing out moisture like a sponge. Raw poultry releases a reddish fluid containing myoglobin, which changes color under prolonged thermal exposure. When the clear stage is reached, it signals that the deep tissue has denatured fully.
Keep in mind that you should pierce the bird gently so you don’t lose all your precious moisture onto the bottom of the roasting pan. A light poke is all it takes to read the story of the pan juices.
Reading the Visual Cues of Leg Movement
The anatomy of a whole bird provides built-in mechanical signals that tell you when the cooking process is complete. If you gently wiggle the leg joint, it should move loosely and feel somewhat separated from the socket. A raw bird has rigid joints held tightly together by connective tissue and collagen that hasn’t broken down yet.
Once the collagen melts into gelatin after hours of roasting, that joint loosens up considerably. You can test this by grabbing the end of the drumstick with a clean towel and giving it a gentle tug or rotation. If it feels floppy and gives way easily, the meat around the thigh bone is tender and cooked through.
This joint-loosening method is particularly helpful because the dark meat in the legs takes longer to cook than the breast tissue. When the leg joint wobbles freely, you can rest assured that the deepest parts of the thigh have rendered safely.
Be careful not to pull too hard, or you might tear the skin and let out valuable steam. Combine this test with the juice check to build a strong case for pulling the pan out of the oven.
Evaluating Skin Tightness and Coloration
A roasted bird undergoes distinct physical changes on its exterior as the cooking time wraps up. The skin should take on a deep, golden-brown hue, particularly across the prominent breast areas and the tops of the drumsticks. More importantly, the skin will often look slightly shrunken or taut, pulling back slightly from the ends of the bone structures.
If the skin is still pale, soft, or spongy, the heat hasn’t penetrated deeply enough to render the underlying fat. You want to see a crisp, rendered texture that indicates the rendering process has finished its work.
Fat under the skin acts as an insulator, and as it melts away, the skin tightens against the muscle tissue. This tightening is a visible sign that the interior has sustained prolonged heat exposure.
Of course, skin color can be deceiving if you use a heavy glaze or basting liquid containing sugars that brown prematurely. Always pair visual skin assessments with structural movement tests to avoid cutting into an undercooked roast too early.
Measuring Time Against Weight Guidelines
Math and kitchen clocks remain trustworthy allies when your gadgets go missing. Standard culinary guidelines suggest roasting a completely thawed, unstuffed bird at moderate heat for roughly thirteen to fifteen minutes per pound. If your roast weighs fifteen pounds, you are looking at a baseline window of about three and a half hours.
This formula assumes a standard oven setting, usually around 325 degrees Fahrenheit, and acts as your primary timing anchor. Stuffed cavities require extra time because the stuffing absorbs thermal energy, adding another thirty to forty-five minutes to your total estimate.
Factors like oven calibration, roasting pan material, and whether your bird started completely cold can shift these numbers. Because of these variables, time should never be your only indicator, but it gives you a safe window for when to start paying close attention.
If your calculation says the bird needs four hours, don’t even bother checking the juices at hour two. Use the clock to manage your schedule, then switch to sensory tests during the final thirty minutes.
- Stuffed cavities slow down internal heat transfer significantly.
- Convection ovens reduce overall cooking time by roughly twenty percent.
- Roasting bags trap steam and accelerate the cooking speed.
- Deep-frying operates on an entirely different timeline of minutes per pound.
Probing with Skewers and Metal Implements
When you lack standard culinary gadgets, ordinary kitchen utensils can step in to help you evaluate doneness. A stainless steel skewer, a metal knitting needle, or even a fine-tined carving fork can serve as a makeshift probe. Insert the metal implement into the deepest part of the thigh muscle, hold it there for about ten seconds, and then carefully withdraw it.
Touch the metal shaft near the tip to your wrist or the back of your hand. If the metal feels hot—comparable to the heat of a cup of hot coffee—the internal climate of the bird is likely in a safe zone.
Metal is an efficient thermal conductor, meaning it absorbs the heat of the surrounding flesh rapidly. While this method lacks the scientific precision of digital readouts, experienced home cooks have used it for generations with great success.
Always wipe the skewer clean between tests to get an accurate read without transferring surface heat. If the metal feels merely lukewarm, your dinner needs more time in the heat.
The Rest Period and Residual Heat
Pulling your roast out of the heat source does not mean the cooking process stops entirely. Carryover cooking causes the internal climate to rise by several degrees while the bird sits on the counter. This resting phase is crucial for letting muscle fibers relax and reabsorb moisture that was pushed outward during the roasting process.
If you carve immediately, all those delicious juices will spill onto the cutting board instead of staying inside the meat. Give a standard-sized roast at least twenty to thirty minutes of uninterrupted resting time under a loose foil tent.
| Bird Weight | Estimated Cooking Time | Minimum Resting Time |
|---|---|---|
| 10 to 12 lbs | 2.75 to 3 hours | 20 minutes |
| 14 to 16 lbs | 3.5 to 4 hours | 30 minutes |
| 18 to 20 lbs | 4.25 to 4.75 hours | 40 minutes |
During this rest, the residual heat finishes destroying any remaining pathogens while evening out the moisture distribution. Skipping this step leads to dry breast meat and a frustrating carving experience. Treat the resting window as an active part of the preparation schedule rather than dead time.
Troubleshooting Common Doneness Dilemmas
Uneven roasting happens frequently, especially with whole birds where the dense thighs require more energy than the delicate breast tissue. If your visual checks show the breast is getting dangerously dark while the leg joints still feel tight, you need to intervene.
Shielding the pale areas with aluminum foil slows down surface browning and lets the heat penetrate deeper into the stubborn joints. Conversely, if you worry about food safety standards, consulting a reliable guide like the USDA Food Safety and Inspection Service helps clarify baseline regulations for poultry preparation.
Sometimes you might slice into the bird only to discover a slightly pink tint near the bone despite following every rule. This can happen due to hemoglobin reactions in younger birds, which don’t necessarily indicate a safety hazard if the texture is firm and the juices run clear.
However, if the flesh is rubbery and translucent, return the pieces to the oven or a skillet immediately. Don’t let a minor panic ruin your dinner when quick adjustments can salvage the meal.
Frequently Asked Questions
How do I know if my turkey is done without a thermometer?
Look for clear running juices when pierced with a skewer, check that the leg joint wobbles loosely in its socket, and ensure the skin is golden and slightly shrunk back from the bone.
What temperature is a turkey considered safe to eat?
Poultry is officially considered safe when the internal climate reaches 165 degrees Fahrenheit in the deepest part of the breast and the thickest part of the thigh, measured away from any bone.
Can I use a metal skewer to test poultry doneness?
Yes, inserting a metal skewer into the thickest part of the meat and feeling its warmth against your wrist is a traditional kitchen method for estimating internal heat without digital tools.
Why are my turkey juices still slightly pink?
Pink juices can result from young bone marrow releasing myoglobin during roasting, but if the liquid is clear and the leg joint moves loosely, the bird is usually safe to consume.
Conclusion
Mastering how to check a turkey without a meat thermometer relies on trusting your senses, observing physical cues, and respecting traditional culinary techniques. By paying close attention to clear juices, loose leg joints, and proper resting windows, you can achieve a delicious and safe holiday meal. Keep these sensory checks in mind, and your next gathering will be a resounding success.