

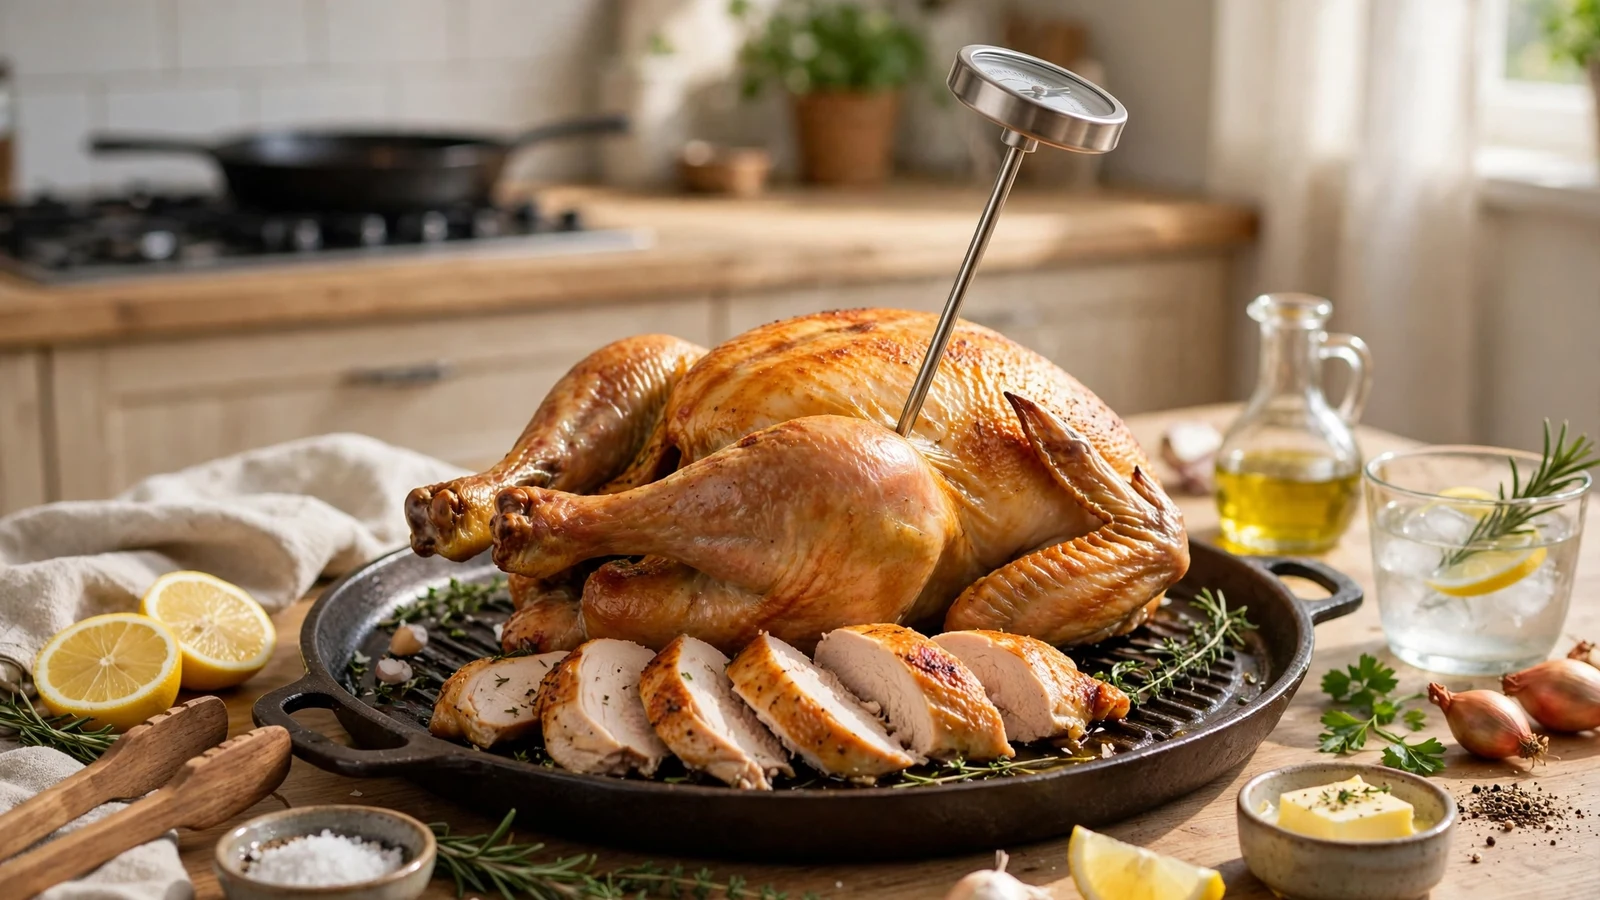
Finding yourself midway through preparing dinner only to realize your kitchen gadget is missing can panic anyone. Figuring out how to cook chicken without a meat thermometer might feel risky, but home cooks have relied on sensory cues for generations. You can easily achieve juicy, perfectly safe poultry using alternative sensory techniques.
Relying on the Touch Test for Doneness

Your hands offer a built-in sensor for gauging poultry doneness. By comparing the texture of cooked poultry to parts of your own hand, you can build surprising accuracy. This tactile approach relies on muscle memory and subtle shifts in protein firmness.
When raw meat cooks, the proteins contract and firm up. To master this technique, relax your hand completely and touch the fleshy part of your palm right below your thumb. That soft, yielding texture mimics raw poultry.
As you bring your thumb and index finger together, that same palm spot tightens up slightly. That specific firmness corresponds to rare meat, which you definitely want to avoid with poultry. Touch your thumb to your middle finger for medium firmness, or your ring finger for a firmer feel.
When you touch your thumb to your pinky finger, the muscle becomes very firm and tight. This highest level of firmness closely mirrors thoroughly cooked chicken breast. While this method takes some practice, it gives you a reliable fallback when your digital gadgets fail.
Inspecting the Juices for Clarity
Liquid appearance provides one of the most trustworthy visual indicators for poultry preparation. When meat cooks, the internal moisture changes character and composition. Watching how these liquids behave tells you a lot about the internal state of your dinner.
Pierce the thickest part of the meat using a fork or the tip of a sharp knife. If the escaping liquid is pink or reddish, the meat needs more time on the heat source. You want to see the juices run completely clear without any pink tint.
Cloudy or slightly yellowish liquid often points toward early stages of doneness, but clear liquid signals that the interior proteins have fully set. Keep in mind that this method works best for larger cuts like whole birds or thick breasts. Smaller pieces might lose too much moisture if you puncture them repeatedly, so use this trick sparingly.
Inspecting the Interior Color and Texture
Visual inspection remains a classic method for checking doneness, though it requires care to get right. Cutting into your food lets you see the interior directly, eliminating any guesswork. However, you should try to minimize cutting to prevent valuable moisture from escaping.
Make a small incision in the thickest part of the meat to reveal the inside. Raw poultry looks translucent and pink, whereas fully cooked chicken appears entirely opaque and white. If you spot any translucent patches or rubbery textures, return the pan to the heat source immediately.
- Look for complete opacity throughout the thickest part of the meat.
- Ensure no pink color remains near the center or close to joints.
- Check that the grain of the meat looks slightly separated rather than tightly bound.
- Verify that the texture appears flaky rather than rubbery or gelatinous.
Be cautious, because some chicken can retain a slight pinkish hue even when it reaches safe interior levels due to chemical reactions with smoke or feed. Always combine visual checks with the touch test or liquid inspection to ensure total accuracy.
Understanding Cooking Times and Heat Control
Consistent heat application helps remove much of the guesswork from kitchen prep. When you understand your heat source, you can estimate preparation periods with impressive accuracy. This approach requires careful monitoring of your stove, oven, or grill settings.
| Cooking Method | Average Temperature | Estimated Time per Pound |
|---|---|---|
| Oven Roasting | 400°F (200°C) | 20 to 30 minutes |
| Pan Searing | Medium-High | 6 to 8 minutes per side |
| Direct Grilling | Medium Heat | 10 to 12 minutes per side |
Maintaining steady heat ensures even progress from the outside in. If your burner runs too hot, the exterior will burn before the center finishes. Adjust your heat levels downward once a good crust forms, letting gentle heat finish the interior.
Managing Bone-In Versus Boneless Cuts
Bone-in pieces behave differently during heat application than boneless fillets. Bones conduct heat toward the center of the meat, which changes how quickly the interior cooks. Recognizing these differences prevents common culinary mistakes.
When preparing bone-in thighs or drumsticks, pay attention to the bone itself. As the meat finishes, the flesh around the bone shrinks and pulls away slightly. You can often wiggle the bone gently; if it moves loosely in the socket, the surrounding meat is usually done.
Boneless cuts cook much faster and more evenly, but they dry out quickly. Without the insulation of a bone, you must watch your timing closely. Check these cuts around the ten-minute mark when pan-searing to prevent overcooking.
Using Rest Periods to Finish the Process
Residual heat plays a massive role in safe food preparation. When you pull poultry off the heat source, the internal temperature continues to rise for several minutes. Skipping this vital step often leads to dry, disappointing meals.
Transfer your meat to a cutting board or warm plate immediately after removing it from the heat. Cover it loosely with a tent of aluminum foil to trap ambient warmth. Let the meat rest undisturbed for at least five to ten minutes before slicing.
This resting phase allows the internal juices to redistribute evenly throughout the fibers. If you cut into the meat right away, all those delicious liquids will spill onto your board. Patience rewards you with a much juicier and more flavorful result.
Adapting Techniques for Frying and Slicing
Frying presents unique challenges because the exterior cooks much faster than the interior. When preparing breaded cutlets or wings in hot oil, watch the bubbling behavior closely. Vigorous bubbling often indicates moisture escaping from the raw meat inside.
As the meat finishes frying, the bubbles in the oil will quiet down significantly and become smaller. This change happens because most of the surface moisture has evaporated. Combine this auditory cue with a quick visual check of the coating color to gauge doneness.
For thinly sliced stir-fry strips, pieces cook almost instantly in a hot wok. You rarely need complex tests for tiny pieces because they spend mere minutes on the heat. Toss them continuously until every piece turns completely opaque.
Recognizing Official Safety Guidelines
Following established food safety standards protects your health during every meal preparation. The United States Department of Agriculture recommends an internal target of 165°F for all poultry to eliminate harmful bacteria effectively. While you aren’t using a gadget, keeping this safety threshold in mind helps you calibrate your sensory tests.
Cross-contamination remains a major risk when handling raw poultry in a busy kitchen space. Always wash your hands, cutting boards, and utensils thoroughly after handling raw ingredients. Never place cooked meat back onto a plate that held raw poultry without sanitizing it first.
Pay close attention to expiration dates and proper refrigeration before you even start cooking. Fresh poultry should smell neutral and look plump rather than slimy. Starting with quality ingredients makes every alternative detection method much more reliable.
Frequently Asked Questions
Can I safely cook chicken without any measuring tools?
Yes, you can prepare poultry safely by combining the touch test, checking for clear juices, and ensuring the interior is completely opaque. These sensory methods have been used reliably by home cooks for generations without modern gadgets.
What visual signs indicate that my poultry is fully done?
Fully cooked poultry loses its translucent, pink appearance entirely. The meat turns completely white or opaque throughout, and any juices escaping from the thickest part run clear without a pink or reddish tint.
How do I test chicken doneness using my hands?
Press the fleshy part of your palm below your thumb while touching your thumb to your ring or pinky finger. That firm texture closely mimics the feel of thoroughly cooked poultry when you press the thickest part of the meat.
Why is resting meat important after cooking?
Resting allows residual heat to finish cooking the interior while redistributing moisture throughout the fibers. Covering the meat loosely with foil for ten minutes prevents juices from escaping when you finally slice it.
Conclusion
Mastering alternative methods for poultry preparation frees you from relying entirely on digital kitchen gadgets. By tuning into sensory cues like firmness, juice clarity, and visual opacity, you can consistently serve safe and delicious meals. Every successful meal builds your intuition and confidence in the kitchen.
Take what you have learned and apply these sensory techniques during your next weeknight dinner. Cooking without specialized tools becomes second nature once you know what signs to look for. Enjoy experimenting with your newfound kitchen skills.