

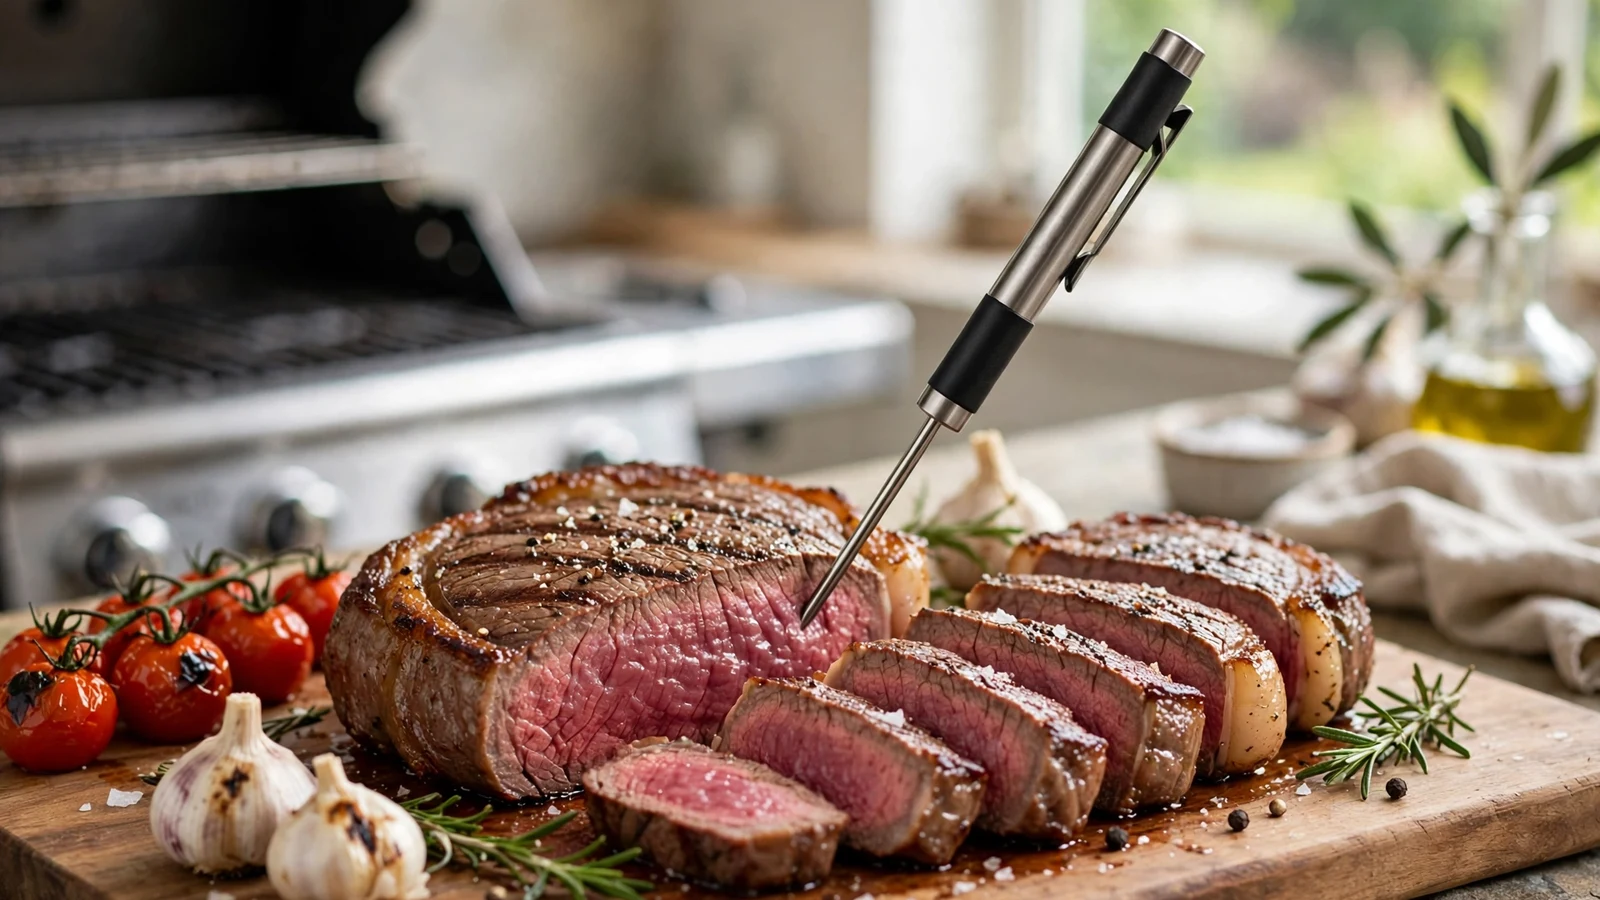
Mastering how to read everyday living meat thermometer models doesn’t have to feel like decoding a foreign language. If you’ve ever stared down a metal probe wondering if your chicken is genuinely done or just playing tricks on you, you’re definitely not alone. Getting this right means moving past guesswork and getting dinner on the table without any food safety worries.
We’ll walk through how these simple kitchen tools work, break down the dials and displays, and give you the exact steps you need to cook with total confidence every single time.
Understanding the Basics of Everyday Living Thermometers
Everyday Living kitchen tools are designed for straightforward, everyday tasks without piling on confusing tech features. When you look at one of these devices, you’re usually holding either an analog dial model or a basic digital variant. Both serve the exact same core purpose: giving you an accurate internal reading so your food is safe to eat.
Analog versions feature a round face with a pointer needle, while digital units show numbers directly on a small LCD screen. The key to success with any of these products lies in understanding what those numbers actually represent. Food safety guidelines from sources like the USDA Food Safety and Inspection Service provide the ultimate benchmarks you should match against your readings.
You don’t need a culinary degree to operate one of these gadgets. You just need to know where to insert the probe and how long to wait for the display to settle.
Reading Analog Dials versus Digital Displays
The biggest hurdle people face is figuring out the visual layout of their specific tool. If you have a dial thermometer, you’re reading a sweeping scale.
The needle points to a specific tick mark, and you have to judge the position carefully. Make sure you view the dial straight on, because looking at it from an angle throws off your perception of where the needle actually points.
Digital displays remove that guesswork by showing exact digits. A digital model updates every second or two until the sensor stabilises inside the meat. If your display blinks or takes a moment to lock in, simply leave it in place until the numbers stop climbing.
Here is a quick look at how the two types compare:
| Feature | Analog Dial Thermometers | Digital Thermometers |
|---|---|---|
| Readout Speed | Slower (15 to 30 seconds) | Faster (5 to 10 seconds) |
| Display Type | Needle and printed numbers | LCD digital numbers |
| Oven Safe Use | Often designed to stay in while cooking | Usually pulled out; electronics can melt |
| Accuracy Check | Can be manually recalibrated | Usually relies on factory sensor calibration |
Locating the Correct Insertion Point
Getting an accurate number depends heavily on where you place the metal probe. Every cut of meat has a densest part, which is always where you want to aim. If you push the tip too far and hit a bone, your reading will skyrocket artificially because bone conducts heat much faster than muscle tissue.
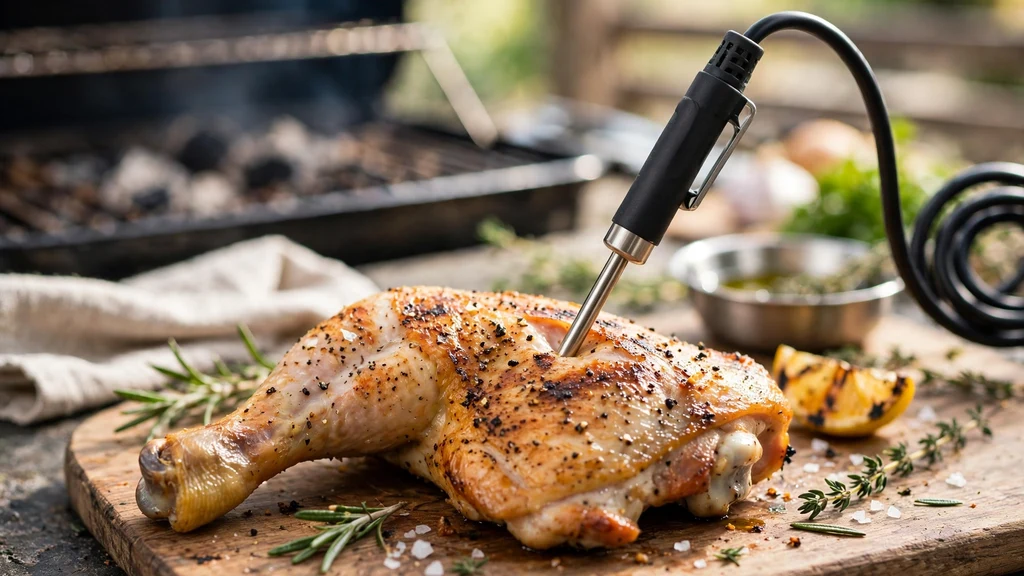
For roasts, steaks, and chicken breasts, aim for the thickest section right in the middle. Avoid fat pockets or stuffing because they heat up differently than pure meat. If you’re cooking poultry, slide the probe into the thickest part of the thigh, making sure it doesn’t touch the bone.
Once the probe is in place, hold your hand steady. If you’re using a digital unit, give it a few seconds to react to the surrounding heat before you note the final temperature.
Decoding the Target Temperatures
Knowing how to read the device is only half the battle. You also need to know what numbers signal a safe meal. Different proteins require different internal endpoints to kill harmful bacteria while keeping the meat juicy and tender.
Beef steaks and chops can often be pulled at lower thresholds depending on personal preference, but ground meats and poultry demand higher thresholds for safety. Keep a handy reference chart nearby until memorising these figures becomes second nature.
- Poultry (Chicken and Turkey): Must reach 165 degrees Fahrenheit at the deepest point.
- Ground Meats (Beef, Pork, Lamb): Safe at 160 degrees Fahrenheit.
- Fresh Beef, Veal, and Lamb (Steaks and Chops): Reaches medium-rare at 145 degrees Fahrenheit with a rest time.
- Pork Roasts and Chops: Safe and juicy at 145 degrees Fahrenheit.
Calibrating Your Device for Accuracy
Over time, even the best kitchen tools can lose their precision. Dropping a probe on a hard kitchen floor or exposing it to extreme temperature shocks can throw off the internal spring or sensor. Checking accuracy takes less than a minute and saves you from ruining expensive cuts of meat.
The ice water method is the easiest way to test your device at home. Fill a tall glass with crushed ice and top it up with cold water, stirring it gently. Insert your probe so the tip sits right in the middle of the ice slurry without touching the sides or bottom of the glass.
Your display should read right around 32 degrees Fahrenheit. If it’s off by more than a couple of degrees, you’ll need to adjust the calibration nut on the back of an analog dial or check the manufacturer manual for digital resetting instructions.
Common Mistakes to Avoid While Cooking
Even experienced home cooks make small errors that compromise their temperature readings. One major pitfall is leaving an electronic probe inside a scorching hot oven when it’s not rated for high ambient heat. Most digital plastics and wires will melt or short out if subjected to oven temperatures above 300 degrees.
Another common mistake is rushing the measurement. Pulling the probe out too early means you’re reading ambient air or an incomplete thermal transfer. Always wait for the display to stop moving before you make your final call.
Finally, remember to clean your equipment immediately after use. Dried meat juices left on the metal shaft can carry bacteria and interfere with subsequent readings if they get caked around the sensor tip.
Troubleshooting Blank Screens and Stuck Needles
When your tool refuses to cooperate right in the middle of meal prep, frustration sets in quickly. If a digital screen stays blank, the battery is usually the main culprit. Keep a spare set of coin cell batteries in your kitchen drawer so you can swap them out in seconds.
For analog models, a stuck needle usually means the internal mechanism has warped from a severe drop. If tapping the dial gently doesn’t free the needle, it’s time to replace the unit entirely rather than risking food safety on a faulty reading.
Moisture inside the digital display window is another common issue. If steam gets trapped inside the casing, set the unit in a dry place for a day or two before attempting to use it again.
Maintaining Your Equipment for Long-Term Use
Taking care of your kitchen gear ensures it remains reliable for years. Wash the metal stem with warm, soapy water after every single use, but avoid submerging the entire digital housing unless the product is explicitly rated as fully waterproof.
Store your device in a safe drawer slot or use the protective plastic sleeve that usually comes in the package. Tossing an unprotected probe into a crowded drawer with heavy spatulas and whisks is a fast track to bending the metal shaft.
Regular maintenance takes very little effort yet pays off every time you check dinner.
Frequently Asked Questions
How do I know if my everyday living meat thermometer is working correctly?
Perform an ice water test by submerging the probe in a glass of crushed ice and water. The display should read precisely 32 degrees Fahrenheit. If the reading is off by more than a couple of degrees, you need to calibrate or replace the unit.
Can I leave an everyday living meat thermometer in the oven while cooking?
It depends entirely on the specific model type. Analog dial versions designed for oven use can stay inside during the cooking process. Digital models with plastic housings or attached wires should never be left inside a hot oven unless explicitly rated for continuous ambient heat.
Why is my digital meat thermometer taking so long to show a number?
A sluggish digital display usually points to a dying battery or food debris insulating the sensor tip. Try cleaning the metal probe thoroughly with warm soapy water and replacing the internal battery if the problem persists during your next cooking session.
Should the probe touch the pan when I am measuring temperature?
Never let the tip of the probe touch the metal cooking pan, skillet, or grill grate. Pans conduct external heat much faster than meat, which will cause your display to show an artificially high temperature and lead you to pull your food too early.
Conclusion
Getting comfortable with reading everyday living meat thermometer models transforms your routine in the kitchen and takes all the stress out of preparing proteins. By understanding your specific display type, hitting the thickest part of the meat, and respecting target safety zones, you can serve meals with absolute confidence. Keep your equipment clean, test it periodically for accuracy, and enjoy delicious results every single time you cook.