

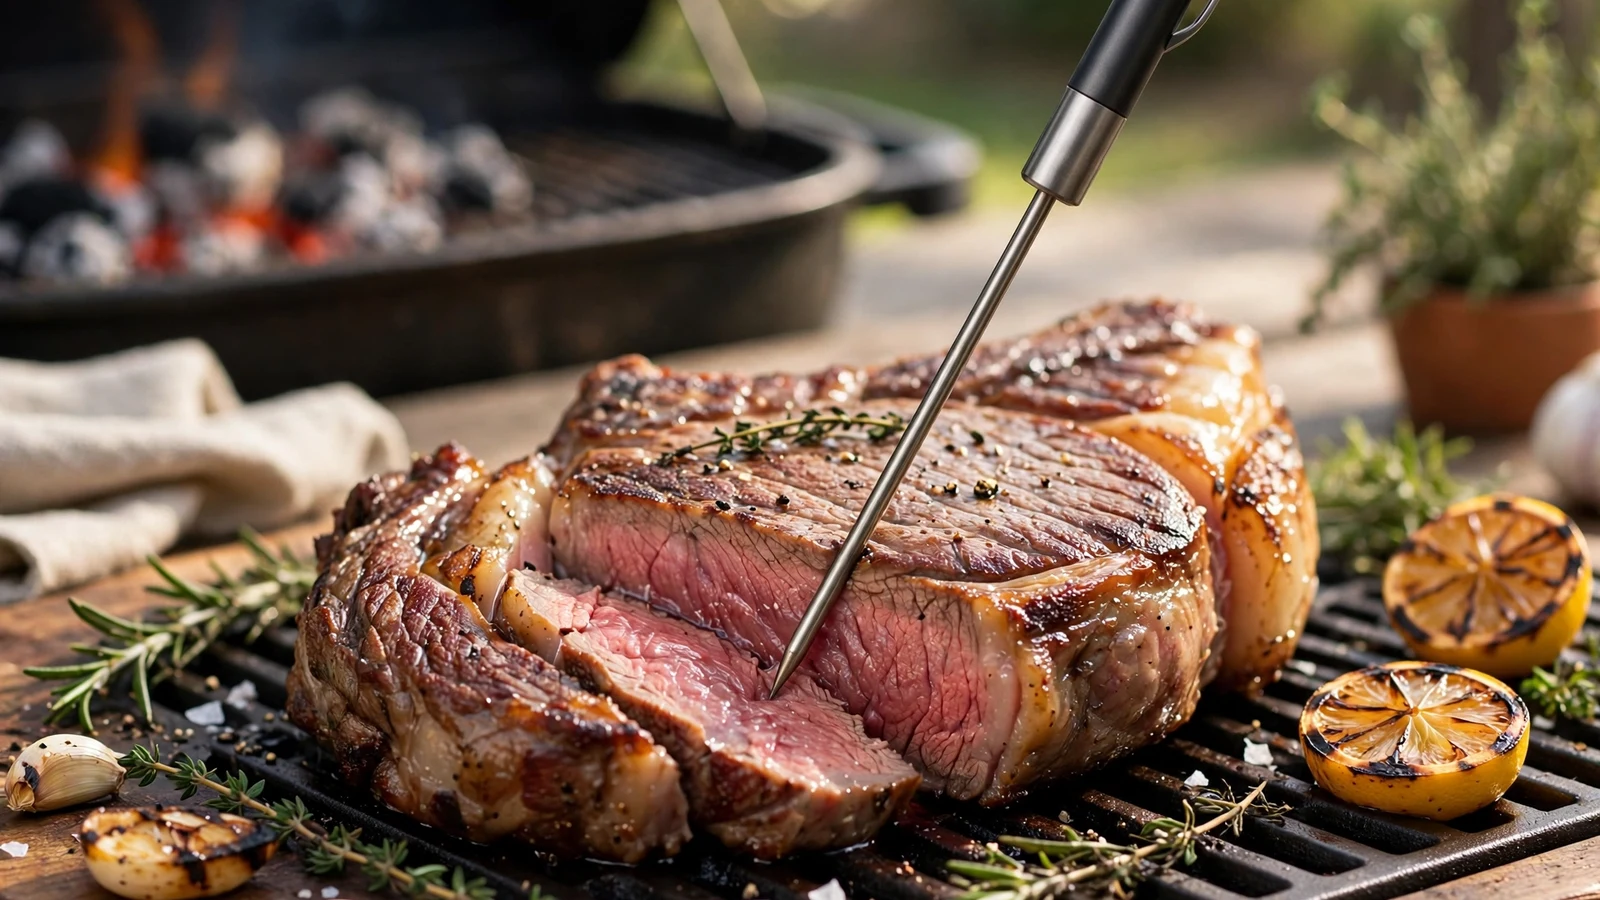
Getting your dinner right often comes down to a tiny metal tip. If you have ever wondered what part of a meat thermometer reads temp, you are certainly not alone in wanting to nail your cooking times. Knowing the exact spot where the sensor lives changes everything from dry chicken to a perfectly juicy roast.
Anatomy of a Cooking Probe
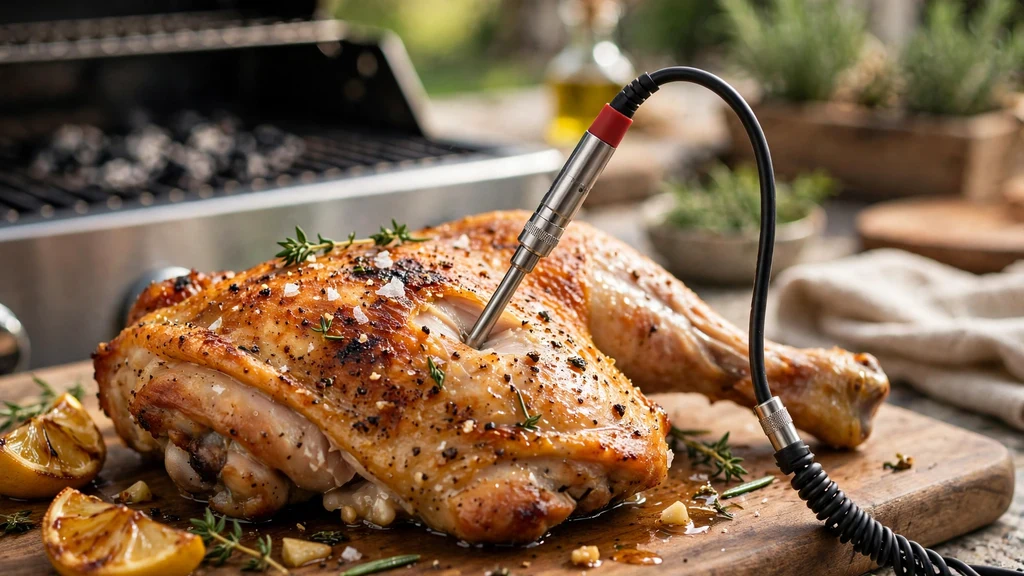
Every standard metal cooking probe looks simple on the surface, but it actually hides delicate technology inside a narrow steel sheath. When you slide that metal rod into a thick piece of beef, the entire length does not measure the heat evenly. Understanding the physics of your kitchen tools helps you avoid serving undercooked food.
Most traditional analog dial models rely on a coiled bimetallic strip inside the lower portion of the shaft. Digital alternatives use a tiny thermal resistor known as a thermistor housed right near the tip. These sensors change their electrical resistance based on surrounding heat, sending data back to a digital screen.
Manufacturers design these devices so that the active sensing component sits in a very specific spot. If that spot misses the center of your food, your dinner might still be raw in the middle while the edges are overdone.
Locating the Sensor Tip
The exact part of a meat thermometer that reads temp is the very tip, specifically the bottom quarter-inch to half-inch of the metal probe. This small zone is where the thermal sensor actually registers the surrounding environment.
On standard dial models, a tiny dimple or indentation often marks the boundary of the active sensing zone. If you push the probe in only halfway, the metal shaft will conduct external oven heat downward, giving you a falsely high reading.
Digital options usually hide the sensor right at the pointed apex. You can learn more about food safety guidelines by checking resources like the USDA food safety portal to ensure your cooking habits keep everyone healthy. Getting the tip into the right spot is the single most important step in the entire process.
Digital Versus Analog Design Differences
Different styles of kitchen gauges handle temperature detection in distinct ways. Instant-read digital versions feature a thermocouple or thermistor right at the apex, allowing for a lightning-fast response.
Old-school dial models require a much larger depth to work properly. Because the bimetallic strip needs to expand inside the tube, you often have to insert two inches or more of the metal rod into the food.
- Digital sensors: Measure heat at the extreme tip, requiring minimal insertion depth for accuracy.
- Dial sensors: Require immersion up to a marked dimple to heat the internal coil evenly.
- Leave-in probes: Contain heat-resistant wiring running to a base unit, with the sensing element still located at the pointed tip.
Finding the Thickest Part of the Meat
Knowing where the sensor is located does not help much if you poke the food in the wrong spot. You always want to target the thickest part of your cut, away from any large bones or pockets of pure fat.
Bones conduct heat much faster than muscle tissue, which can trick your gauge into showing a high reading before the actual meat is finished. Fat renders differently than protein, leading to skewed numbers if the tip rests directly against a grease pocket.
For roasts, poultry, and thick steaks, aim straight for the center mass. If the cut is irregular, find the most substantial section and drive the metal rod right through the heart of it.
Proper Insertion Techniques
Mastering the physical insertion of your tool takes a little practice. When dealing with whole poultry, slide the probe into the thickest part of the inner thigh or breast, making sure it never touches the bone.
For thin cuts like pork chops or smaller steaks, entering from the side rather than the top allows you to hit the center easily. This horizontal approach keeps the sensor right where it needs to be without poking completely through to the hot pan below.
| Meat Type | Ideal Insertion Spot | Target Internal Temp |
|---|---|---|
| Whole Chicken | Thickest part of thigh, avoiding bone | 165 degrees Fahrenheit |
| Beef Roast | Center mass, avoiding fat pockets | 135-145 degrees Fahrenheit |
| Pork Chops | Side insertion into thickest area | 145 degrees Fahrenheit |
Common Placement Mistakes to Avoid
Even experienced cooks occasionally make mistakes that ruin a meal’s reading. Pushing the probe straight through a steak and letting the tip rest in the hot skillet will give you a reading of the pan, not the protein.
Another frequent error is failing to clear large bones. Touching a femur or rib cage will artificially inflate your numbers, leaving you with dry, overcooked food that lacks moisture.
Always double-check that the active sensing zone is fully submerged inside the food. If even a tiny fraction of the sensor remains exposed to open oven air, the reading will skew downward or upward depending on your cooking method.
Checking Calibration and Accuracy
A tool is only useful if it tells the truth. Testing your device in an ice water bath or boiling water lets you confirm whether it reads accurately before you ruin an expensive roast.
Ice water should register close to 32 degrees Fahrenheit, while a rolling boil sits at 212 degrees at sea level. If your device is off by more than a couple of degrees, look for a calibration nut on dial models or replace the batteries in digital units.
Regular maintenance ensures that your cooking remains safe and consistent. A poorly calibrated gauge can lead to undercooked poultry or ruined holiday feasts.
Why Temperature Placement Matters for Safety
Accurate readings protect your family from foodborne illnesses. Harmful bacteria thrive in the danger zone between 40 and 140 degrees Fahrenheit, making precise measurement vital for public health.
Cooking pork, poultry, and beef to their proper minimum internal thresholds destroys pathogens effectively. Relying on visual cues like skin color or juices is notoriously unreliable, which is why precise sensor placement remains the gold standard of kitchen safety.
By treating your thermometer as a precision instrument rather than a casual guessing tool, you elevate your home cooking and guarantee delicious, safe results every single time.
Frequently Asked Questions
What part of a meat probe reads temperature?
The temperature is read exclusively at the very tip, typically the final quarter-inch of the metal probe. This is where the internal sensor or thermocouple is housed, meaning the entire rest of the shaft is just a carrier for the data signal.
How deep should I insert my meat thermometer?
You should push the probe deep enough so that the tip rests squarely in the exact center of the thickest part of the food. For digital models, this means getting just the tip in the middle, while dial models often require insertion up to a marked dimple.
Can touching a bone affect the temperature reading?
Yes, bones conduct heat much faster than meat tissue. If the tip touches a bone, your device will register a falsely high temperature, making you think the food is finished when the surrounding muscle is still raw.
Why is my digital thermometer giving me different readings?
Inconsistent readings usually happen when the tip shifts around or rests against fat, bone, or empty space inside the oven. Ensure the sensor is parked firmly in the thickest muscle tissue and give it a few seconds to stabilize.
Conclusion
Mastering how to use your kitchen tools transforms your everyday cooking from a guessing game into a reliable science. Remembering that the very tip of the probe does all the heavy lifting ensures your steaks, roasts, and poultry always hit the table cooked to absolute perfection. Take a moment to check your placement next time you fire up the oven, and enjoy the delicious results of cooking with precision.