


If you have ever stared at a digital display while grilling a thick ribeye and wondered where a meat thermometer read from, you are definitely not alone. Getting the absolute right spot inside your dinner can feel like a guessing game. It is the single biggest factor separating a juicy, tender roast from a dry piece of shoe leather.
Understanding the precise mechanics behind your kitchen gadget changes everything. Let us dive into the science and art of getting that sensor right where it needs to be.
Anatomy of a Temperature Probe
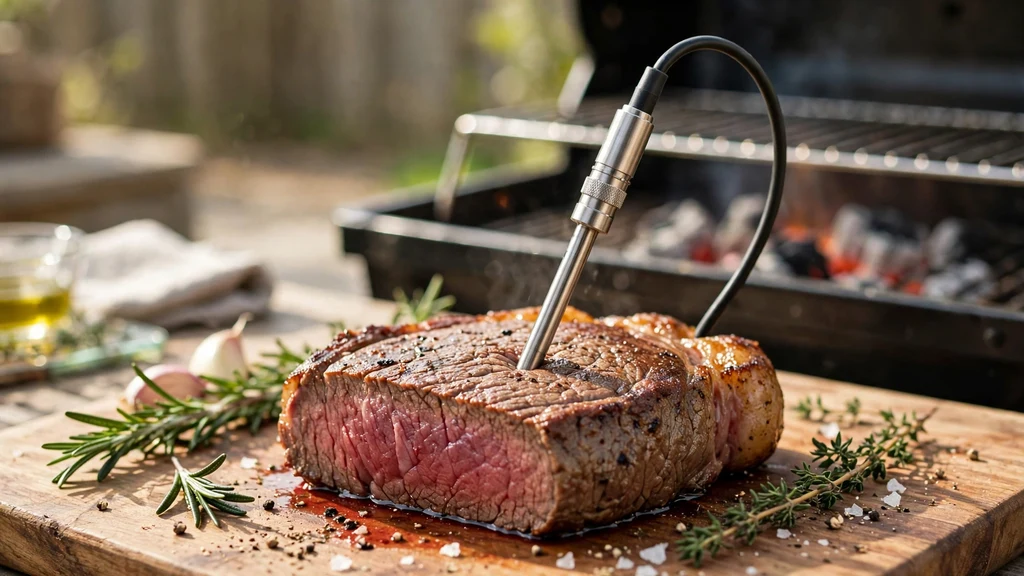
The business end of your cooking gadget is not a uniform piece of metal. Knowing the exact spot where a meat thermometer reads from prevents costly culinary mistakes. Most electronic and dial models feature a small, highly sensitive metallic element tucked away near the tip.
Manufacturers typically place this sensing region about a quarter-inch to half-inch from the very pointed end of the metal stem. If you push the tool straight through your meal until the tip pokes out the other side, you are actually measuring the temperature of the air surrounding the food rather than the food itself.
Older analog dial units operate differently, relying on a coiled bimetallic strip that runs nearly the entire length of the lower stem. This design requires a much deeper insertion depth to register properly. Modern kitchen tools prioritize pinpoint accuracy, which is why digital models use tiny thermistor beads concentrated right at the tip.
Finding the Deepest Part of the Cut
To get a truly reliable internal temperature, you have to target the exact center of the item. This means ignoring the superficial look of the surface and visualizing the three-dimensional geometry of whatever is on your cutting board.
When dealing with large items like a holiday turkey or a bone-in ham, always aim for the thickest part of the meat. Avoid letting the metal touch any major bones, fat pockets, or gristle. Bone conducts heat much faster than muscle tissue, which can trick your device into showing a falsely elevated reading while the surrounding flesh remains dangerously undercooked.
Here are the primary areas you should target for different cuts:
- Whole Poultry: The thickest part of the breast and the inner thigh, making sure the metal stays away from the cavity wall.
- Large Roasts: The dead center of the joint, equidistant from all outer surfaces.
- Thick Steaks: Directly into the middle profile from the side, rather than straight down from the top.
- Ground Meat Loaves: The absolute geometric core of the mixture where heat penetrates last.
The Mechanics of Instant-Read Models
Digital instant-read variants have revolutionized home cooking by delivering fast, numerical feedback within seconds. When you use an instant-read meat thermometer, you must still be mindful of its active sensing zone to get a trustworthy number.
These devices are designed for spot-checking rather than staying inside the oven during the entire cooking cycle. You slide the stem into the food for about five to ten seconds, watch the digits stabilize, and then pull it back out. If you fail to push the tip deep enough into the center, the ambient heat of the pan or grill will skew your results.
For thin items like pork chops or boneless chicken breasts, entering from the side at an angle is the best technique. This guarantees the sensor sits right in the thickest section without poking completely through to the hot cooking surface below.
Leave-In Probes and Smart Cooking Tech
Leaving a sensor inside your food while it roasts in the oven or smokes in a backyard pit requires a completely different approach. These wired devices monitor your meal continuously, sending real-time data to a base station or your smartphone.
Because the wire remains stationary throughout the process, correct initial placement is critical. You insert the probe before cooking begins and leave it undisturbed until the target degree is reached.
| Thermometer Type | Sensing Location | Best Usage Scenario |
|---|---|---|
| Digital Instant-Read | Tip (approx. 1/4 inch) | Quick spot-checks on the grill or pan |
| Dial Analog | Lower stem (1 to 2 inches) | Deep roasts and large turkeys |
| Leave-In Wired Probe | Tip to mid-shaft | Long oven roasts and slow smoking |
For additional guidelines on safe food handling temperatures and cooking practices, consult the USDA Food Safety and Inspection Service for official recommendations.
Accounting for Carryover Cooking
Even after you pull a roast out of the heat source, the thermal energy stored in the outer layers continues to travel inward. This phenomenon, known as carryover cooking, can raise the internal reading by several degrees while your meal rests.
Where a meat thermometer reads from plays a massive role in managing this effect. If your sensor is off-center and sitting too close to the exterior, you will think the food is done much sooner than it actually is.
Allowing your food to rest undisturbed gives the juices time to redistribute throughout the muscle fibers. During this resting window, the temperature reading will often peak and then stabilize, giving you that perfect medium-rare finish you are aiming for.
Common Placement Mistakes to Avoid
Even experienced home cooks occasionally make simple errors that ruin the accuracy of their temperature readings. The most frequent mistake is letting the metal stem rest directly against a roasting pan or the grates of a smoker.
Another common pitfall is misjudging the shape of irregular cuts. A beef tenderloin, for example, tapers significantly at one end. If you place your sensor in the thin tail rather than the thick center, you will severely overcook the main roast.
Always double-check your depth, especially when working with irregularly shaped proteins. Taking a few extra seconds to position the probe correctly prevents dry, disappointing meals and ensures food safety every single time.
Dial versus Digital Sensors
The physical mechanism inside your device dictates how deeply you need to submerge it. Traditional dial models rely on a coiled metallic strip that expands and contracts with heat. Because this coil spans a larger section of the lower stem, dial units demand a much deeper insertion depth to register accurately.
Digital models are far more forgiving regarding depth, provided you get that tiny tip into the center. This makes digital options significantly better for thin cuts of meat like chicken cutlets or fish fillets.
Knowing your specific hardware helps you interpret the readout with confidence. When in doubt, check the manufacturer instructions for your specific model to locate the exact sensing area.
Frequently Asked Questions
Which part of a meat thermometer reads temperature?
The temperature is read by a sensitive sensing element located near the very tip of the metal probe, usually within the first quarter-inch to half-inch of the end on digital models.
How do I know if my meat thermometer is accurate?
You can test your device by submerging the tip in a cup of crushed ice mixed with water, which should read thirty-two degrees Fahrenheit, or in a pot of boiling water, which should read two hundred twelve degrees Fahrenheit.
Can I leave a digital meat thermometer in the oven?
Only if it is specifically designed as a leave-in probe with a heat-resistant cable. Standard instant-read digital units will melt or suffer permanent electronic damage if left inside a hot oven.
Do I need to insert the thermometer at a specific angle?
Inserting the probe horizontally or at a slanted angle into thin cuts helps keep the sensitive tip squarely in the thickest part of the meat without poking completely through the bottom.
Conclusion
Mastering where a meat thermometer reads from takes the guesswork out of preparing your favorite meals. By targeting the true center of your food and keeping the sensing tip away from bones and pans, you can serve delicious dishes with total confidence. Treat your kitchen tools with care, double-check your placement every time, and enjoy consistently amazing results at the dinner table.