

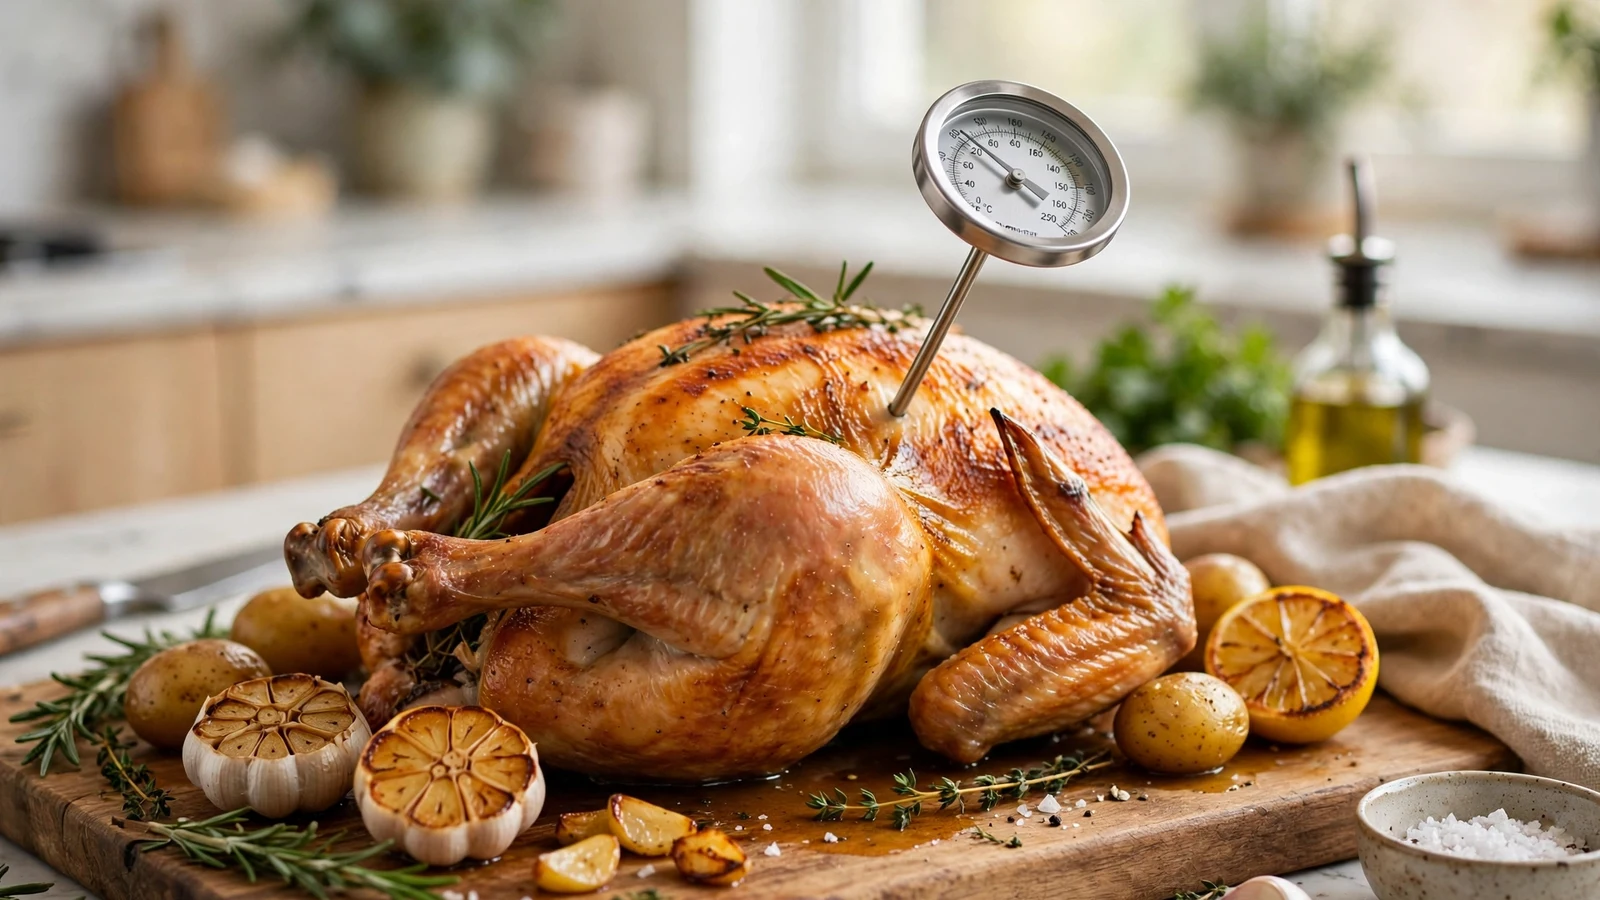
Mastering how to use an analog meat thermometer takes the guesswork out of cooking and ensures your meals turn out safe and juicy every time. While digital gadgets get a lot of attention today, old-school dial thermometers remain reliable kitchen companions that never need batteries.
You can achieve professional results in your own kitchen once you understand how these classic tools work, where to place the probe, and how to read the dial correctly. Let’s look at the mechanics of using an analog meat thermometer properly so you can cook with confidence.
Understanding the Anatomy of a Dial Thermometer
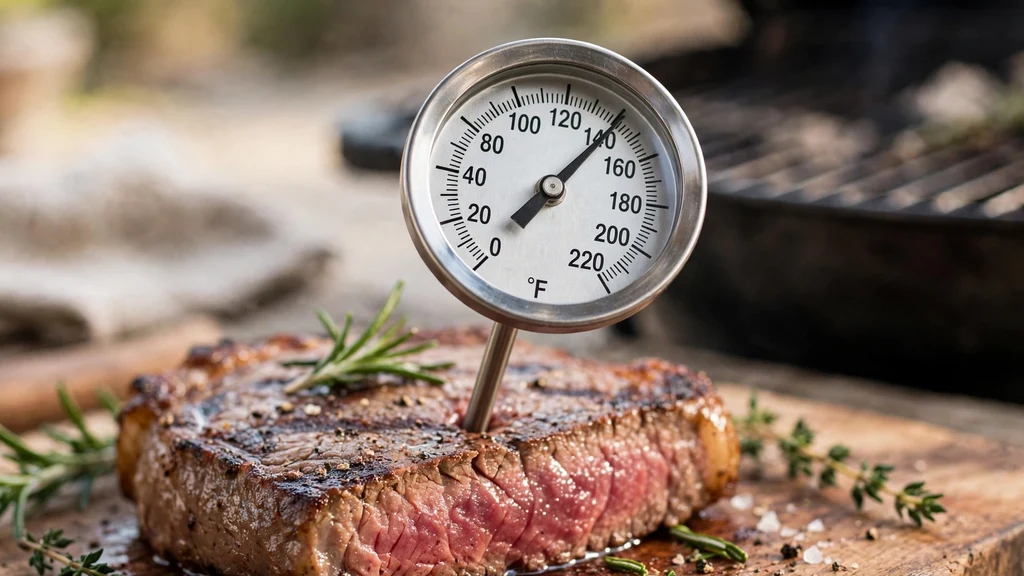
Before you push a metal spike into a roast, it helps to know what each part of the device actually does. An analog meat thermometer relies on a bimetallic strip coiled inside the stem. As heat rises, the two bonded metals expand at different rates, causing the pointer on the dial to move.
Most models feature a glass or plastic cover protecting the face, alongside a pointer and a calibration nut located beneath the head. The dial itself usually displays temperatures in Fahrenheit, Celsius, or both. Knowing these components makes it much easier to trust the reading when you pull a sizzling steak off the heat.
Pre-Insertion Preparation and Calibration
Before cooking begins, or just before probing, you need to make sure your thermometer is telling the truth. Analog dials can get knocked out of alignment if they take a tumble onto a hard kitchen floor. Testing accuracy takes only a couple of minutes and saves you from ruining an expensive cut of meat.
Drop the stem into a glass of crushed ice and water, stirring gently until the pointer stops moving. The needle should point right at thirty-two degrees Fahrenheit or zero Celsius. If it misses the mark, use a small wrench or pliers to turn the calibration nut on the back until the pointer rests on the correct freezing point.
Finding the Thermal Center
Placement is everything when you want an accurate read on doneness. You always want to target the thickest part of the meat, avoiding direct contact with bones, gristle, or fat pockets. Bones conduct heat much faster than muscle tissue, which can trick your thermometer into giving you a falsely high reading.
Fat behaves differently than lean protein, too, so sinking the tip into a thick seam of marbling will throw off your numbers. Take a moment to look at the roast, steak, or bird before probing. Find the absolute middle of the thickest mass, as this ensures the entire piece of protein has reached a safe temperature.
Here are the primary protein types and their specific placement considerations:
- Beef: Target the center of large roasts, keeping clear of any heavy fat caps or rib bones.
- Pork: Probe the thickest part of loins or chops, pushing past the outer surface muscle.
- Lamb: Locate the dense center of legs or shoulders while avoiding the main bone structure.
- Poultry: Insert into the meatiest sections without touching the cavity wall or thigh bone.
Proper Insertion Depth
Every dial thermometer has a designated sensing area that dictates marking the mandatory insertion depth. If you only poke the very tip of the stem into the meat, the bimetallic coil inside won’t pick up the true internal heat. Most standard models require you to push the stem in at least two inches.
Look for the dimple or notch stamped onto the lower portion of the metal stem. That small indent marks the boundary of the sensing zone. If that dimple is still sitting outside the meat, your reading will reflect the ambient air temperature of the oven or grill rather than the food itself.
Techniques for Grilling, Roasting, and Baking
Different cooking methods require slight adjustments in how and when you check your food. When you are grilling pork, chops cook very quickly, so you need to slide the thermometer in from the side rather than the top to hit the center accurately. This side-entry method prevents the thin meat from sliding down the stem.
For roasting beef or baking poultry in the oven, you can leave certain oven-safe dial models in place throughout the cooking cycle. If your thermometer isn’t rated for continuous oven heat, pull the dish out for a few seconds, insert the probe to check the progress, and close the oven door quickly to keep the heat trapped inside.
Reading the Dial Correctly
Reading an analog dial takes a little bit of patience. Allow the pointer to settle completely before you make your final judgment. This usually takes about fifteen to twenty seconds once the probe is seated in the meat.
Position your eye level directly in front of the dial face to avoid parallax errors caused by viewing the needle from an angle. If you look at the gauge from the side, the pointer might appear to indicate a higher or lower temperature than what is actually happening inside the food. For more details on safe culinary temperatures, you can check the USDA food safety guidelines.
| Meat Type | Minimum Internal Temperature | Recommended Insertion Spot |
|---|---|---|
| Beef (Steaks & Roasts) | 145°F with a 3-minute rest | Thickest part of the muscle |
| Ground Meats (Beef, Pork) | 160°F | Center of the patty or loaf |
| Pork (Chops & Roasts) | 145°F with a 3-minute rest | Center of the thickest cut |
| Poultry (Whole, Breasts, Thighs) | 165°F | Inner thigh or thickest breast meat |
Common Mistakes to Avoid
Even experienced home cooks sometimes fall into bad habits that compromise their temperature readings. One major error is letting the tip of the probe poke all the way through the meat and out the other side. When this happens, the tip is measuring the hot air inside your oven or the heat of the pan rather than the food.
Another common mistake is failing to clean the stem between checks. Washing the metal probe in warm, soapy water prevents cross-contamination, especially when you are testing meat that is still in the early stages of cooking. Furthermore, never submerge the entire dial housing in water unless the manufacturer explicitly states it is waterproof, as moisture can fog up the glass and ruin the internal mechanism.
Calibration and Accuracy Maintenance
Maintaining your thermometer ensures it remains a dependable kitchen tool for years. Over time, bumps, drops, and exposure to extreme temperature swings can weaken the bimetallic coil. You should check your device’s calibration every few months, or immediately after it takes an accidental fall onto the floor.
Keep the thermometer stored in a protective sleeve or a designated kitchen drawer where it won’t get bent or crushed by heavier utensils. If the needle becomes sluggish, stops moving entirely, or the dial fogs up from internal moisture, it is time to replace the unit rather than guessing your meat’s internal temperature.
Frequently Asked Questions
Can you leave an analog meat thermometer in the oven?
Some heavy-duty models are designed to stay inside the oven during the entire cooking process. However, many basic dial thermometers will melt or warp if left in high heat. Always check the manufacturer packaging to confirm whether your specific model is oven-safe.
Why is my analog thermometer taking so long to move?
A slow response usually happens when the probe is resting against a dense bone or hasn’t been inserted deeply enough into the meat. Reposition the stem into the thickest part of the muscle, making sure it isn’t touching the bottom of the pan.
How often should I calibrate my analog meat thermometer?
You should check the calibration of your dial thermometer every few months. Perform the ice-water test more frequently if you use the tool on a daily basis or if you accidentally drop the device on a hard surface.
Are analog meat thermometers as accurate as digital ones?
Analog thermometers can be very accurate when calibrated correctly, but they generally take longer to register a temperature than digital models. They also require a wider insertion depth to cover the internal bimetallic coil properly.
Conclusion
Using an analog meat thermometer effectively comes down to proper placement, regular calibration, and a bit of patience while the dial settles. By finding the thermal center and respecting the required insertion depth, you protect your meals from becoming dry and overcooked. Practice these simple habits regularly, and you will serve perfectly cooked proteins every single time you fire up the stove or grill.