

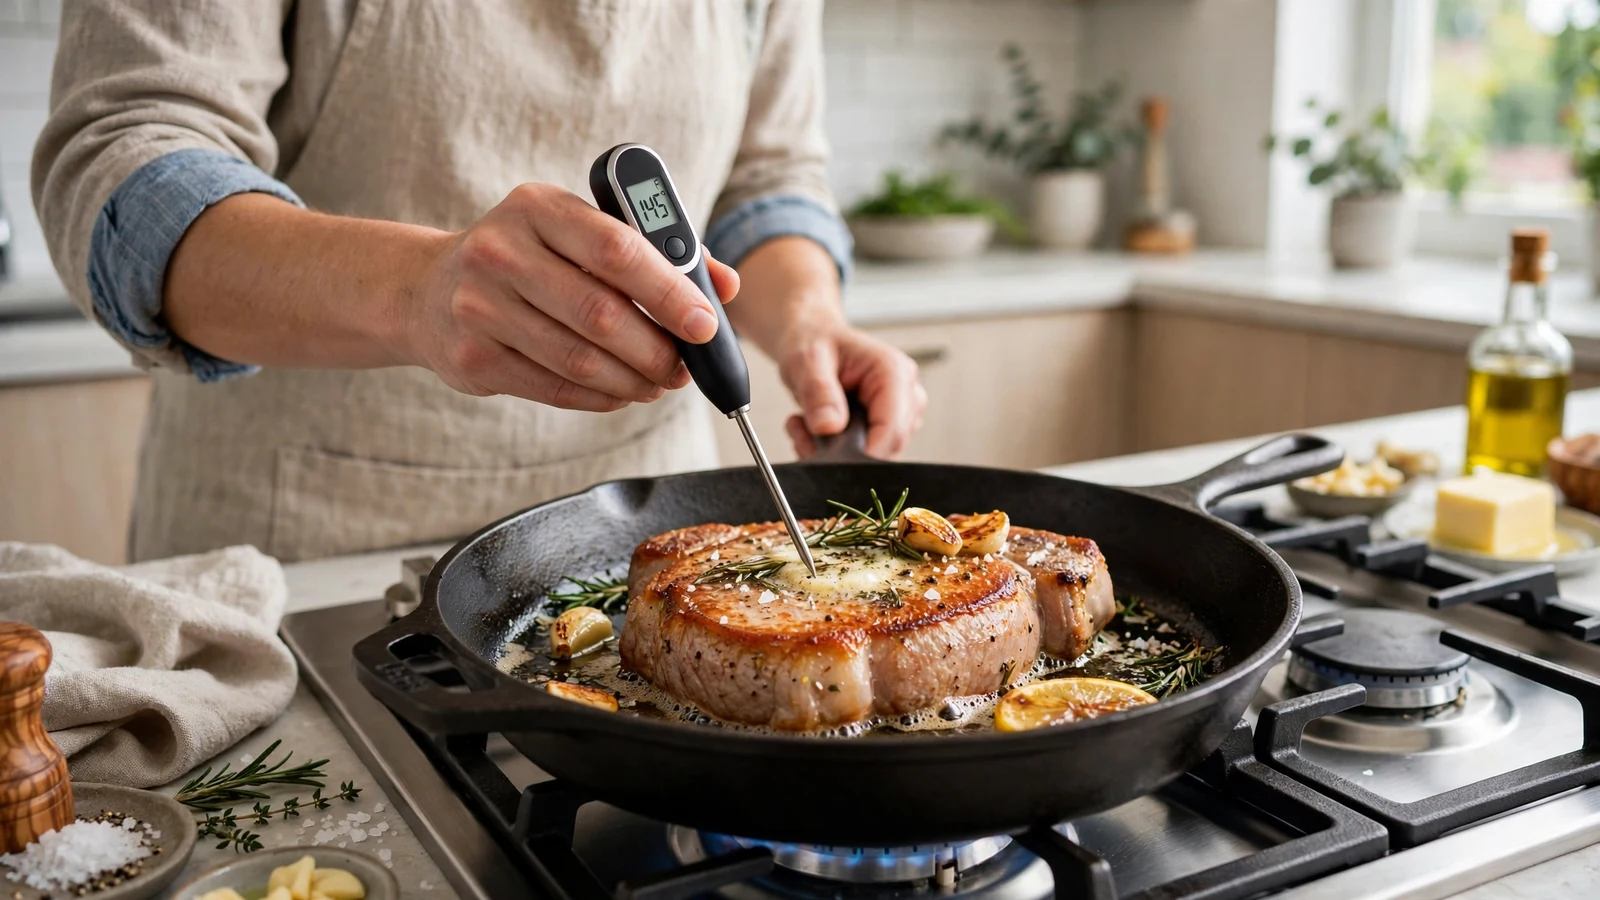
Mastering the art of cooking with a meat thermometer changes everything about how you approach the kitchen, turning guesswork into a science. If you have ever cut into an expensive cut of beef only to find a dry, grey disappointment, you already know why relying on cooking time alone simply does not work.
Every piece of meat behaves a bit differently based on its shape, fat content, and starting temperature. Learning how to properly use a meat thermometer gives you total control, ensuring your poultry stays juicy and your steaks hit that exact shade of medium-rare every single time.
Choosing the Right Meat Thermometer for Your Kitchen
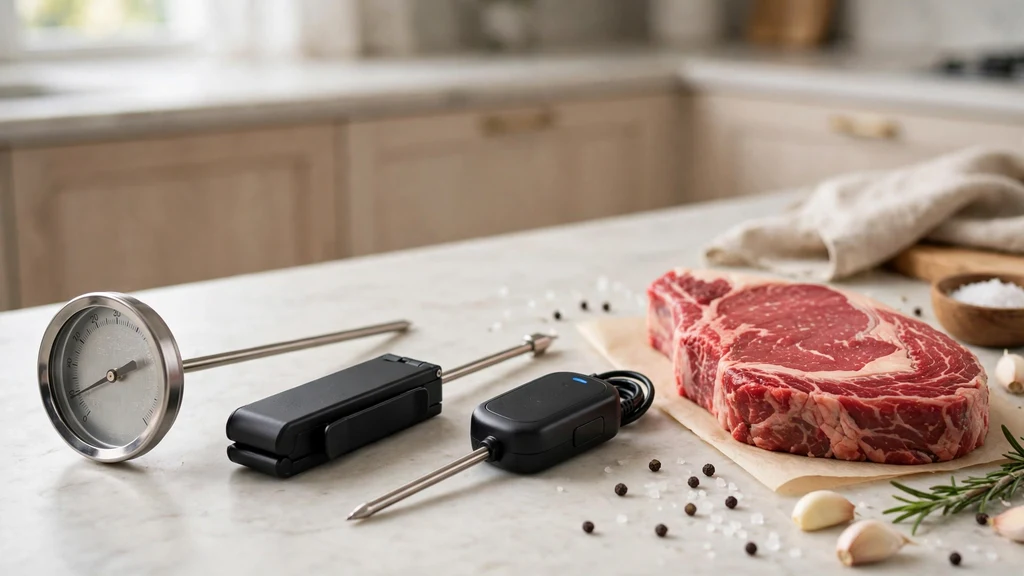
Before you start poking holes in your dinner, you need to understand which tool fits your cooking style. The market offers several distinct types of devices, ranging from instant-read digitals to leave-in probe models that monitor your roast while it sits inside the hot oven.
Instant-read models are fantastic for quick checks on thinner cuts like pork chops or boneless chicken breasts. They give you a fast temperature reading within a few seconds, letting you evaluate the doneness without letting all the heat escape the pan.
On the other hand, leave-in smart thermometers feature a thin metal probe attached by a cord to an external base unit. These let you track long, slow braises or smoked briskets without ever opening the lid.
When you want to get the best results, accuracy matters more than fancy features. Look for a device that you can calibrate easily in ice water. A quality digital display makes it much easier to read the numbers quickly in a dim kitchen.
Locating the Thermal Center of Your Meat
Knowing where to stick the metal rod is just as important as knowing what numbers to look for. You always want to target the thickest part of the cut, avoiding large pockets of fat or direct contact with any internal bone.
Fat and bone conduct heat differently than muscle tissue, which will give you a false, misleading readout. If you are roasting a whole turkey, slide the steel stem straight into the meatiest part of the thigh, making sure it does not touch the bone. For a thick ribeye steak, enter from the side so the tip rests right in the absolute center of the cut.
Getting this positioning right takes a bit of practice, but it quickly becomes second nature. If you push the tip all the way through to the other side, just pull it back slightly until you feel the resistance stop right in the middle.
| Meat Type | Target Temperature | Resting Time |
|---|---|---|
| Beef (Medium-Rare) | 130°F – 135°F | 5 to 10 minutes |
| Poultry (Whole Bird) | 165°F | 15 to 20 minutes |
| Pork Chops | 145°F | 3 minutes |
| Ground Meat Patties | 160°F | None required |
Mastering Oven and Stovetop Techniques
Cooking methods change how you interact with your tools. When searing a thick steak in a cast-iron skillet on the stovetop, you usually pull the pan off the heat just before the target is reached. For roasting large joints of meat, you can place a wired probe into the roast before it goes into the hot oven and set an alarm to alert you the moment dinner is done.
When working with high-heat searing, an instant-read model is safer because dangling wires can easily melt against hot pan edges. If you are looking for more deep-dive culinary tips on safe cooking practices, the USDA Food Safety and Inspection Service offers great guidelines on safe internal targets. Always remember that residual heat continues to cook your food after you remove it from the heat source.
Understanding Carryover Cooking
Meat does not stop getting hotter the second you pull it off the grill. This phenomenon is known as carryover cooking, and ignoring it is the number one reason people overcook their roasts.
As hot outer layers transfer energy inward, the core temperature can easily climb another five to ten degrees while resting. If you pull a beef roast at your exact target, it will likely be overdone by the time you slice it. Learning how to factor in this rise is the secret to making Sunday dinner turn out consistently incredible.
- Pull lean cuts like tenderloin about five degrees early.
- Allow massive roasts to rest longer to let the juices redistribute.
- Never skip the resting phase, or all the moisture will run out on the cutting board.
- Check multiple spots on irregularly shaped roasts to ensure even doneness.
Avoiding Common Measurement Mistakes
Even with great equipment, small errors can ruin your meal. One frequent mistake is letting the tip of the thermometer rest against a hot pan or a griddle surface. This spikes the sensor and makes you think your food is done way too early.
Another issue is failing to clean the metal stem properly between uses, which can transfer flavors or bacteria. Always wipe down the probe with warm, soapy water after every single meal. Keeping your tools in good shape ensures you get an accurate reading every time you cook.
Calibration and Maintenance Practices
Over time, even high-end digital thermometers can drift out of calibration, especially if they take a accidental fall onto a hard kitchen tile floor. Checking your device against an ice bath takes less than two minutes and saves you from ruined meals.
Fill a glass tightly with crushed ice, top it off with cold water, and stir gently. Submerge just the tip of your probe into the slush without letting it touch the sides or bottom of the glass. The display should settle right around thirty-two degrees Fahrenheit; if it is off by more than two degrees, adjust it or replace the battery.
Adapting to Different Cuts and Sizes
Not all cuts of meat respond to heat in the same way, which means your strategy needs to shift depending on what is on the menu. A delicate piece of fish requires a very steady hand and a fine-tipped probe to avoid tearing the flaky flesh apart.
Large cuts of brisket or pork shoulder behave entirely differently due to their high collagen content. For these tough cuts, you are not just looking for a specific temperature like one set number, but rather a texture where the probe slides in like warm butter. Combining visual and tactile checks with your digital readings gives you a foolproof system for every type of protein.
Building Daily Kitchen Habits
Integrating temperature checks into your routine transforms your cooking from a guessing game into a reliable craft. Soon, you will not even have to think about where to place the probe or when to pull the pan off the burner.
Keep your thermometer in an easily accessible drawer right next to your prep station so you never feel tempted to skip using it. When you make this small tool a regular part of your routine, dry chicken and tough beef become memories of the past.
Frequently Asked Questions
Do you leave a meat thermometer in the meat while cooking?
It depends entirely on the specific tool you are using. Standard instant-read digital models should never stay inside a hot oven or pan because the plastic housing will melt. However, specialized leave-in probe thermometers are specifically designed to remain inside the meat throughout the entire cooking process.
How far do you stick a meat thermometer into the meat?
You should insert the tip right into the deepest, thickest part of the cut. Aim for the exact center, ensuring the metal probe does not touch any large bones, heavy pockets of fat, or poke all the way through to the other side of the food.
Can you use a meat thermometer for cooking all types of meat?
Yes, you can and should use a thermometer for beef, pork, poultry, lamb, and even fish. Every type of protein benefits from precise temperature tracking, which prevents foodborne illness while keeping your meals tender, moist, and flavorful.
What temperature should chicken be cooked to?
Whole chickens, chicken breasts, and ground poultry must reach a safe internal temperature of 165 degrees Fahrenheit. Measuring at the thickest part of the breast or inner thigh ensures the meat is completely safe to eat without drying out.
Conclusion
Taking control of your kitchen results comes down to embracing simple, reliable habits that eliminate guesswork. By using your thermometer on every cut of meat, you protect your meals from overcooking and ensure safe, delicious results.
Grab your gear, check your calibration, and enjoy the confidence that comes with cooking every single meal to absolute perfection. Feel free to drop a comment below with your favorite recipes or any questions about getting started.