

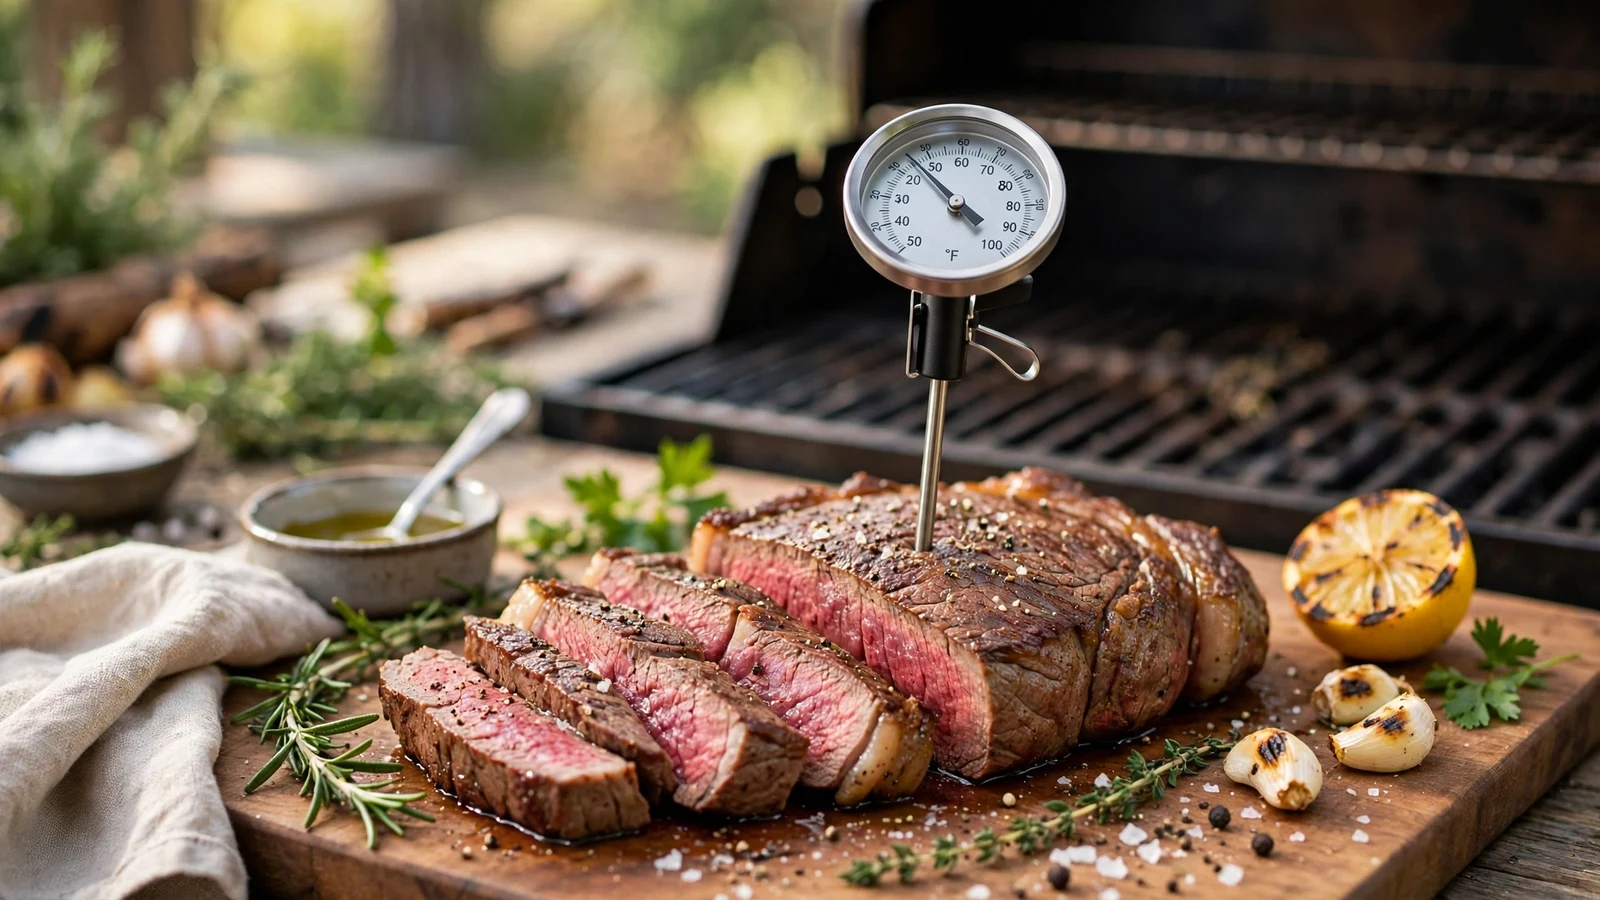
If you have ever picked up a kitchen gadget off the counter and wondered what a meat thermometer should read at room temperature, you are definitely not alone. Most digital and dial probes sit quietly in a drawer until it is time to roast a turkey or check a steak, meaning they often reflect your kitchen’s current climate before they ever touch hot food. Knowing what numbers to expect when your device rests idly on the counter helps you spot calibration issues before they ruin dinner.
Checking your equipment before cooking prevents undercooked meals and food safety mishaps. Let us look at how these tools measure ambient environments and what those resting numbers actually mean.
Understanding Ambient Temperature Baselines
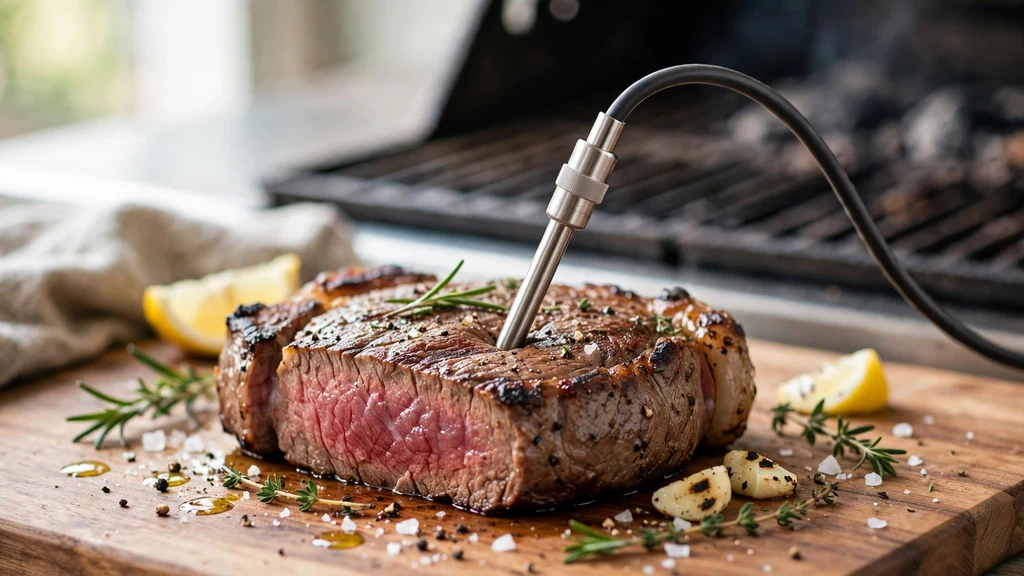
When your probe sits on the kitchen counter, it simply measures the surrounding air. Normal room temperature usually hovers between 68 and 72 degrees Fahrenheit, or roughly 20 to 22 degrees Celsius, depending on your thermostat and the season.
Your kitchen thermometer should display this exact number if it is working properly and has fully adjusted to its environment. If you pick it up and it reads 40 degrees or 150 degrees while sitting in a neutral room, you are looking at a faulty sensor or a dead battery.
Many home cooks mistakenly believe these tools only function when jammed into a hot roast. In reality, modern sensors constantly monitor whatever medium touches them.
This sensitivity makes them great for checking ambient temp inside an oven or smoker, provided the model is rated for high heat. However, relying on them for room readings requires patience because the metal probe needs a few moments to adjust to the thermal mass of the air around it.
The Ice Water Test for Accuracy
Checking your gauge against a known standard is much more reliable than guessing based on your living room thermostat. The easiest way to verify accuracy is the classic ice bath method.
Fill a glass completely with crushed ice and top it off with cold water, stirring the mixture gently for about thirty seconds. Insert the tip of your probe into the middle of the slush without letting it touch the sides or bottom of the glass.
A properly calibrated digital thermometer should read exactly 32 degrees Fahrenheit or 0 degrees Celsius within a few seconds. If your device drifts a few degrees off, many digital models feature a calibration button or reset function.
Analog dial models usually have a tiny nut under the dial face that you can twist with pliers while the tip sits in the ice bath. Keeping your equipment precise ensures that every piece of meat you cook hits the right internal temperature without guesswork.
How Digital Versus Dial Models Behave
The type of gear you own changes how it reacts to environmental shifts. Digital instant read models rely on a tiny thermocouple or thermistor nestled right at the tip.
These sensors react quickly to changes, meaning a digital unit transitions from a cold refrigerator to a warm kitchen in seconds. They offer precise digital readouts that make spotting minor calibration drifts very easy.
Dial thermometers use a bimetallic strip inside the metal stem that coils and uncoils as it absorbs heat. These older mechanical styles are notorious for sluggish responses.
A dial unit left on a cool counter might take several minutes to creep up to the actual room temperature. If you read a dial too quickly, you will get a false low reading that does not reflect reality.
Comparing Thermometer Types
| Thermometer Type | Response Time | Room Temp Behavior | Calibration Method |
|---|---|---|---|
| Digital Instant-Read | 2 to 4 seconds | Matches air quickly | Digital reset or button |
| Dial Mechanical | 15 to 30 seconds | Slow to adjust | Nut on underside of dial |
| Wireless Remote | Continuous | Monitors base and probe | App or receiver settings |
Common Reasons for Incorrect Readings
Sometimes your equipment fails to display the correct room baseline for reasons that have nothing to do with internal damage. Low batteries are the number one culprit behind erratic digital behavior. When power drops, microchips inside the unit struggle to process the electrical resistance coming from the sensor, leading to frozen numbers or wild fluctuations.
Another frequent issue involves thermal shock or moisture trapped inside the casing. Running a hot probe straight under ice-cold tap water can warp the metal or force steam past internal seals, fogging up dials and shorting out circuit boards.
Always let your cooking gear cool down naturally before washing it. Protecting your tools from harsh treatment extends their lifespan and keeps your cooking safe.
Using Your Tool for More Than Just Meat
While designed primarily for roasts and poultry, a good kitchen thermometer is a versatile instrument. You can use it to check the temperature of yeast-proofing water, melted chocolate, candy syrups, and deep-frying oil. Knowing your baseline room reading helps you use these tools for baking and candy making, where a difference of just two degrees can ruin a batch of caramel.
For a deeper dive into food safety guidelines and proper cooking standards, you can check out the United States Department of Agriculture food safety portal. Using your gear across different culinary tasks builds familiarity with how quickly the sensor reacts to various substances, from cold liquids to hot muscle tissue.
Positioning the Probe for the Best Results
Getting an accurate reading is not just about the device itself, but where you place it inside the food. When cooking a large turkey or a thick steak, you want the tip to rest right in the center meat of the thickest part. Avoid letting the metal touch bone, gristle, or fat pockets, as these materials conduct heat differently and will give you a false sense of doneness.
If your sensor goes all the way through a thin cut of meat and pokes out the other side, pull it back slightly. The goal is to isolate the very tip of the probe in the densest part of the muscle. This placement guarantees that when your gauge says the food is done, the core is genuinely safe to eat.
Troubleshooting Sluggish or Stuck Displays
If your digital screen refuses to budge from a strange number, do not panic just yet. Resetting the unit often clears minor software glitches in modern kitchen gadgets. Look for a tiny pinhole reset button on the back of the housing, or simply remove the battery for a minute to drain any residual charge.
Debris caked around the sensor tip can also insulate the metal and prevent it from sensing the surrounding air or food accurately. Wash the stem thoroughly with warm, soapy water after every use, and avoid submerging the entire plastic body unless the manufacturer explicitly states it is waterproof.
Frequently Asked Questions
Will a meat thermometer tell room temperature?
Yes, any functioning probe left exposed to the air will eventually match the ambient temperature of your kitchen. However, instant-read models are designed to wake up and register changes quickly, so they may take a minute to settle on the exact room reading.
How can I tell if my meat thermometer is accurate?
The most reliable method is the ice water test. Submerge the tip in a glass filled with crushed ice and water. A properly calibrated device should read 32 degrees Fahrenheit or 0 degrees Celsius.
Is all meat safe at 165 degrees?
While 165 degrees Fahrenheit is the recommended safe standard for poultry, other meats have different targets. Steaks and pork chops can be safely enjoyed at lower temperatures like 145 degrees with a short rest period.
How quickly should a meat thermometer read?
High-quality digital instant-read models should display the final temperature within two to four seconds. Dial thermometers take much longer, often requiring fifteen to thirty seconds to stabilize fully.
Conclusion
Checking what your kitchen gear reads on the counter is a simple habit that prevents cooking disasters. Knowing your equipment works properly gives you total confidence when you cook complex meals for family and friends. Take a moment to test your devices regularly so you always get reliable results.