

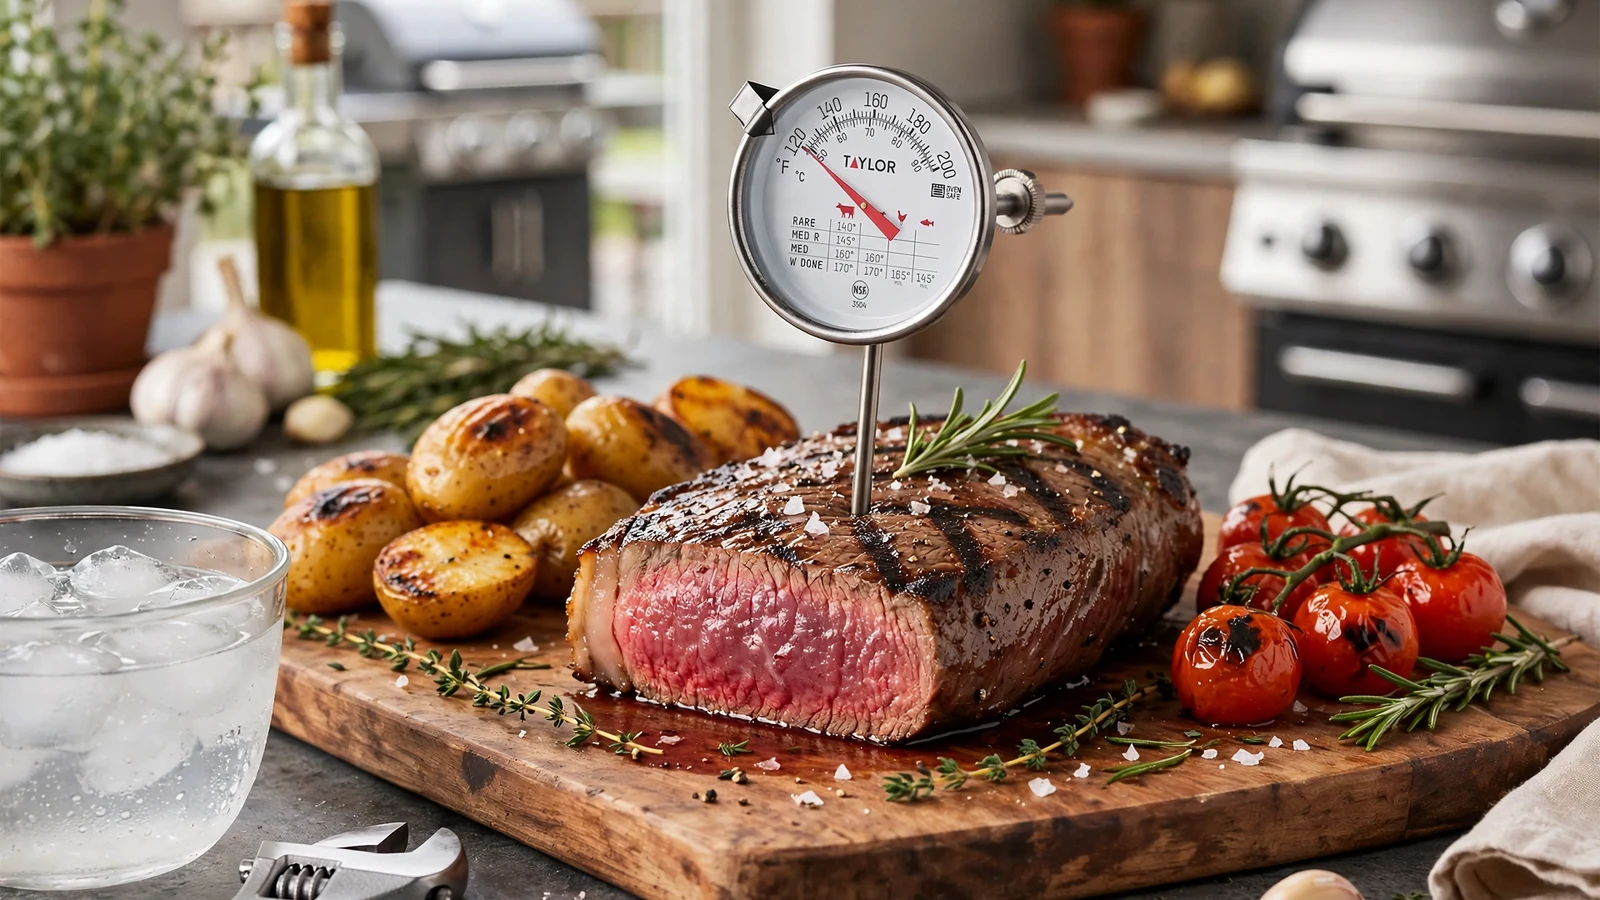
If your roasts are coming out dry or your chicken feels suspicious in the middle, you might need to figure out how to calibrate a taylor meat thermometer before you ruin another dinner. A small error in your cooking tools can ruin hours of kitchen work, making accuracy absolutely essential for food safety. Knowing how to adjust your equipment properly ensures your food reaches safe internal temperatures every single time.
Why Calibration Matters for Kitchen Safety
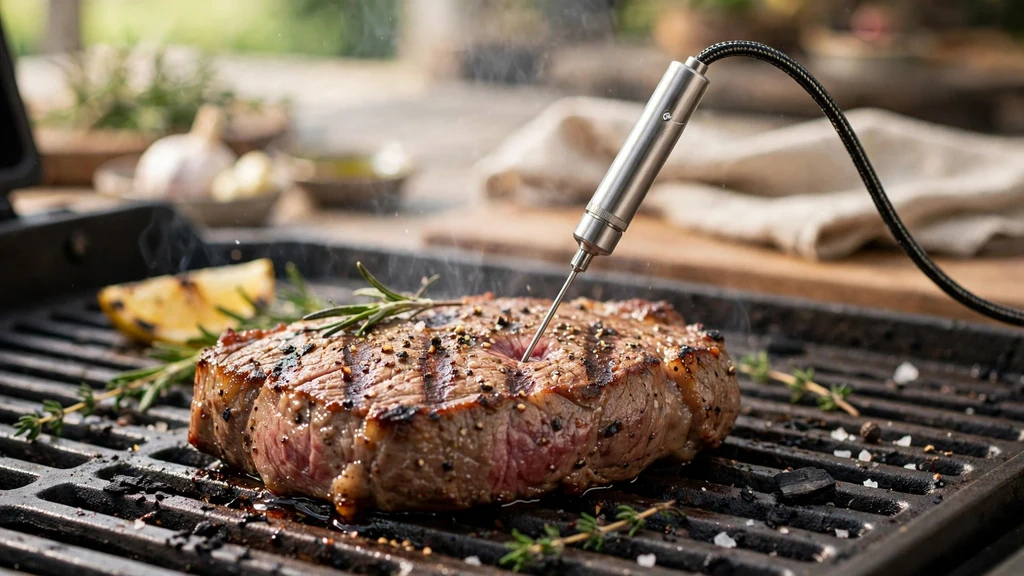
Cooking meat to the right temperature isn’t just about taste; it is about keeping everyone at your table safe from foodborne illness. Even the best kitchen tools drift out of accuracy over time due to accidental drops, bumps in the utensil drawer, or exposure to extreme temperature shifts. When you learn how to calibrate a taylor meat thermometer, you eliminate the guesswork from your cooking routine.
A miscalibrated probe might tell you a steak is fully cooked when it is actually sitting in the danger zone, leading to undercooked meals. On the flip side, constantly overcooking expensive cuts because your device reads low is just frustrating and wastes good food.
Manufacturers build these tools to be tough, but nothing lasts forever without a little maintenance. Checking the accuracy every few months takes just a few minutes and saves you from culinary disasters.
You don’t need a fancy laboratory setup to get reliable readings. Ordinary kitchen ingredients like ice and boiling water provide all the benchmarks necessary to bring your equipment back into line.
Understanding Your Specific Taylor Model
Taylor makes a wide variety of kitchen probes, ranging from traditional analog dial units to modern digital readouts and folding probes. Before you start messing with adjustments, take a close look at your specific device to see how it is built.
Analog dials usually feature a small hex nut right beneath the dial head, which allows you to physically turn the pointer. Digital models often feature a dedicated calibration button or require you to hold down specific combinations while the probe is submerged in a reference environment.
If you have lost the paper instructions that came in the box, don’t panic. Most modern Taylor digital probes have simple user interfaces that make resetting the baseline quite straightforward.
Check the battery compartment if your screen looks dim or unresponsive, as a weak power source often causes erratic temperature jumps. Getting familiar with your model’s quirks makes the actual adjustment process go much smoother.
The Ice Bath Method for Freezing Accuracy
The ice bath method remains the gold standard for checking low-range accuracy because pure water freezes at a predictable temperature of 32 degrees Fahrenheit. To set this up properly, fill a clean glass or insulated container all the way to the top with crushed ice.
Add cold water until it reaches just below the top of the ice pack, stirring the mixture gently to ensure the liquid chills evenly. Let the mixture sit for a minute so the temperature stabilizes throughout the container.
Insert your probe into the middle of the ice bath, making sure the tip does not touch the sides or the bottom of the glass. Wait about thirty seconds until the numbers on your display stop moving or the dial settles completely.
If the device reads anything other than 32 degrees Fahrenheit, you know exactly how far off your equipment is. This simple test forms the foundation of proper kitchen maintenance.
| Method | Target Temperature | Best For |
|---|---|---|
| Ice Bath | 32°F (0°C) | Checking low-end accuracy and cold storage safety |
| Boiling Water | 212°F (100°C) | Verifying high-heat precision for roasting and frying |
The Boiling Water Test for High-Heat Precision
While the ice bath covers the lower end of the scale, testing boiling water ensures your tool remains accurate when you are roasting massive cuts of meat or frying chicken. Bring a deep pot of distilled water to a rolling boil over high heat.
Distilled water works best because ordinary tap water contains minerals that can slightly alter the boiling point, though tap water works fine in a pinch if you are in a rush. Carefully lower your probe into the center of the boiling water without letting it rest against the hot metal pot.
At sea level, water boils at 212 degrees Fahrenheit, but remember that atmospheric pressure changes this number based on your altitude. If you live at a higher elevation, water boils at a lower temperature, so you will need to calculate your local boiling point before deciding if your tool needs fixing. Once the reading stabilizes, note any discrepancy between the displayed temperature and your expected boiling point.
Adjusting Analog Dials With a Wrench
If you use a classic dial-face model, fixing an inaccurate reading is a strictly mechanical task. Look closely at the metal stem just below the circular dial head to find the small calibration nut.
Grab a small kitchen wrench, pliers, or even a built-in slot on your sheath designed for this exact purpose. Hold the dial steady while gently turning the nut until the pointer lines up with the correct benchmark temperature.
Be very careful not to bend the thin metal stem while making adjustments, as structural damage ruins the internal bimetallic coil. Once you finish turning the nut, dunk the probe back into your ice bath to verify that the needle points straight to 32 degrees Fahrenheit.
If it missed the mark, repeat the adjustment until it reads correctly on the first try. This mechanical fix is remarkably durable once locked into place.
Resetting Digital Taylor Thermometers
Digital models handle adjustments differently because they rely on electronic sensors rather than physical springs. For many digital Taylor units, you simply submerge the probe into your ice water bath, let the reading stabilize, and press a dedicated reset button if one is available. Some advanced models require you to press and hold the up and down arrows simultaneously while the sensor is submerged to force a factory recalibration.
If your specific digital model lacks a manual reset button and shows a permanent offset that you cannot fix, check out guidelines from the United States Department of Agriculture regarding food safety standards to determine if a replacement is safer. Continued use of a permanently broken sensor puts your cooking at risk. When electronics fail completely, swapping out the internal battery or buying a replacement unit is usually the smartest path forward.
Troubleshooting Common Calibration Errors
Sometimes your equipment seems impossible to calibrate, usually pointing to a deeper mechanical or electrical issue. If your digital screen flashes error codes or jumps wildly between random numbers, a dying battery is usually the culprit.
Pop open the back compartment and swap in a fresh cell before trying the ice bath test again. Moisture trapped inside the digital display housing can also cause erratic behavior after going through the dishwasher.
For analog units, a sluggish needle that refuses to move smoothly usually means the internal coil is warped or gummed up with grease. While you can clean the stem with warm soapy water, never submerge the entire analog dial head in liquid. Keeping your tools clean and dry prevents most common accuracy drifts before they start.
- Check battery power before attempting any digital adjustments.
- Always use distilled water for boiling tests if you want maximum precision.
- Never let the probe tip touch the bottom of your ice container.
- Store your equipment in a protective sheath to prevent accidental drops.
- Perform routine checks every three months for optimal cooking results.
Frequently Asked Questions
How often should I check my meat thermometer?
You should check your kitchen probes every three to six months, or immediately after dropping them on a hard kitchen floor. Regular checks ensure your cooking temperatures remain safe and accurate for every meal you prepare.
Why does my thermometer read wrong in boiling water?
Your thermometer might read incorrectly because atmospheric pressure changes with altitude. Water boils at lower temperatures as you climb higher above sea level, which throws off standard readings unless you adjust for your local elevation.
Can I put my Taylor thermometer in the dishwasher?
Most Taylor probes are not dishwasher safe because high heat and water immersion destroy internal electronics and fog analog dials. Always wash the metal stem by hand with warm soapy water and wipe the housing clean.
What should I do if my digital thermometer cannot be reset?
If a digital model shows persistent errors that cannot be fixed through reset procedures or a battery change, it is time for a replacement. Relying on a broken sensor compromises food safety during critical cooking tasks.
Conclusion
Mastering the maintenance of your kitchen tools takes very little time, yet it completely transforms your cooking confidence. By setting up simple reference baths and making the necessary adjustments, you ensure that every roast, bird, and steak turns out safely and tastes incredible. Take a few minutes today to test your gear so you can cook with absolute peace of mind.