

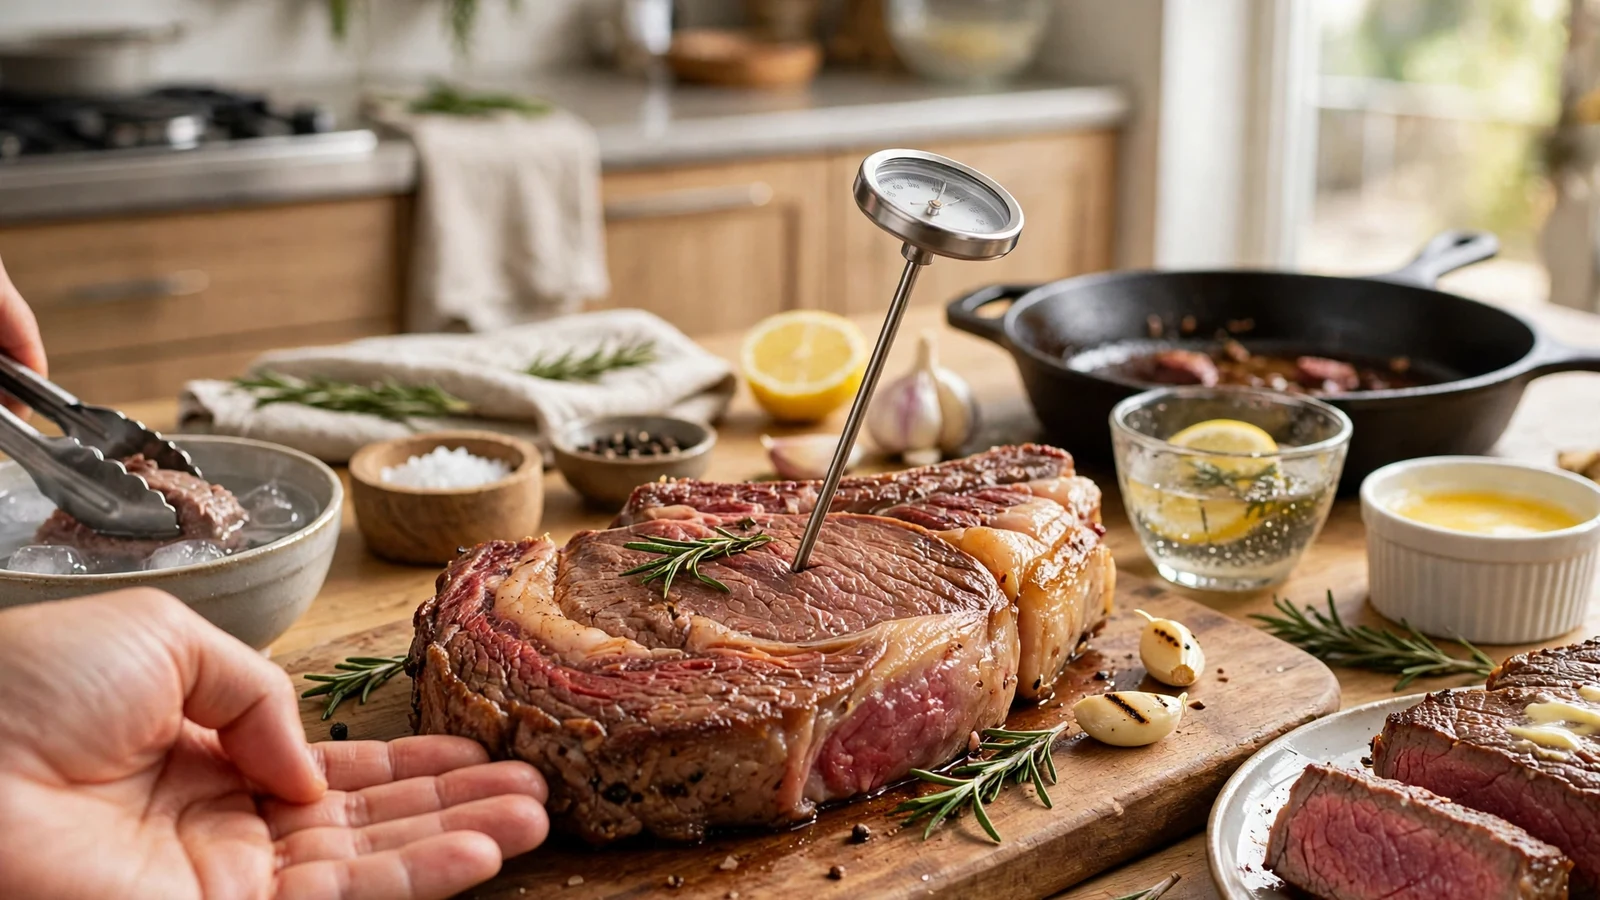
Realizing your digital probe is broken right when you are ready to grill can ruin your dinner plans, but knowing how to check meat temperature without thermometer equipment saves the meal. Every home cook eventually faces this exact kitchen emergency, forcing a pivot from precise technology to sensory intuition and physical cues.
Mastering these reliable old-school methods lets you pull tender steaks and juicy chicken breasts off the heat at the exact right moment without guessing.
Understanding the Hand Test for Steak Doneness
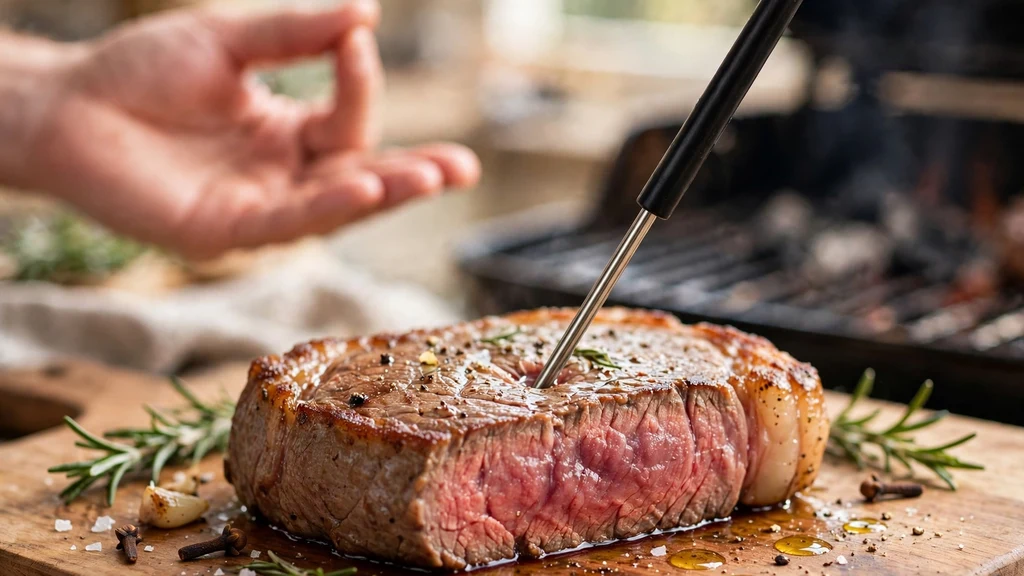
The famous hand test relies on the simple physics of how human muscle tension changes as you bring different fingers together. When you relax your hand completely, the fleshy part at the base of your thumb feels soft, squishy, and loose. This exact texture mimics how a cut of meat feels in its entirely raw state before any heat hits the fibers.
To gauge a rare steak, lightly touch your thumb to your index finger without applying any heavy pressure. Feel the base of your thumb again, and you will notice a slight increase in resistance.
That soft springiness matches the texture of a rare piece of beef. As you move through the rest of your fingers, the muscle tightens up progressively, offering a physical scale for every level of doneness from medium-rare to well-done.
- Index finger: Matches the soft, loose feel of raw meat.
- Middle finger: Mimics a rare steak with slight spring.
- Ring finger: Corresponds to a medium finish with moderate firmness.
- Pinky finger: Feels tight and solid, mirroring a well-done cut.
While this technique takes some practice to master, it becomes second nature the more you grill. Professional chefs use this sensory feedback loop constantly in busy restaurant kitchens where digital tools can slow down the plating process. You can also review proper food safety guidelines provided by the USDA Food Safety and Inspection Service to ensure your improvised methods still keep your meals safe to eat.
Using the Poke Test to Gauge Firmness
Applying gentle pressure with your index finger or the back of a spoon gives you immediate feedback about internal moisture and protein tightening. As proteins cook, they contract and squeeze out water, which makes the protein structure much stiffer. An undercooked steak or pork chop yields deeply under your finger, leaving a noticeable indentation that slowly fills back in.
A properly cooked cut of meat offers gentle resistance and springs back quickly to its original shape. If the surface feels completely rigid and refuses to indent at all, the interior is likely overcooked and dry.
This tactile approach works wonderfully for uniform cuts like boneless chicken breasts, pork chops, and thick beef steaks. Just remember that bone conducts heat faster than muscle, so always test the thickest part of the meat away from any bones for an accurate reading.
Evaluating Internal Steam and Juices
Watching how juices escape from the surface of a cooking steak provides an incredible amount of information about its internal temperature. When meat hits a hot pan, the juices initially stay locked inside the muscle fibers. As the internal temperature climbs toward medium, those juices start expanding and pushing through the top surface of the cut.
If you see clear juices pooling on top of your steak, it is generally approaching medium-rare to medium territory. When the juices turn entirely clear and start diminishing, the meat is likely fully cooked and losing its remaining moisture.
Blood-red juices pooling on the surface almost always indicate that the interior is still rare or blue. This visual clue pairs nicely with the physical touch test to give you a double-check on your cooking progress.
Reading Visual Cues and Color Changes
Color transformation remains one of the most visible indicators of thermal progression, especially for poultry and ground meats. Raw beef starts as a deep red and gradually shifts to pink, light brown, and finally grayish-brown as proteins denature. Slicing into a thick cut is often discouraged because it lets precious juices escape, but a tiny nick in the very center reveals the true internal shade.
For poultry, the visual standard is much more straightforward because you want zero pink remaining in the thickest part of the breast or thigh. Fish flakes apart easily with a fork when it hits the correct temperature, turning opaque instead of translucent.
Ground beef patties should show no pink whatsoever in the middle, and the exterior should boast a rich, caramelized crust from the Maillard reaction. Relying on color works best when combined with timing and tactile feedback to avoid cutting your protein open too early.
Using a Skewer or Metal Cake Tester
A thin metal skewer or a dedicated metal cake tester serves as an incredible analog probe when electronic gadgets fail. Insert the clean metal skewer directly into the absolute center of your roast, steak, or chicken breast for roughly five seconds. Pull the skewer out and immediately press the hot metal against the inside of your wrist or the sensitive skin right above your upper lip.
Your wrist skin is remarkably sensitive to temperature and will tell you right away how hot the interior of the meat actually is. If the metal feels cold or barely lukewarm, the cooking process still has a long way to go.
If the metal feels hot, the meat is likely hovering around medium or well-done territory. This clever trick bypasses the need for digital readouts while still getting right to the core of the food.
| Doneness Level | Hand Test Match | Juice Characteristics | Metal Skewer Feel |
|---|---|---|---|
| Rare | Index finger | Red, pooling slightly | Cool to lukewarm |
| Medium | Ring finger | Pink, moderate flow | Warm |
| Well-Done | Pinky finger | Clear to minimal | Hot |
Accounting for Carryover Cooking and Resting
Removing meat from the heat source a minute or two early prevents overcooking because internal temperatures continue to rise while the food rests. This phenomenon, known as carryover cooking, happens because heat travels from the scorching outer edges toward the cooler center. A thick steak can easily jump five to ten degrees Fahrenheit after you pull it off the grill grate.
Letting your meat rest on a warm cutting board or plate also allows the muscle fibers to relax and reabsorb their flavorful juices. If you slice into a hot steak immediately, all those delicious juices will run out onto the board instead of staying inside the meat. Factor this resting period into your timing strategy so your proteins finish cooking to perfection off the burner.
Adjusting for Different Meat Cuts and Thicknesses
Different proteins react to heat at vastly different rates based on their fat content, bone structure, and overall thickness. A lean pork tenderloin dries out much faster than a well-marbled ribeye steak, meaning your margin for error is significantly smaller. Thin cuts of meat cook almost entirely through before you even have time to test them with your hands or skewers.
Thick cuts require lower heat and longer cooking times to ensure the center reaches the proper temperature without burning the outside. Pay close attention to the shape of the protein you are preparing and adjust your sensory checks accordingly. Marbled fats render slowly over time, creating natural insulation that keeps the meat juicy even if you miss the exact peak by a minute or two.
Common Mistakes to Avoid
Relying solely on external appearance is the biggest trap home cooks fall into when they lack digital temperature tools. An outside char can look completely finished while the inside remains practically raw due to high heat scorching the surface too quickly. Always balance your visual observations with tactile firmness and juice evaluations.
Another frequent mistake involves constantly flipping and prodding the meat, which releases valuable moisture and cools down the cooking surface. Trust your instincts, use your senses efficiently, and limit your checks to the final third of the estimated cooking window. Patience yields much better results than frantic, repetitive poking.
Frequently Asked Questions
How accurate is the hand test for checking meat doneness?
The hand test offers a surprisingly reliable baseline for experienced cooks, though it lacks the absolute precision of a digital probe. Because hand anatomy varies slightly from person to person, you will need to calibrate this sensory trick with a few practice runs to match your personal preference for doneness.
Can I use a regular household glass thermometer instead?
Never use standard glass mercury or bathroom thermometers for cooking meat because they are not rated for high food temperatures and can shatter easily. If the glass breaks inside your food, it creates an immediate safety hazard that ruins the entire meal instantly.
What is the safest way to tell if chicken is cooked without a tool?
Chicken must reach a safe internal state to prevent foodborne illness, making visual checks and juice evaluations essential. Pierce the thickest part of the breast or thigh and verify that the juices run completely clear rather than pink or cloudy.
Why does meat continue cooking after I take it off the heat?
Carryover cooking happens because thermal energy stored in the hot outer layers continues transferring inward toward the cooler center. Pulling your protein off the heat slightly early accounts for this temperature rise during the resting phase.
Conclusion
Cooking without modern gadgets teaches you to tune into the subtle physical cues of your ingredients, making you a more confident and intuitive chef. Trusting your senses of touch, sight, and timing turns everyday kitchen prep into an engaging sensory experience. Practice these reliable kitchen hacks during your next meal preparation and enjoy consistently juicy, perfectly cooked proteins every single time.