


Getting your meals just right often depends on a reliable kitchen gadget, but keeping that little metal spike safe from foodborne illness takes a bit of daily care. Knowing how to clean a meat thermometer properly keeps your dinners tasting great and prevents unwanted germs from spreading around your kitchen.
Whether you are cooking a massive holiday roast or checking a weeknight chicken breast, your tool needs a quick scrub after every session. Let us look at the best ways to keep your equipment in top shape.
Why Hygiene Matters for Your Kitchen Probes
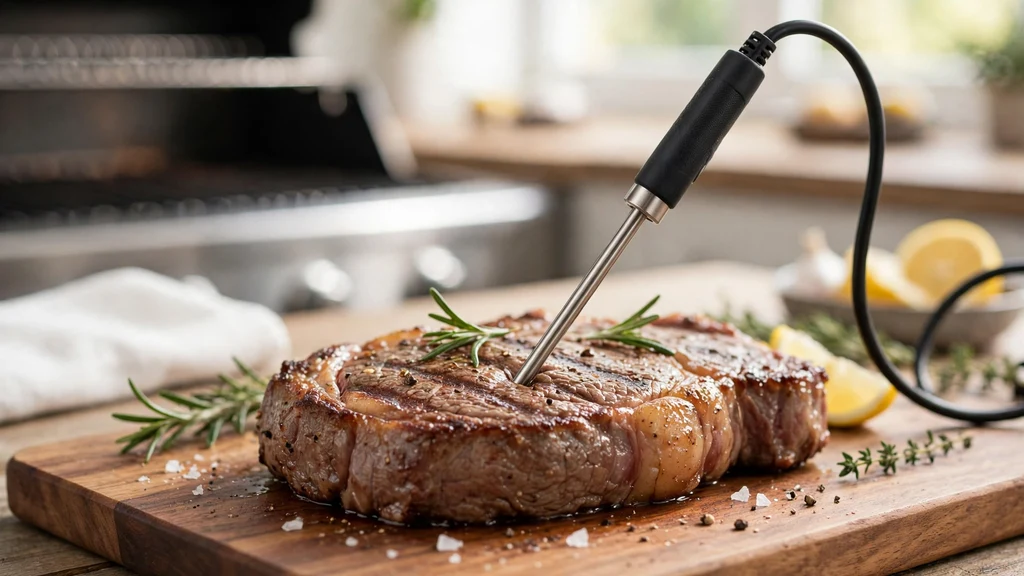
Food safety starts long before the pan gets hot, and failing to wash your equipment can ruin even the best recipe. When you push a metal spike into raw poultry or beef, microscopic pathogens latch onto the surface.
If you don’t remove these hitchhikers right away, they multiply fast and jump into your next dish. That quick step of learning how to clean a meat thermometer protects everyone at your table from getting sick.
Beyond health concerns, residue buildup throws off your readings. Baked-on proteins and burnt grease act as an insulator, meaning your display might show a lower degree than what is actually happening inside the roast.
A clean probe slides smoothly and reacts instantly to heat changes. Taking care of this gear also extends its lifespan, preventing corrosion from salt and acidic marinades.
Immediate Post-Use Care and Wiping Techniques
The best time to tackle grime is right after you finish cooking, while the metal is still warm. Grab a damp paper towel or a soft cloth with a tiny bit of dish soap and gently wipe from the dial down to the tip. Never run a hot metal spike directly under freezing cold tap water, because sudden thermal shock can crack the internal sensors and ruin your display.
If you cooked something particularly greasy, like pork belly or lamb chops, warm soapy water cuts through that film instantly. Make sure you don’t submerge the entire plastic housing unless the manufacturer specifically states it is waterproof.
Most digital units have vulnerable battery compartments that hate moisture. For a deeper look at food safety standards, check out the guidelines provided by the USDA Food Safety and Inspection Service for handling kitchen equipment.
Using Soap and Water for Standard Maintenance
A thorough wash requires more than just a quick wipe when sticky residues refuse to budge. Fill a shallow container with warm water and a few drops of mild dish soap. Dip a soft sponge into the suds and scrub the entire stem, paying close attention to any crevices where the metal meets the plastic handle.
Here is a quick breakdown of what you need for a basic wash routine:
- Warm tap water (not boiling, not freezing)
- Gentle dish soap with no harsh abrasives
- A clean microfiber cloth or dish sponge
- Isopropyl alcohol pads for occasional touch-ups
Once you finish scrubbing, rinse the soap away completely under a gentle stream. Leaving soap residue behind leaves a funky taste on your next steak, which nobody wants. Dry the entire unit immediately with a lint-free towel before putting it back in its storage sleeve.
Sanitizing Versus Washing Your Equipment
Washing removes visible food particles and grease, but sanitizing kills the microscopic germs that your sponge leaves behind. This step becomes especially critical after dealing with raw poultry.
You can use specialized food-safe sanitizing wipes or a simple solution of household bleach mixed with water. Just make sure the chemical concentration remains low so it doesn’t leave a toxic film on the metal.
Isopropyl alcohol is another fantastic option for a quick sanitize. Swipe the entire metal probe with an alcohol pad, let it sit for about thirty seconds, and then rinse it off if required by the product instructions. Alcohol evaporates quickly, leaving the surface sterile and ready for your next kitchen project without any strange flavors transferring to your food.
| Cleaning Method | Best Used For | Waterproof Risk |
|---|---|---|
| Warm Soapy Wipe | Daily use and light grease | Low if you avoid the digital display |
| Alcohol Pad | Quick sanitizing between tests | None |
| Dishwasher Cycle | Never recommended | Extremely High |
Why the Dishwasher Is a Bad Idea
It might be tempting to toss your gadgets into the automatic dishwasher alongside your plates, but resist that urge. Dishwashers subject items to intense heat cycles and high-pressure water jets that easily bypass internal seals. Once water gets inside the digital housing, it destroys the circuit board and fogs up the LCD screen permanently.
Furthermore, harsh detergent powders act like sandpaper on delicate plastic components and can strip away calibration markings. Hand washing takes less than a minute and ensures your favorite kitchen tool survives for years. Protecting your investment means keeping it far away from high-powered dishwashing machinery.
Dealing with Stubborn Baked-On Residue
Sometimes you forget to wash your gear right away, and you wake up to a crusty, brown mess stuck to the metal. Do not scrape the probe with a knife or metal scouring pad, because scratches create tiny hiding spots for bacteria. Instead, soak the tip in warm soapy water for ten to fifteen minutes to soften the hardened proteins.
Once the grime loosens up, a soft nylon brush easily sweeps it away without scratching the finish. If sticky marinades or sugary glazes refuse to budge, a paste made from baking soda and a few drops of water acts as a gentle, non-abrasive scrubber. Rinse thoroughly and dry the metal completely to prevent rust spots from forming.
Proper Drying and Storage Habits
Moisture is the silent enemy of electronic kitchen tools, making proper drying an absolute must before putting anything away. Leaving damp metal inside a dark storage drawer or a tight plastic sleeve invites mold and rust. Always air-dry your equipment on a clean dish rack for a few minutes even after towel drying.
If your model uses a protective sheath or a mounting clip, ensure that accessory is also completely clean and dry. Storing your gear in a dedicated, dust-free drawer keeps it ready for action. Keeping everything organized prevents accidental bending of the sensitive metal probe while rummaging through cluttered utensil drawers.
Checking Calibration After Deep Cleans
Giving your device a deep clean is a great time to verify that it still gives accurate readings. Fill a tall glass with crushed ice and top it off with cold water, stirring for a few seconds to chill the liquid evenly. Insert your clean probe into the center of the ice bath without touching the sides or bottom of the glass.
Your display should settle right around thirty-two degrees Fahrenheit or zero degrees Celsius. If it reads a few degrees off, check your user manual to see if the unit has a reset button or manual calibration nut. Catching calibration drift early saves your expensive briskets and roasts from accidental overcooking.
Common Questions About Thermometer Care
Can I put my meat thermometer in the dishwasher?
No, you should never put a meat thermometer in the dishwasher. The intense heat, harsh detergents, and high-pressure water easily ruin internal electronic components, fog up digital screens, and destroy the water-resistant seals.
How often should I clean my meat thermometer?
You must clean and sanitize your meat thermometer immediately before and after every single use. This prevents cross-contamination between raw meats and cooked foods, keeping your kitchen safe from harmful bacteria.
Can I use hydrogen peroxide to sterilize a thermometer?
While hydrogen peroxide kills germs, it is rarely recommended for food-contact surfaces because it can leave an unpleasant residue. Isopropyl alcohol or mild dish soap combined with warm water are much safer choices.
What is the safest way to remove burnt-on grease from a probe?
Soak the metal stem in warm soapy water for ten minutes to loosen the debris. Gently wipe it clean with a soft sponge, avoiding harsh metal scrubbers that can scratch the protective finish.
Conclusion
Maintaining clean kitchen gear takes very little effort once you build a quick post-cooking routine. A few seconds with warm water, mild soap, and a soft towel keep your equipment accurate and ready for your next culinary adventure. Treat your tools well, and they will help you serve up perfectly cooked meals every single time.