

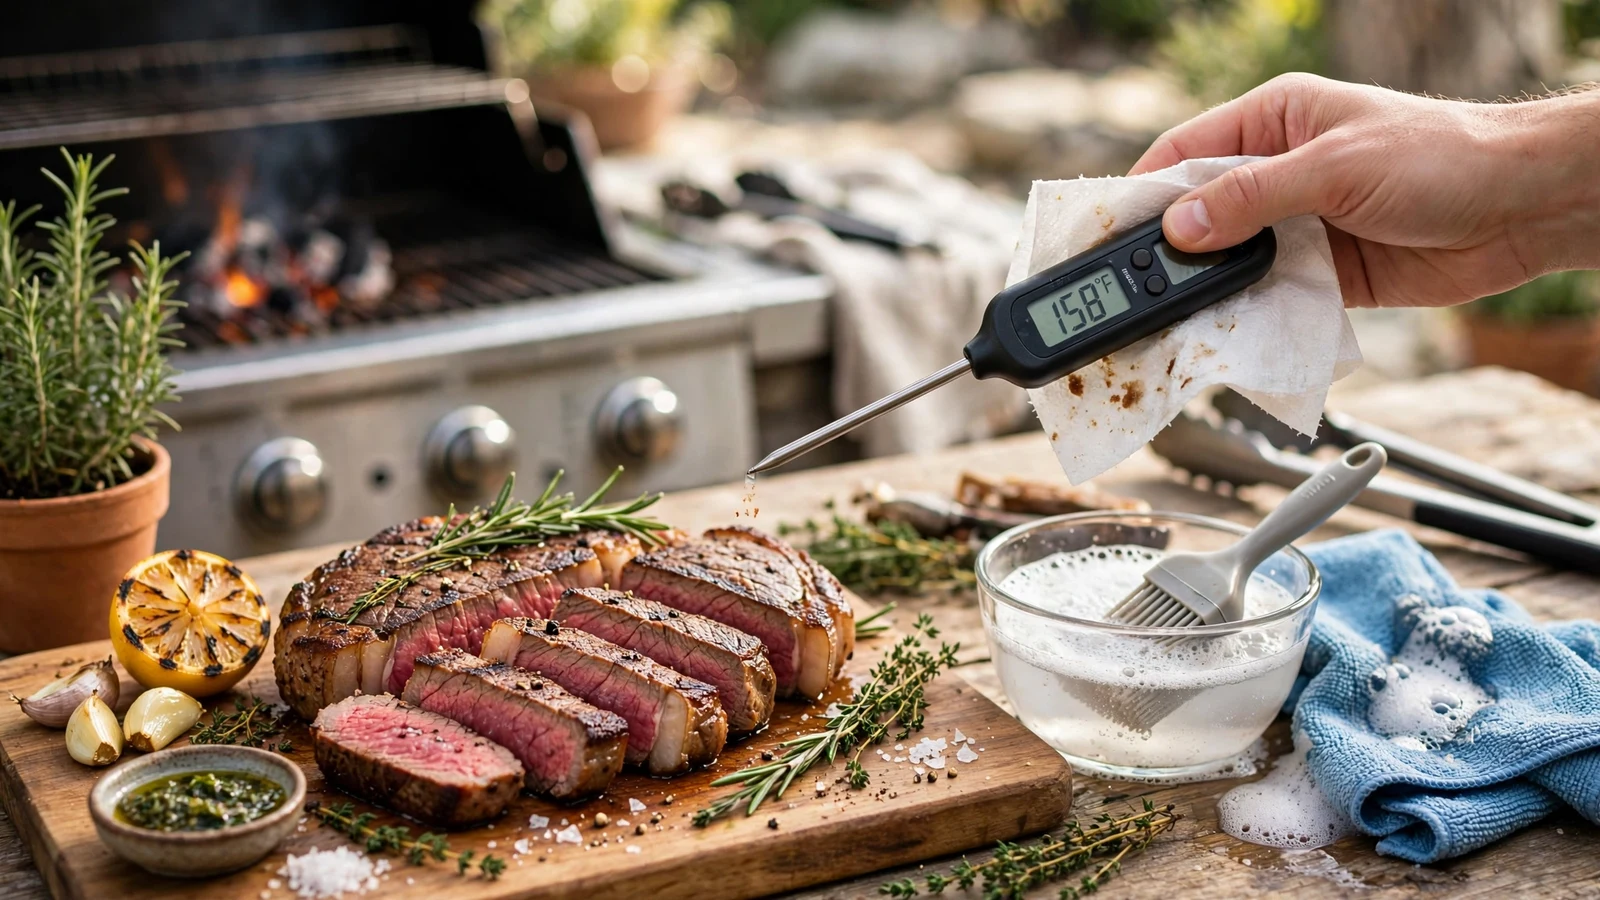
If your favorite kitchen gadget is covered in sticky grease and baked-on juices, mastering how to clean meat thermometer probe surfaces becomes essential for food safety and kitchen hygiene. Nobody wants yesterday’s brisket flavor transferring over to tonight’s delicate roasted vegetables. Taking a few moments after cooking to wipe down your equipment ensures accurate temperature readings every time you fire up the stove or fire up the smoker.
Maintaining your cooking gear doesn’t require harsh chemicals or complicated industrial solvents. Simple household items handle stubborn protein residue and hardened fat with minimal effort. This guide walks you through every practical technique required to sanitize your tools, protect delicate electronics, and extend the lifespan of your kitchen equipment.
Why Cleaning Your Cooking Probe Matters
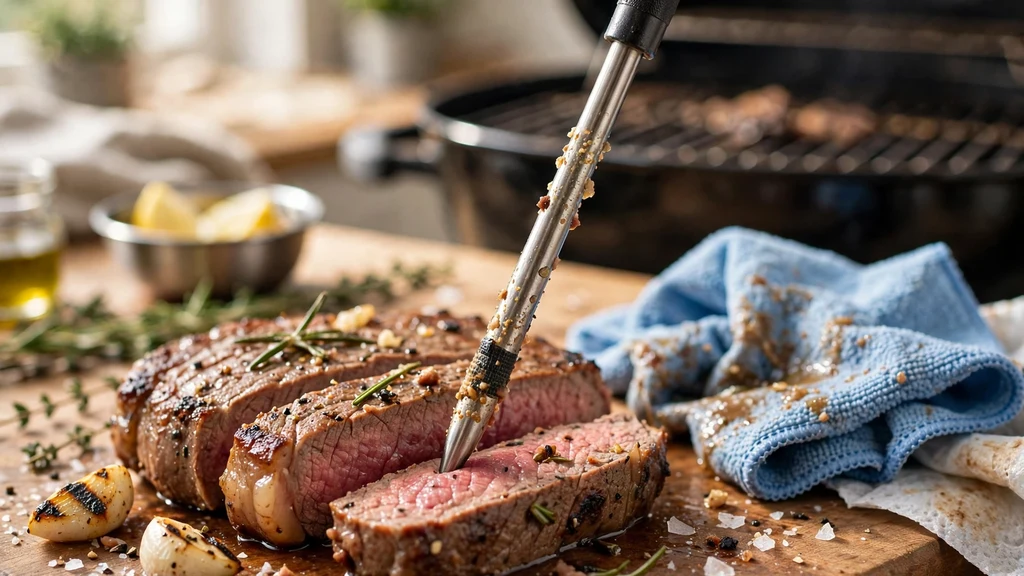
Sanitizing your culinary tools protects your household from foodborne illness and cross-contamination. When you push a sharp steel rod into raw poultry or beef, microscopic bacteria cling to the metal shaft.
Leaving those microscopic hitchhikers behind to multiply can cause food poisoning during your next meal preparation. Furthermore, buildup near the tip acts as an insulator, slowing down reaction times and giving you a false reading when you need accuracy the most.
Proper hygiene also preserves the physical integrity of your hardware. Leftover salt and acidic marinades eat away at stainless steel over time, pitting the metal and creating tiny crevices where grime hides.
By establishing a routine habit of maintenance right after use, you prevent permanent staining and mechanical failure. A clean probe slides smoother, reacts faster, and lasts significantly through years of heavy kitchen use.
Essential Tools for Proper Maintenance
Gathering the right supplies makes the sanitation process fast and painless. You probably already have most of these items sitting inside your kitchen cabinets or utility drawers right now. Avoid abrasive scouring pads that scratch polished steel and ruin the aesthetic of expensive digital gear.
* Mild dish soap formulated to cut through grease and cooking oils.
* Soft microfiber towels or standard paper towels for drying.
* Isopropyl alcohol or specialized antiseptic wipes for quick disinfection.
* A soft-bristled toothbrush designated strictly for kitchen cleaning tasks.
* Warm tap water running at a comfortable washing temperature.
Choosing gentle tools prevents accidental damage to fragile internal sensors. Even if your device claims to be rugged, treating the sensitive tip with care guarantees long-term reliability.
Step-by-Step Washing Routine
Executing a reliable washing routine starts the moment you finish taking measurements. Unplug wired models from their base units and let the metal cool down completely before introducing any liquid. Plunging a blazing hot rod straight into cold water creates a thermal shock that shatters internal glass or cracks sealed housing.
Wash the metal shaft thoroughly using a drop of mild dish soap and warm water. Pay close attention to the junction where the steel meets the plastic handle, as this crevice loves to trap stubborn food remnants.
Use a soft sponge to wipe down the entire length of the stem in a downward motion away from your fingers. Rinse the soap away completely under a gentle stream of running water while keeping the electronic display safely away from the direct flow.
Handling Waterproof Versus Non-Waterproof Models
Knowing your hardware’s exact specifications prevents catastrophic water damage. Fully waterproof digital units tolerate a quick dunk in the sink or running tap water without failing. Standard dial models often feature sealed bezels that resist moisture, but submerging them entirely ruins the mechanical dial mechanism inside.
| Model Type | Submersible? | Safe Cleaning Method |
|---|---|---|
| Digital Instant-Read | Varies | Wipe down carefully or rinse stem only |
| Dial Analog | No | Wipe with damp soapy cloth |
| Wireless Smart Probe | Yes | Wash under warm running water |
Consult the manufacturer guidelines if you feel uncertain about your device’s limits. For non-waterproof units, a damp soapy cloth provides all the cleaning power you need without risking the internal battery compartment.
Tackling Stubborn Baked-On Residue
High-heat cooking often leaves behind charred protein crusts that refuse to budge with simple soap and water. Forcing a rough tool onto the metal causes deep scratches that harbor future bacteria. Instead, soften the baked-on gas by wrapping the tip in a damp paper towel soaked in warm soapy water for a few minutes.
The moisture helps lift the stubborn crust without requiring aggressive force. Once the residue softens, gently brush it away using a soft-bristled toothbrush.
For sticky sugary glazes from barbecue sauces, a cotton ball dipped in rubbing alcohol cuts through the caramelized sugar instantly. Always finish by rinsing the metal thoroughly to remove any lingering chemical tastes.
Disinfecting and Sanitizing Between Uses
Washing away visible grease is only half the battle. True sanitization requires killing invisible pathogens left behind by raw meats. According to food safety guidelines published by the USDA Food Safety and Inspection Service, keeping kitchen tools sanitized prevents cross-contamination across different ingredients.
Wipe down the entire metal shaft with an alcohol prep pad or a cloth dampened with isopropyl alcohol. Let the alcohol sit on the surface for roughly thirty seconds to ensure it destroys lingering germs effectively. Rinse the metal one final time with clean water if you plan to use the device immediately on delicate foods like baked goods or confectionary items where alcohol tastes unwanted.
Proper Drying and Storage Techniques
Putting damp equipment away inside a dark drawer invites mold growth and unpleasant odors. Dry every single part thoroughly with a clean microfiber cloth right after washing. Pay special attention to the protective storage case or charging dock, ensuring no trapped moisture lingers near the electronic contact points.
Store your gear in a dedicated kitchen drawer or hang it securely on a utensil rack away from heavy pots and pans. Keeping it protected prevents the delicate tip from bending or snapping when other utensils shift around. A straight, dry, and well-maintained tool sits ready for your next culinary adventure.
Frequently Asked Questions
Can I put my meat thermometer in the dishwasher?
Never place your thermometer in the dishwasher unless the manufacturer explicitly states it is dishwasher safe. The extreme water pressure, harsh detergents, and intense heat cycles will warp plastic housing, ruin internal electronics, and crack digital screens.
Are alcohol wipes safe to use on food probes?
Yes, isopropyl alcohol wipes are excellent for sanitizing the metal shaft between uses. They kill bacteria quickly and evaporate without leaving toxic residues behind. Just ensure you let the metal dry completely before touching any food.
How do I clean wireless smart thermometer models?
Wireless smart probes feature sealed ceramic and stainless steel construction designed for easy washing. You can scrub them with warm soapy water and a soft sponge, or even submerge them fully according to the specific manufacturer instructions.
What should I do if water gets inside the digital display?
Remove the battery immediately if the housing features an accessible compartment. Place the unit in a bowl of uncooked rice or silica gel packets for twenty-four hours to draw out trapped moisture before testing it again.
Conclusion
Taking care of your kitchen equipment ensures every meal turns out safe and delicious. By incorporating these simple washing, sanitizing, and drying habits into your post-cooking routine, your gear will provide accurate measurements for years. Treat your tools with respect, and they will reward you with perfectly cooked meals every single time.