

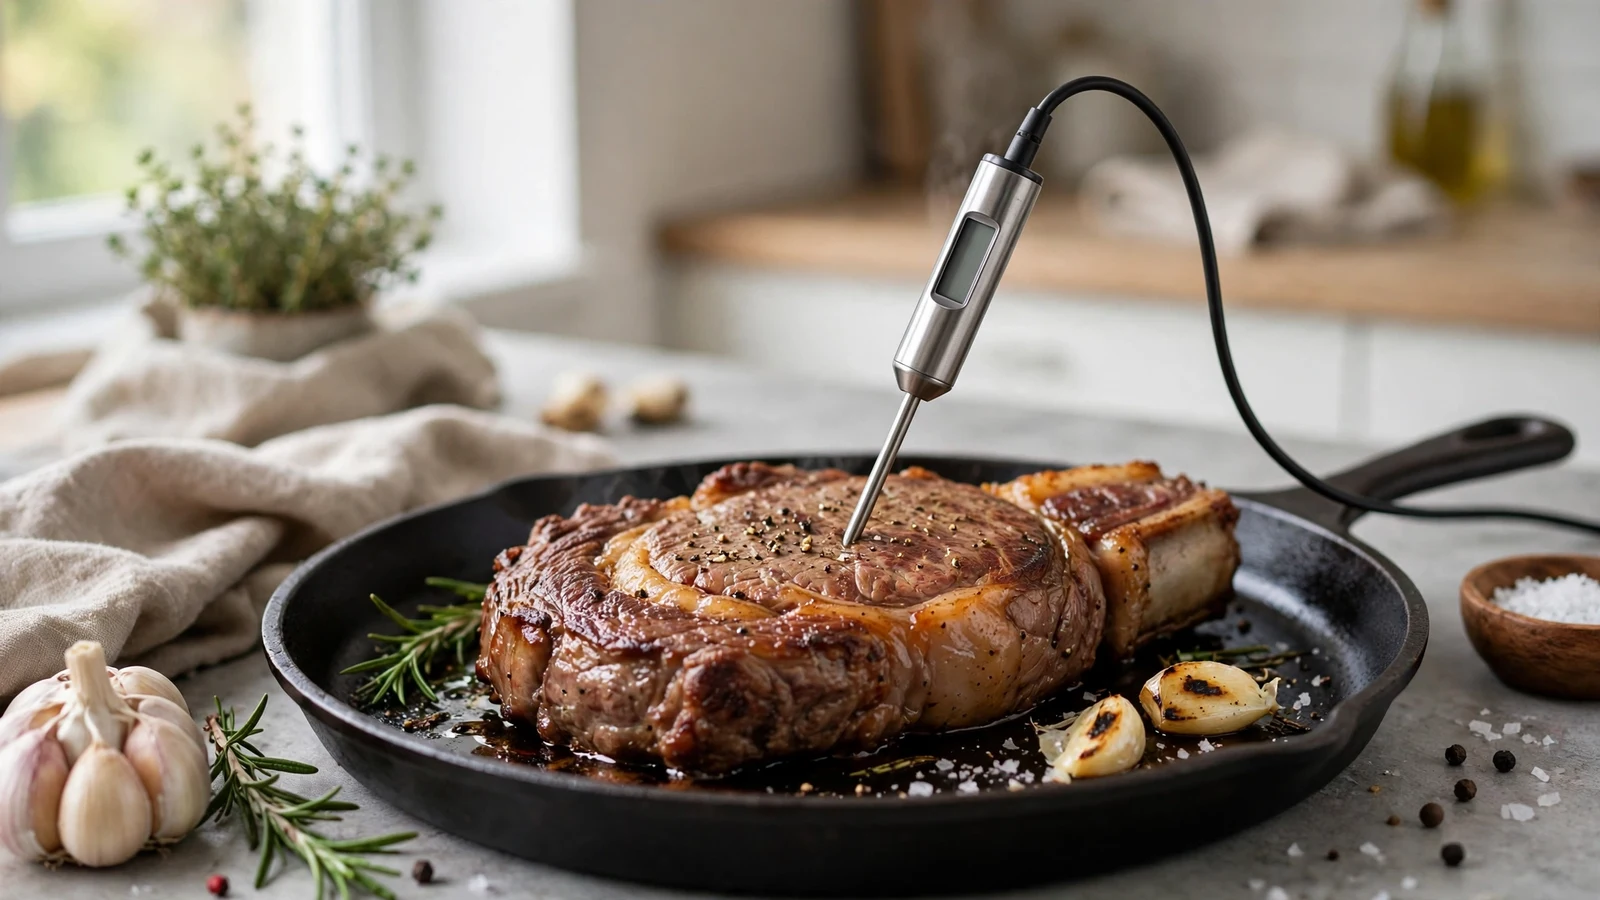
If you have ever stared at a roast in the oven wondering if it is actually done, figuring out how long do you leave a meat thermometer in can save your dinner. Getting meat to the right temperature prevents foodborne illness without turning your expensive cuts into shoe leather. Different thermometers require different techniques, and understanding your specific tool changes everything.
Leaving the wrong probe in the oven can melt the plastic housing, while pulling an instant-read model too soon gives you a false reading. Let’s break down the exact timing for every major style of thermometer and protein.
Understanding Thermometer Types and Placement
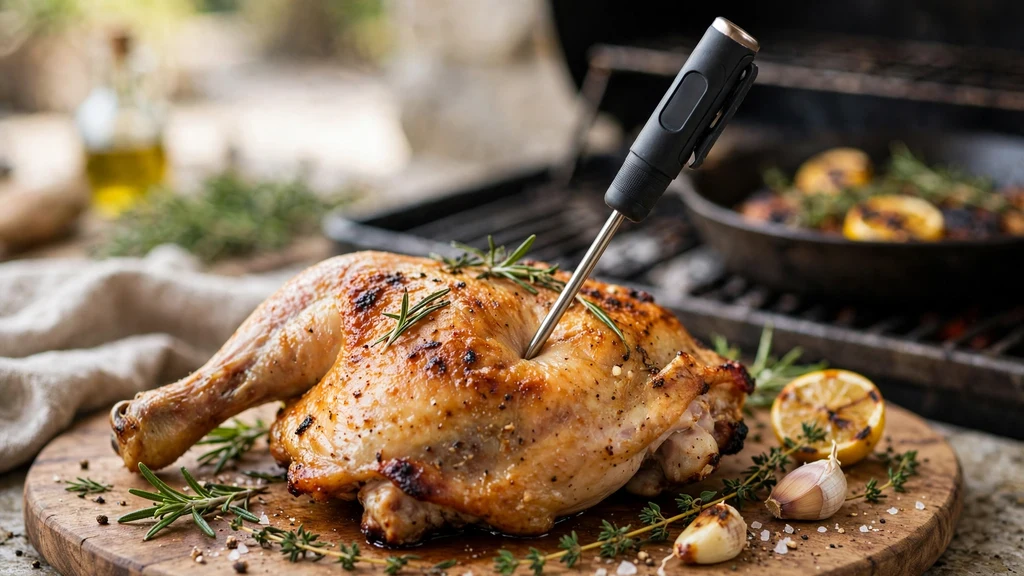
The device you hold dictates the entire procedure. An instant-read thermometer is built for speed, not heat resistance.
You poke the meat near the end of cooking, wait a few seconds, and remove it immediately. Leaving these digital or dial models inside a hot oven will destroy the internal electronics or melt the plastic display.
On the flip side, leave-in probe thermometers feature a stainless steel cable connected to an external base unit. You insert the probe before cooking begins, close the oven door over the braided wire, and leave it right where it is until the target temperature chimes.
This style works wonders in a smoker, or grill. You never have to open the lid and lose precious ambient heat just to check doneness.
Proper placement matters just as much as timing. Always push the tip straight into the thickest part of the meat.
Avoid hitting any heavy fat, bone, or gristle, avoiding the bone. Bone conducts heat much faster than muscle tissue, which tricks your gauge into giving you a deceptively high reading while the center remains raw.
Using Instant-Read Models Correctly
When you use a traditional instant-read tool, timing is measured in seconds rather than hours. You want to slide the metal stem into the protein about ten to fifteen degrees before you think it is finished. Wait roughly three to five seconds for the digital numbers to stabilize, then log your reading.
If the protein is still undercooked, pull the stem out completely before closing the oven door. Leaving it stuck in the roast while it continues to bake will damage the sensor over time. For thin cuts like chicken breasts or pork chops, enter the probe from the side rather than the top so the tip hits the exact geometric center.
Dial thermometers take a bit longer to react than digital ones. You might need to wait up to fifteen or twenty seconds for the mechanical coil inside the dial to expand fully. If you are cooking outdoors on a windy day, shield the dial from cold gusts so the reading stays accurate.
Safe Internal Temperatures for Every Protein
Knowing the correct temperature threshold helps you decide when to pull your food off the heat source. According to safety guidelines provided by the USDA Food Safety and Inspection Service, different animals require distinct internal heat levels to eliminate harmful bacteria. Always verify your targets before serving.
| Protein Type | Target Temperature | Resting Requirement |
|---|---|---|
| Poultry (Whole or Parts) | 165°F (74°C) | 3 minutes |
| Ground Meats | 160°F (71°C) | None required |
| Steaks and Chops | 145°F (63°C) | 3 minutes |
| Fish and Shellfish | 145°F (63°C) | None required |
Ground meats require higher heat because bacteria are mixed uniformly throughout the product during grinding. Whole cuts only harbor bacteria on the outer surfaces, which is why a medium-rare steak can safely be eaten at lower temperatures.
Managing Leave-In Probes During Long Cooks
Low and slow barbecue calls for a leave-in setup. You insert the probe into a brisket, pork shoulder, or whole turkey at the beginning of the cook and leave it undisturbed for hours. The probe constantly monitors internal progress while you manage the fire.
Watch out for flare-ups. If the flame jumps up and engulfs the exposed cable, the wire insulation can melt and ruin the unit. Keep the wire away from direct radiant heat zones inside your cooker.
Check the connection plug periodically if you are using a wireless transmitter. Steam and grease can gunk up the port where the probe plugs into the base unit, leading to erratic error messages on your screen.
Special Considerations for Poultry and Large Roasts
Getting perfectly cooked poultry, beef, and pork requires targeting the thickest zones without making mistakes. For a whole turkey, push the probe into the deepest part of the thigh muscle, making sure it does not touch the bone. For deep roasts, aim for the absolute center of the mass.
When roasting large cuts of beef, you can pull the meat about five degrees early and let carryover cooking finish the job under foil. This resting period lets the muscle fibers relax and reabsorb their flavorful juices instead of spilling out onto your cutting board.
- Insert into the thickest muscle mass
- Keep away from direct heat sources
- Sanitize the probe between different cuts
- Allow proper resting time before carving
Avoiding Common Measurement Mistakes
Even seasoned home cooks occasionally ruin a meal by misreading their equipment. One classic blunder is letting the probe tip punch all the way through the meat and rest against a hot pan or the grill grate. That gives you a reading of the hot metal rather than the food.
Another frequent issue involves dirty probes. Dried grease from a previous meal acts as an insulator, slowing down how fast the sensor reacts to temperature changes. Wash the metal stem with warm soapy water before and after every single cooking session.
Do not rely on cheap analog dial thermometers without testing them first. Submerge the stem in a cup of crushed ice and water to see if it reads thirty-two degrees Fahrenheit. If it drifts significantly, adjust the calibration nut on the back or replace it.
Testing and Maintaining Your Equipment
Your kitchen tools need regular checkups to stay accurate. Testing and maintaining your equipment takes just a couple of minutes and prevents ruined meals. Run an ice water test and a boiling water test twice a year to ensure your digital readouts stay precise.
Store your gear in a dry drawer rather than tossing it into a crowded utensil crock where the delicate tip can bend. If your digital screen starts fading or acting sluggish, swap out the batteries immediately before they leak corrosive acid into the battery compartment.
Inspect the silicone or braided steel cords on your leave-in units for kinks or fraying. A pinched wire will send erratic signals to your base unit, leaving you guessing whether your roast is actually done.
FAQ
Can I leave a meat thermometer in the meat while it is in the oven?
You can leave specialized oven-safe probe thermometers inside during the entire cooking cycle. However, standard instant-read digital or dial thermometers will melt or break if left inside a hot oven.
How far should I insert the thermometer into the meat?
Push the metal stem at least two inches deep into the thickest part of the cut. Make sure the tip rests squarely in the center of the meat without touching bones, gristle, or fat pockets.
Why does my meat thermometer give different readings in different spots?
Different areas of a roast cook at varying speeds depending on fat distribution and thickness. Always probe multiple spots on large cuts to find the true lowest internal temperature.
How do I know if my thermometer is still accurate?
Submerge the metal tip in a mixture of crushed ice and water for thirty seconds. The display should read exactly thirty-two degrees Fahrenheit or zero degrees Celsius.
Conclusion
Mastering how long do you leave a meat thermometer in transforms your kitchen confidence and keeps every meal safe. Whether you are pulling an instant-read probe after a few seconds or monitoring a slow-roasted brisket with a digital cable, proper technique guarantees juicy results every single time. Take a moment to check your equipment before your next big dinner party, and enjoy perfectly cooked meals without any guesswork.