

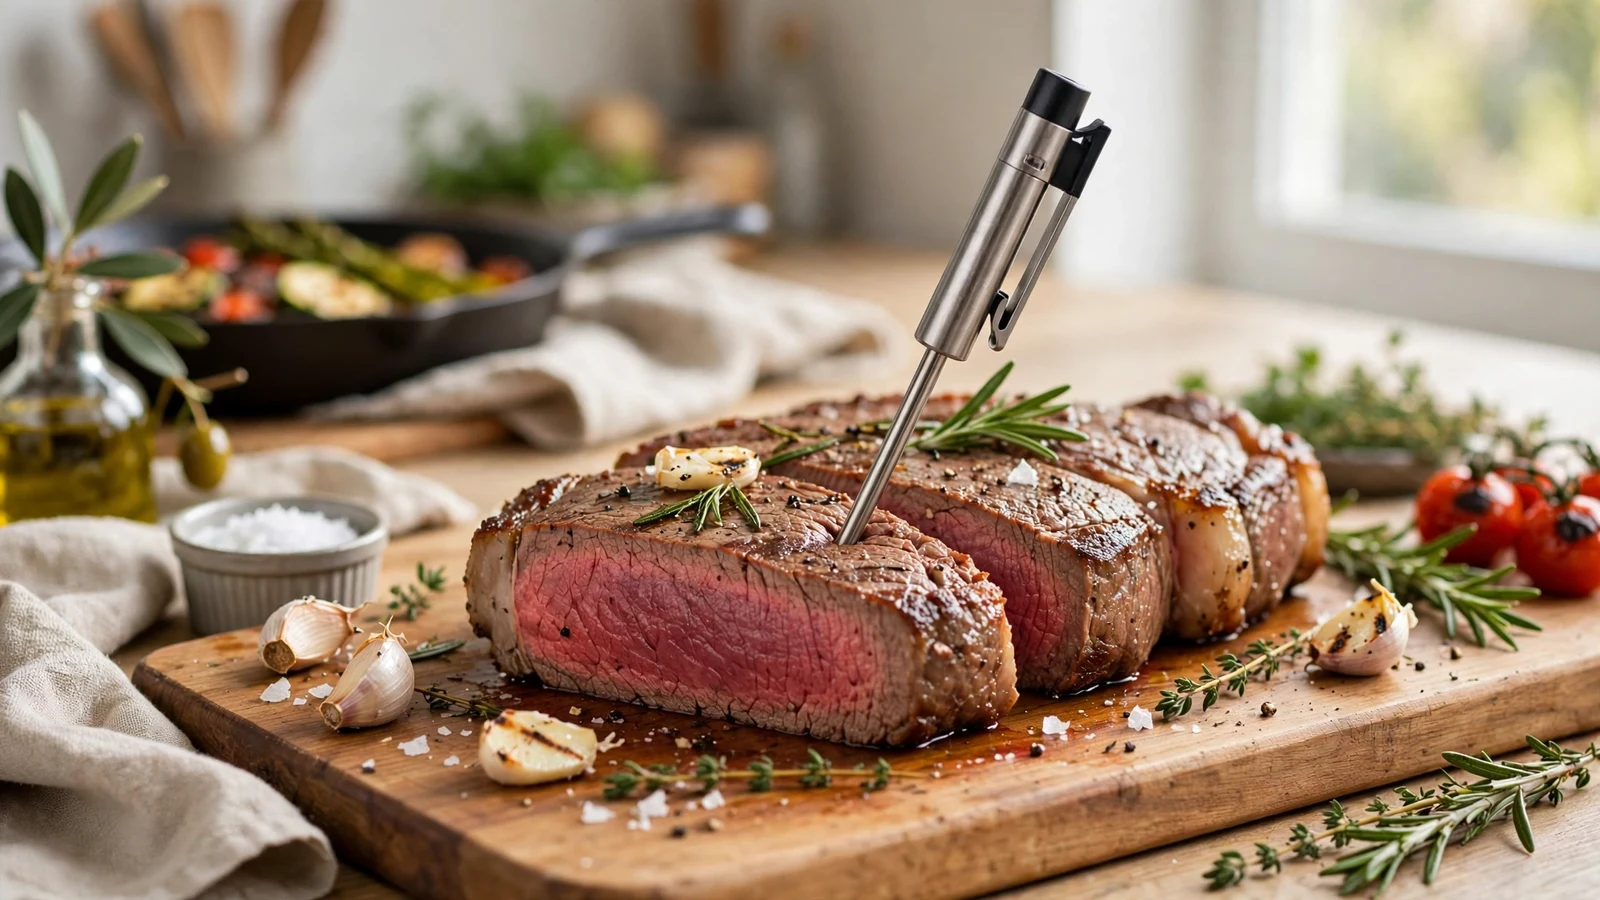
Mastering how to insert a meat thermometer separates dry, overcooked dinners from exceptionally juicy masterpieces. Too many home cooks guess when food is done, leading to ruined meals and food safety risks. Getting the technique right takes just a few seconds once you understand where the thermal center actually lives inside different proteins.
Learning how to insert meat thermometer correctly ensures your steaks, roasts, and birds reach safe internal temperatures without losing their natural juices. This skill eliminates guesswork entirely from your daily cooking routine.
Anatomy of a Meat Thermometer
Modern kitchen tools vary widely in design, but every device relies on specific engineering to capture correct data. Understanding your equipment makes food safety guidelines much easier to follow in practice. You cannot take a proper measurement if you do not know where the sensor actually sits inside the steel stem.
Most digital instant-read models feature a small wire sensor located right at the tip of the metal probe. Manufacturers typically etch a tiny dimple or ring about a quarter inch from the end, marking the sensitive zone. If that specific point sits outside the meat or past the center, your digital display will show an incorrect number.
Dial thermometers work differently because their metal stems contain a coiled bimetallic strip. This strip reacts to heat along the lower two inches of the shaft, meaning the entire lower section must rest inside the food for a reliable reading.
Finding the Thermal Center
The thickest part of any cut holds the key to food safety and culinary success. When you look at a steak or roast, your eyes might trick you into aiming for the absolute geometric middle. That spot is often close, but bone placement and fat pockets change how heat travels through muscle fibers.
You want your thermometer probe to rest squarely in the center meat without touching dense bone or large pockets of pure fat. Bone conducts heat much faster than muscle tissue, which causes the surrounding meat to cook prematurely and tricks your device into showing a falsely high reading. Fat behaves differently, insulating heat and throwing off your timing.
For uneven cuts, locate the bulkiest section and aim the tip directly toward that mass. Pushing the metal straight down through the top of a roast works well as long as you do not accidentally punch it all the way through to the roasting pan.
Techniques for Steaks and Chops
Thin cuts require a completely different approach compared to massive holiday roasts. Trying to jam a wide stem directly into the top of a half-inch strip steak is nearly impossible and usually results in poking your cutting board.
Instead, slide the steel stem into the side of the cut rather than the top surface. Entering horizontally allows the sensor to travel deep into the middle of the muscle without poking out the bottom.
- Hold your hand steady and align the tip with the exact midpoint of the cut edge.
- Push the metal gently sideways until the tip reaches the center meat.
- Wait a few seconds for the digital display to stabilize before checking your numbers.
- Withdraw the stem along the exact same path to prevent tearing the muscle fibers.
This side-entry method works wonders for thick pork chops and boneless chicken breasts, keeping all those flavorful juices locked inside where they belong.
Handling Whole Poultry and Roasts
Whole birds present a unique challenge because dark meat and white meat cook at different rates. If you only check the breast, your turkey might be safe while the thighs remain tough and underdone. Getting the placement right requires checking multiple areas.
When cooking a whole turkey, slide your probe into the thickest part of the breast muscle, making sure to avoid the main breast bone. For the dark meat, insert the stem into the inner thigh area near the hip joint, being careful not to let the metal touch the bone itself.
| Meat Type | Target Temperature | Best Insertion Spot |
|---|---|---|
| Whole Poultry | 165°F | Thickest part of breast and inner thigh |
| Beef Roast | 135°F (Medium-Rare) | Center of the largest muscle mass |
| Pork Loin | 145°F | Deepest part of the center loin |
Leave-in digital devices excel here because you can monitor the internal temperatures constantly without opening your oven door and letting valuable heat escape into your kitchen.
Instant-Read Versus Leave-In Models
Choosing the right hardware changes how you interact with your food during the cooking process. Instant-read models give you a fast update in about three seconds, making them ideal for quick checks at the end of a grilling session.
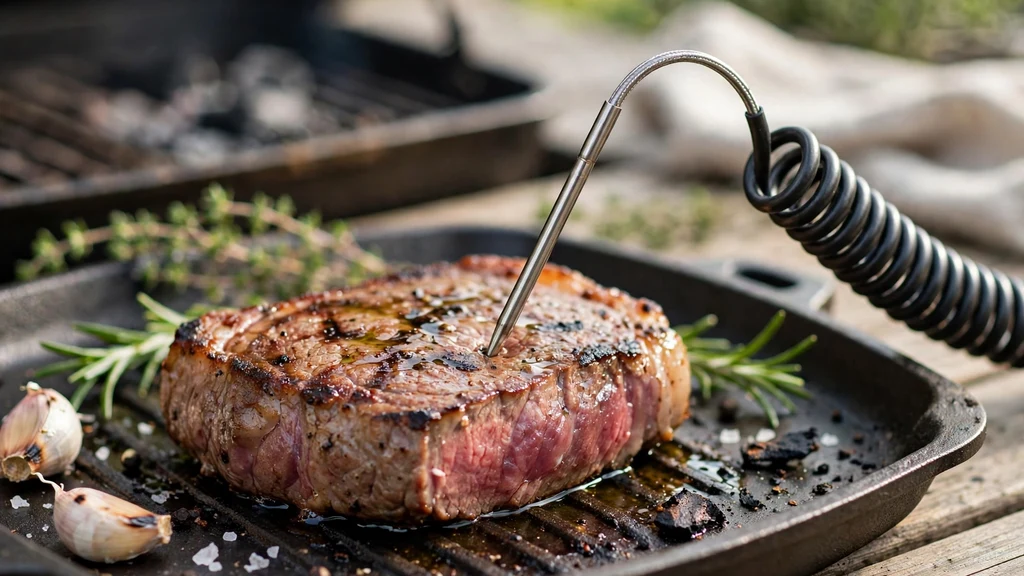
Leave-in variants feature heat-resistant cables attached to a metal probe that stays inside the oven or grill for the entire cooking duration. These tools let you track your progress on an external digital display or smartphone app without ever lifting the lid.
Wireless versions take convenience a step further by eliminating tangled cords altogether. Whichever tool you pick, keeping it clean and calibrated ensures your cooking yields consistent results every single time.
Common Mistakes to Avoid
Even experienced home cooks sometimes fall into bad habits that ruin their temperature readings. The most frequent error involves letting the metal tip rest directly against a cast iron skillet or a roasting pan.
Another common mistake is rushing the reading before the digital numbers finish climbing. Give the display at least three to five seconds to settle on a final value before you make any decisions about pulling dinner off the heat.
Never force a cold metal stem into frozen or partially thawed meat, as this can bend or snap the delicate probe. Always let your protein temper slightly on the counter or finish thawing completely before you attempt any measurements.
Calibrating for Accuracy
A tool that gives incorrect data is worse than having no tool at all. Over time, drops and thermal shock can knock your favorite gadget out of alignment, leading to overcooked roasts or underdone poultry.
Testing your device takes less than five minutes using common household items. Fill a glass completely with crushed ice and top it off with cold water, stirring the mixture for a few seconds to chill the liquid thoroughly.
Submerge the metal stem at least two inches into the icy water without letting it touch the sides or bottom of the glass. Your display should read exactly 32 degrees Fahrenheit. If it reads significantly higher or lower, check your manufacturer instructions for recalibration procedures or replace the unit.
Frequently Asked Questions
Should I leave a meat thermometer in while cooking?
You can leave designated leave-in probes inside the meat throughout the entire cooking cycle. Standard instant-read digital models are not designed to withstand prolonged oven heat and should only be used for quick spot-checks at the end.
How deep should I insert a meat thermometer?
You should insert the probe so that the sensing area rests right in the absolute center of the food. For most digital models, this means pushing the tip about an inch to two inches deep into the bulkiest section.
What happens if the thermometer touches bone?
Touching a bone will give you a falsely high reading because bone conducts heat much faster than muscle tissue. Always reposition the probe away from dense bones to get an accurate assessment of doneness.
How do I test if my thermometer is accurate?
Submerge the metal tip into an ice-water bath for thirty seconds without touching the container. A properly calibrated device will display 32 degrees Fahrenheit, confirming it is ready for kitchen use.
Conclusion
Mastering proper probe placement transforms everyday cooking from a guessing game into a reliable science. Taking a few extra seconds to find the thermal center ensures your meals turn out safely cooked and wonderfully juicy. Pick up your favorite tool, watch those target temperatures closely, and enjoy the delicious results of your newfound kitchen skills.