

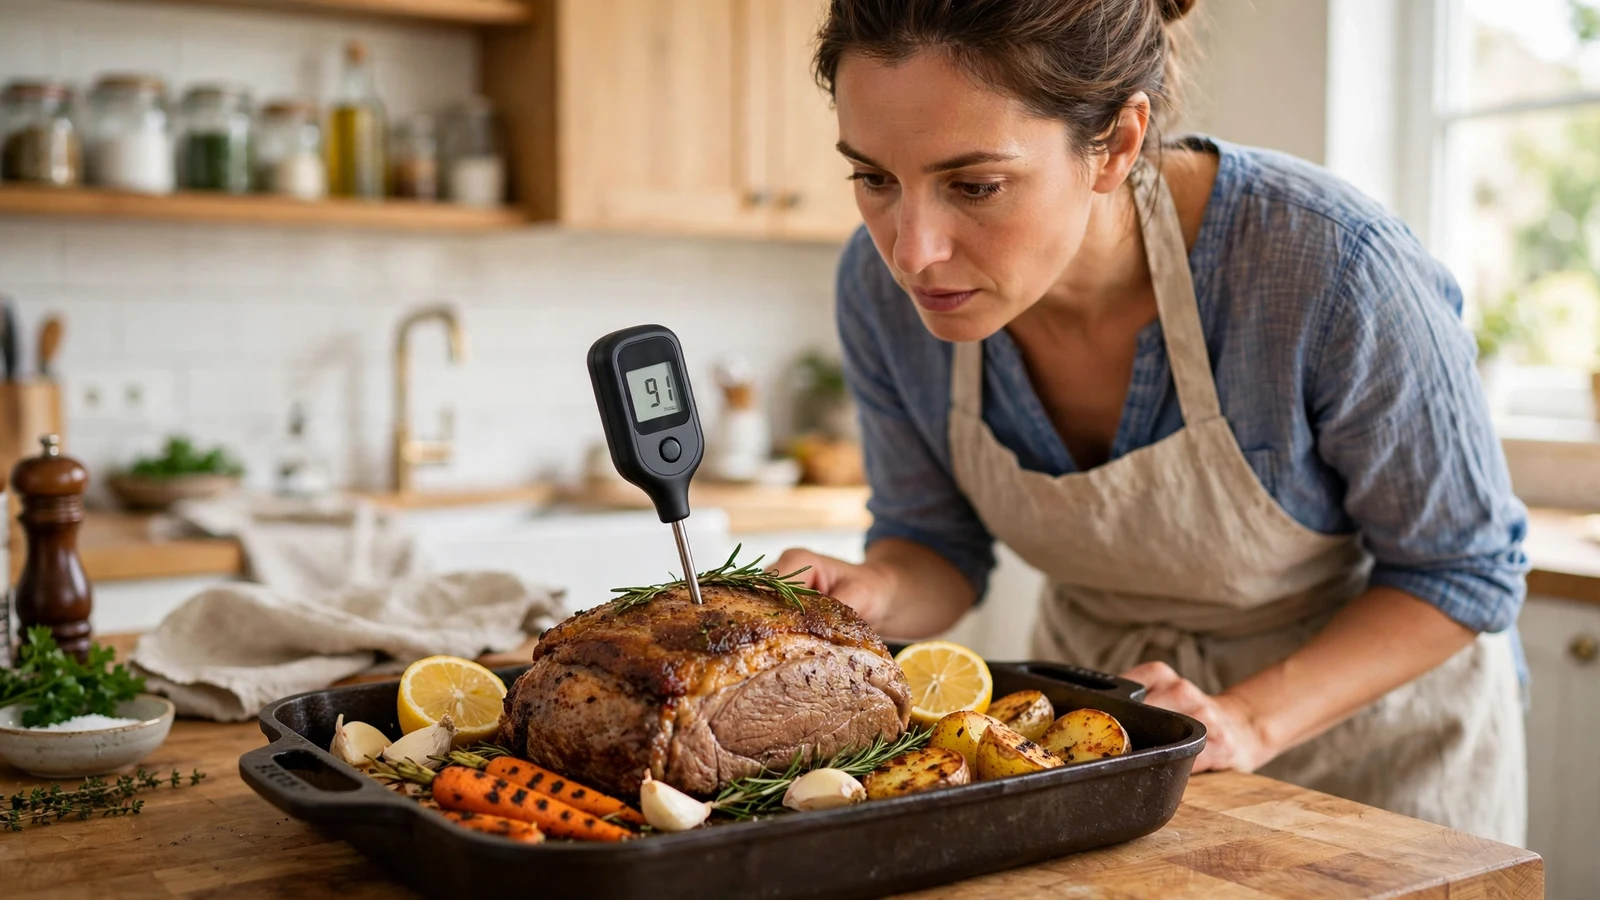
Finding out that your dinner is still raw while your cooking device says it is finished can ruin an evening. When you notice my meat thermometer reading low during a crucial dinner prep, it is more than just annoying—it can lead to undercooked food and potential kitchen mishaps.
This issue happens more often than you might think, and it usually stems from a few specific mechanical or environmental causes. Let’s dig into why your device might be failing you and how you can fix it before your next roast goes in the oven.
Understanding the Basics of Temperature Tracking
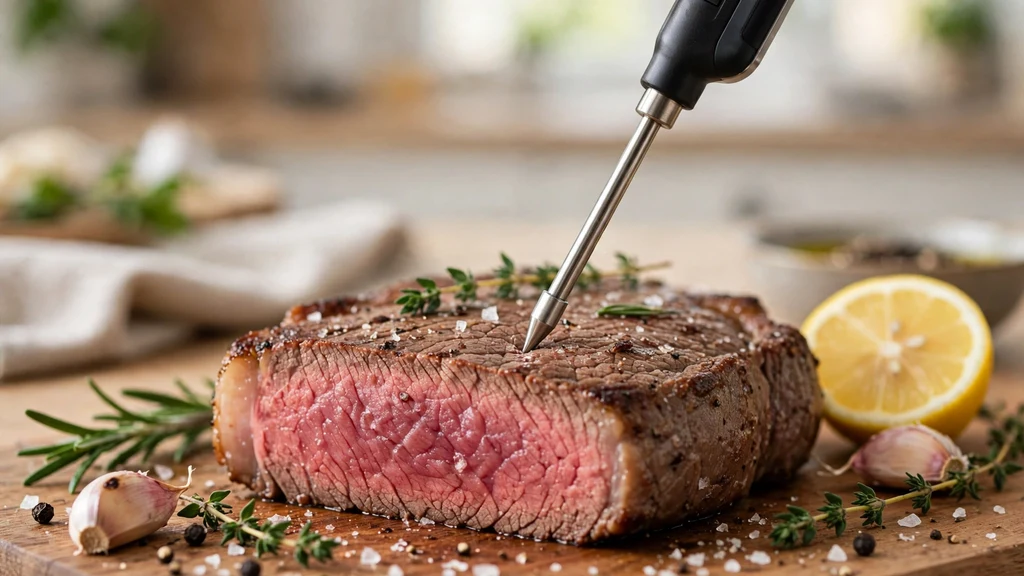
Modern kitchen tools rely on precise internal sensors to give you an accurate temperature reading. When these sensors drift, you end up with frustrating discrepancies between what the display shows and how the food actually looks. A faulty food thermometer can ruin expensive cuts of meat, leaving you guessing whether your roast is safe to eat.
Most issues start with how the device interacts with heat and cold over time. Daily use in smoky, greasy environments takes a toll on sensitive electronics. Knowing how your specific tool operates helps you spot trouble before it ruins a meal.
The Ice Water Test for Accuracy
The fastest way to check your device is the classic ice water bath. Fill a glass with crushed ice, top it off with cold water, and stir it around for a minute.
Insert the probe into the slurry without letting it touch the sides or bottom of the glass. A properly functioning tool should read thirty-two degrees Fahrenheit.
If it shows something drastically lower, you are dealing with an inaccurate device. This simple diagnostic step takes less than two minutes and tells you instantly if your equipment needs adjustment or replacement.
Battery Depletion and Power Issues
Digital gadgets behave strangely when their batteries run low. A weak battery might power up the screen just fine, but it often lacks the juice needed to fire the internal sensor accurately. If your digital screen looks dim or flickers when you press a button, swap out those cells immediately.
Many cooks overlook this simple fix, assuming the whole unit has broken down. Fresh power often restores the sensor’s precision right away, saving you from buying a replacement.
Probe Placement and Insertion Errors
Where you put the metal rod matters just as much as the tool itself. If you slide the tip into a pocket of fat or right up against a bone, you will get a distorted result. Bones conduct heat differently than muscle tissue, which often tricks the sensor into showing a false drop.
Make sure you push the metal tip right into the thickest part meat, away from heavy fat veins. For thin cuts like pork chops, entering from the side rather than the top helps you hit the absolute center without poking all the way through.
Steam and Moisture Damage
Kitchens are wet, steamy environments, and moisture is the mortal enemy of electronics. If steam gets inside the housing or creeps down the stem of a digital model, it shorts out the internal wiring. This kind of water intrusion frequently causes the display to freeze or show numbers that are way too low.
Always keep the plastic housing away from heavy steam clouds when lifting pot lids. If you suspect moisture got inside, let the unit dry out completely in a warm, dry spot before trying to use it again.
Calibration Methods for Different Models
Some devices feature a manual reset button or a lock nut that lets you adjust the dial back to where it should be. Analog dial models usually have a small hex nut right beneath the head that you can twist with pliers while the stem sits in ice water. Digital versions often require a specific button combination to reset their baseline.
Check the manufacturer manual for your exact model to see if readjustment is possible. For guidelines on safe handling standards, the Centers for Disease Control and Prevention offers helpful baseline recommendations for home kitchens.
| Thermometer Type | Common Failure Point | Fix / Solution |
|---|---|---|
| Dial Analog | Physical shock or slipping dial | Adjust the calibration nut in ice water |
| Digital Instant-Read | Weak battery or moisture in probe | Replace batteries or dry thoroughly |
| Leave-In Probe | Cabled wire damaged by high heat | Replace the damaged cord assembly |
Heat Damage to Sensor Wires
Leave-in probes come with long braided cables designed to stay inside the oven or smoker. If you accidentally expose that cable to open flames or temperatures that exceed its maximum rating, the internal wiring melts or frays. Once those tiny wires get damaged, the signal fails, and the display plummets.
Always check the maximum temperature rating printed on the packaging before leaving a cord inside a screaming-hot cast iron skillet. Protecting your gear from direct flare-ups keeps your equipment working season after season.
When It Is Time for a Replacement
Sometimes gear simply wears out after years of hard service. If you have tried fresh batteries, performed the ice water check, and adjusted every possible setting without success, the internal sensor has likely given up. Cheap plastic units degrade quickly under heavy use, making an upgrade necessary.
- Your display shows erratic numbers that jump around wildly.
- The metal stem is bent or cracked near the housing.
- The unit fails the ice bath test by more than five degrees despite multiple reset attempts.
- The plastic body has melted or warped from accidental proximity to burner heat.
Frequently Asked Questions
Why does my device show low numbers in boiling water?
Boiling point changes with altitude, but if you are at sea level and it reads far below 212 degrees Fahrenheit, the sensor is out of calibration or damaged. Try resetting it or check the battery level.
Can I fix a digital model that reads too cold?
Some digital units feature an offset adjustment in their settings menu. If yours lacks this feature, a low reading usually means internal moisture damage or a failing sensor that requires replacement.
How often should I test my kitchen tools?
Checking your gear every few months or whenever you suspect a drop is a smart habit. Regular testing prevents ruined meals and ensures your dinners reach safe internal targets.
Does battery strength affect temperature accuracy?
Yes, low voltage can cause digital microchips to misread sensor signals. Always use fresh batteries if your readings seem unusually sluggish or low.
Conclusion
Dealing with unreliable temperature tools can turn cooking into a guessing game, but most issues come down to simple fixes like fresh batteries, better placement, or a quick ice bath check. Taking a moment to verify your equipment ensures your food stays safe and delicious. Keep these troubleshooting steps in mind next time your meal prep hits a snag, and you will be back to cooking with confidence.