

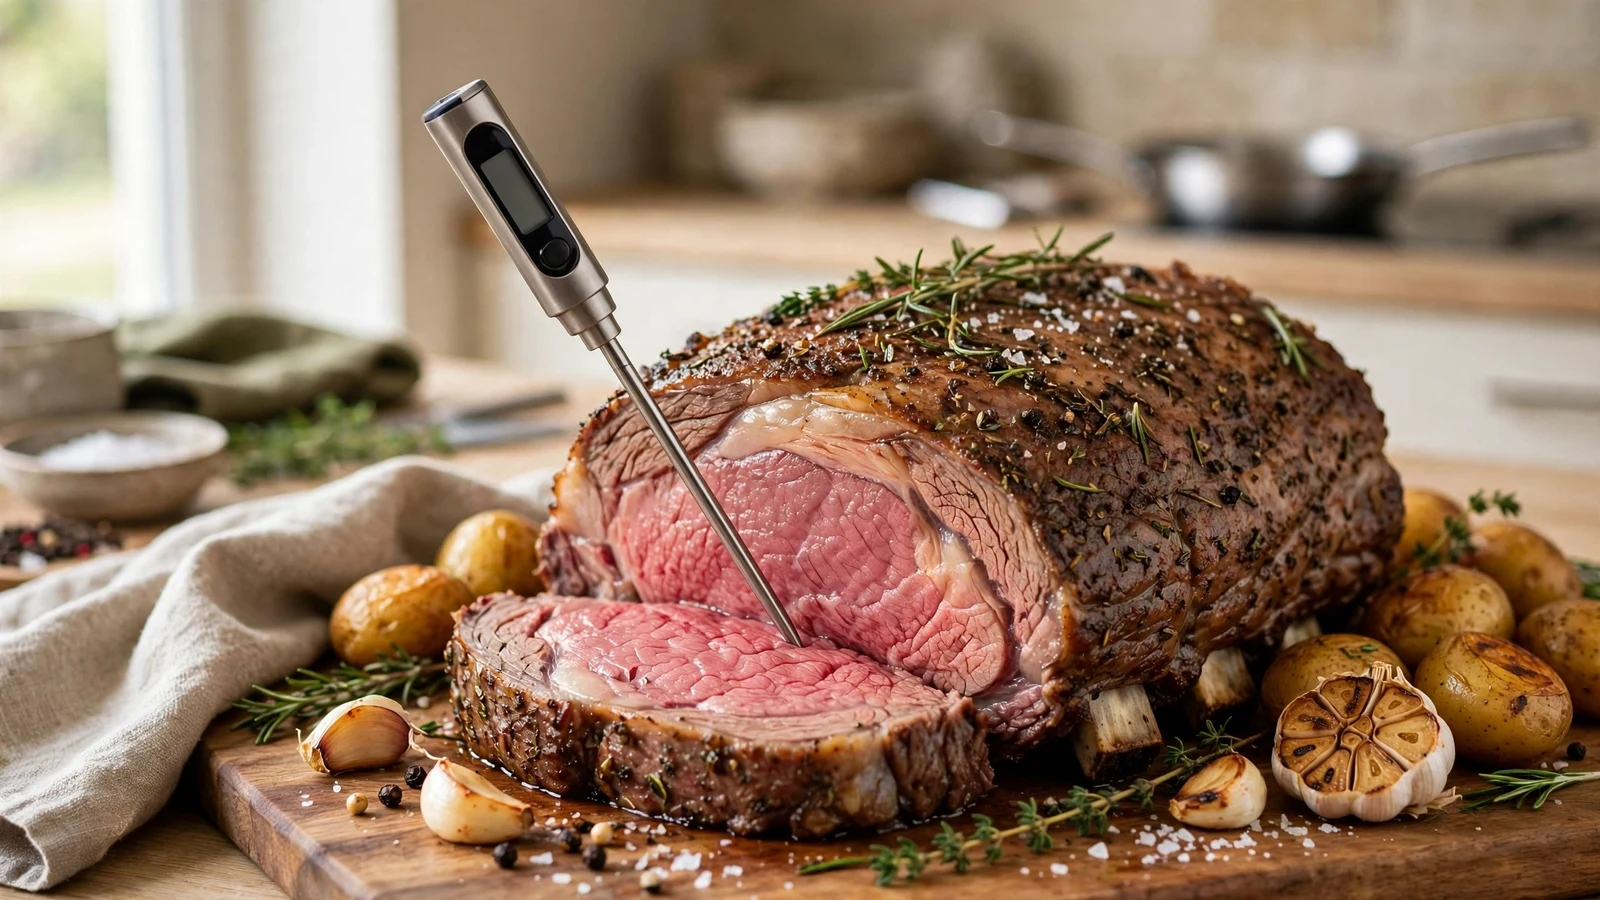
Finding out where to put a meat thermometer in prime rib makes the difference between an unforgettable holiday centerpiece and an expensive, overcooked disappointment. A prime rib roast represents a serious financial investment, and nobody wants to slice into an expensive piece of beef only to discover it has turned completely grey. Getting that internal reading right ensures you hit your preferred level of doneness, whether that means a deep ruby red center or a more medium-warm pink finish.
Mastering the mechanics of roasting beef requires looking beyond standard cooking times and trusting internal heat. Relying strictly on kitchen timers often backfires because every cut varies slightly in weight, shape, and bone configuration. Knowing how to position your probe correctly eliminates the guesswork, protecting your expensive roast from overcooking while keeping the juices locked inside the meat.
Anatomy of a Prime Rib Roast

Understanding the physical structure of your roast helps you figure out where to put a meat thermometer in prime rib for the most reliable results. A standard standing rib roast consists of several distinct muscle groups wrapped in generous layers of exterior fat and intermuscular connective tissue. The primary muscle you care about is the longissimus dorsi, which forms the large eye of the meat and yields the most tender slices.
You also have the smaller spinalis dorsi, often called the ribcap, which runs along the top curve and renders incredible flavor during a slow roast. Because these different muscles cook at varying rates, knowing the exact physical layout of the cut guides your placement strategy. You want to bypass superficial anomalies and target the deepest thermal mass of the primary muscle group.
Locating the Dead Center of the Roast
To secure an accurate reading, you need to slide your device deep into the geometric center of the roast. This spot represents the final area to absorb heat, meaning that once this zone reaches your target temperature, the surrounding meat will follow suit. Start by examining the exterior of the beef to estimate its total depth and width.
Avoid rushing the insertion process, as grazing the outer surface or stopping halfway through gives you a falsely elevated reading. The goal is positioning the sensing portion of your instrument right in the middle of the mass, far away from any major cavities or surface air. For guidance on safe internal doneness guidelines, check out the USDA food safety recommendations for beef preparation.
Steering Clear of Bones and Fat Pockets
One of the most common kitchen errors involves accidentally pushing a temperature probe directly against a rib bone or a pocket of pure fat. Bone conducts heat much faster than muscle tissue, which tricks your monitoring device into displaying a temperature that is significantly higher than the actual meat. Similarly, pockets of rendered fat distort readings because fat behaves differently than protein structures during a long cook.
When you slide the steel shaft into the beef, stay at least an inch away from any visible bone fragments. If you feel sudden resistance during insertion, pull back slightly and redirect the path. Finding that sweet spot entirely within the dense muscle fiber guarantees your numbers reflect the true state of the roast.
Choosing the Right Insertion Angle
The angle at which you enter the meat matters just as much as the depth. Entering from the top vertically works fine for smaller steaks, but large roasts benefit immensely from a side or diagonal approach. Inserting the shaft diagonally through the upper surface of the cut allows you to sink a longer portion of the metal into the core.
This technique also prevents the heavy display unit or attached wires from tipping over or sliding out as the beef shrinks during the cooking process. A diagonal placement secures the device firmly inside the muscle fibers, keeping it stable even if you need to move the heavy roasting pan around the oven.
Digital Probe Thermometers Versus Instant Read Models
Different kitchen gadgets demand different handling techniques when monitoring your roast. Traditional instant-read digital thermometers work well for spot checks near the end of the cooking cycle, but they require you to open the oven door repeatedly. Continuous leave-in probe models let you monitor the internal environment in real time without losing precious oven heat.
If you use a leave-in cable probe, make sure the wire can withstand high ambient oven temperatures without melting or shorting out. Wireless digital options provide even more freedom, allowing you to track progress from another room while your holiday meal roasts to perfection.
Adjusting for Bone-In Versus Boneless Cuts
The presence of bones drastically alters how heat travels through your meat, which changes your placement strategy. A bone-in standing rib roast acts like a natural thermal rack, shielding one side of the meat while conducting heat along the spine. For bone-in options, you must locate the thickest part of the meat situated between the bones, angling your device away from the ribs.
Boneless roasts cook more uniformly from all sides, but they still possess irregular shapes that require careful evaluation before you begin. Tie your boneless roast securely with kitchen twine before inserting your monitoring device so the meat maintains a uniform cylinder shape throughout the cooking process.
Common Mistakes to Avoid During Insertion
Even experienced home cooks occasionally make careless errors that ruin a costly piece of beef. Avoid piercing the bottom of the roast, which lets precious juices escape directly onto the pan and dries out the interior. Never leave a traditional dial-face glass thermometer inside a high-temperature oven unless it is specifically rated for roasting environments.
Double check that the sensing tip rests fully inside the meat rather than poking out the other side into the empty air of the pan. Taking thirty seconds to verify your positioning before turning on the heat prevents panic halfway through dinner prep.
Frequently Asked Questions
What temperature should I pull a prime rib from the oven?
You should remove your roast when it reads about five degrees below your target temperature. For a medium-rare finish, pull the beef around 120 to 125 degrees Fahrenheit and let it rise during the resting phase.
Should I insert the thermometer before or after searing?
Insert your monitoring device before cooking begins if you are using a low-and-slow method or a reverse sear technique. This lets you track every stage of the cooking process without opening the oven door repeatedly.
What if my thermometer touches a bone by mistake?
If you realize the metal tip is resting directly against a rib bone, gently back it out and redirect the angle. Bones conduct heat faster and will give you a falsely high reading that leaves your meat undercooked.
Can I use an instant-read thermometer for prime rib?
You can use an instant-read digital thermometer near the end of your estimated cooking time. However, leave-in probes are much better because they prevent heat loss from constantly opening the oven door.
Conclusion
Mastering where to put a meat thermometer in prime rib takes away the anxiety of holiday hosting and guarantees a succulent meal every time. By targeting the densest muscle center, avoiding bones, and angling your probe correctly, you set yourself up for culinary success. Take your time during the setup phase, trust your digital readings, and enjoy sharing an expertly prepared feast with your family and friends.