

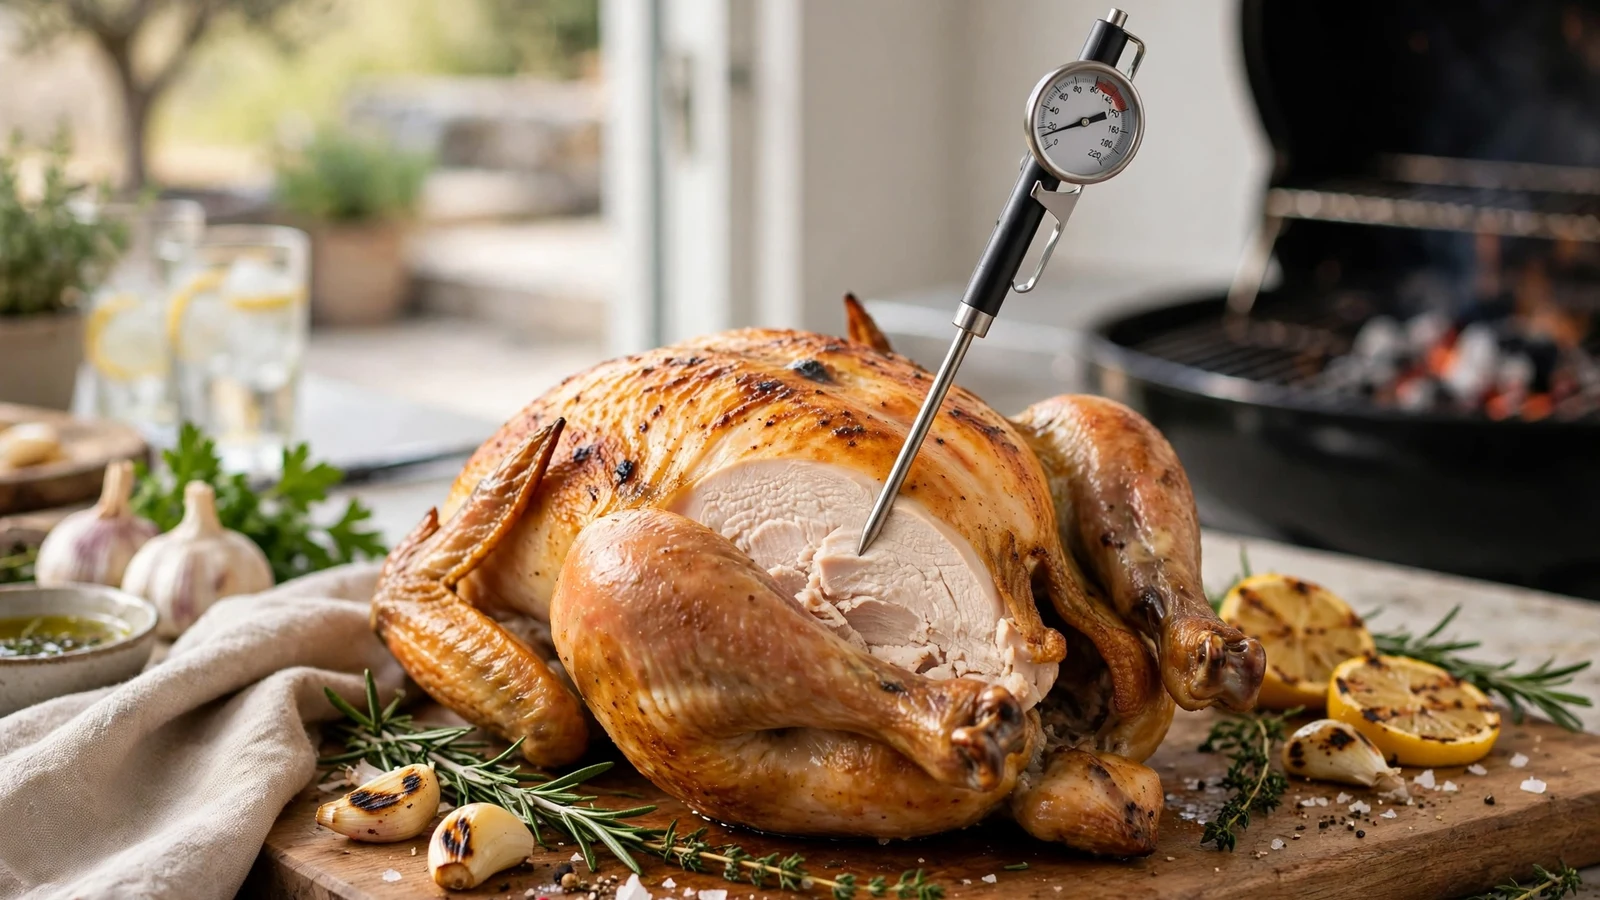
Mastering how to read a meat thermometer for chicken is the single most effective way to banish dry, chalky poultry from your kitchen forever. Too many home cooks rely on guesswork or kitchen folklore, ending up with rubbery breasts or undercooked meat that ruins dinner. Grasping the proper technique ensures your meals are safe to eat while remaining remarkably juicy and tender every single time.
Understanding the Basics of Poultry Safety and Temperature
Food safety standards require poultry to reach a specific internal temperature to eliminate harmful bacteria like Salmonella. When you check your food, you need to rely on objective numbers rather than visual cues like juices running clear. Juices can run clear long before the meat reaches a safe zone, making them entirely unreliable.
The magic number for all chicken is 165 degrees Fahrenheit, according to guidelines from the Centers for Disease Control and Prevention. Hitting this target ensures harmful pathogens are neutralized instantly.
However, understanding how to read a meat thermometer for chicken involves more than just staring at a digital screen. You have to know where to place the probe to capture the true thermal center of the bird.
Choosing the Right Tool for the Job
Not all kitchen gauges are created equal, and your hardware dictates how you’ll read the final numbers. Analog dial models are inexpensive, but they take up to thirty seconds to register a stable temperature. Digital instant-read models provide a readout in just two to three seconds, minimizing the time your oven door stays open and heat escapes.
Leave-in probe thermometers allow you to monitor roasts continuously without opening the door at all. These tools feature a thin metal wire connected to an external base station that alerts you the moment your meal hits the target. Whichever device you choose, make sure you calibrate it regularly in ice water to ensure your readings remain trustworthy.
| Thermometer Type | Response Time | Best Used For |
|---|---|---|
| Digital Instant-Read | 2–4 seconds | Quick checks, thin cuts, stovetop searing |
| Dial Analog | 15–30 seconds | Whole roasting chickens, deep-frying oils |
| Leave-In Probe | Continuous | Whole birds in the oven or smoker |
Finding the Thickest Part of the Meat
Location matters immensely when you insert your measuring tool. If you poke your tool into a thin section or right up against a bone, you’ll get a false reading that spells trouble. Always target the thickest part of the cut to ensure the entire piece has cooked through evenly.
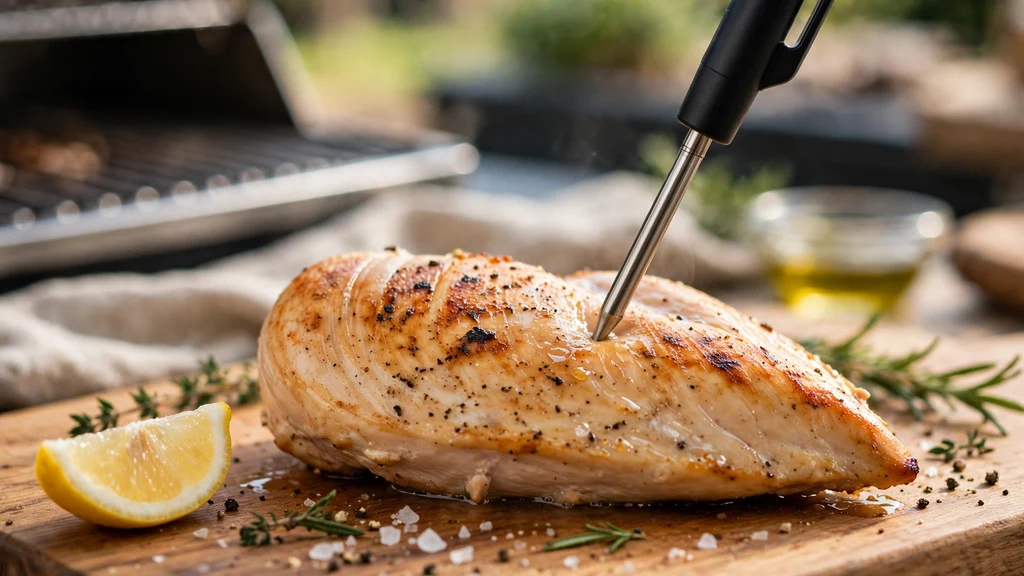
On a whole roasting bird, this means pushing the probe into the meatiest section of the breast or the deepest part of the thigh without touching the cavity wall. For boneless, skinless breasts, enter through the side rather than the top. This gives you a wider horizontal path, keeping the tip right in the absolute center where heat penetrates last.
Navigating Around Bones and Fat Pockets
Bones conduct heat much faster than muscle tissue, which throws off your measurements completely. If your probe rests directly against a bone, the display will spike prematurely, making you think the meal is ready when the surrounding meat remains raw. Keep your probe centered in pure muscle.
Fatty deposits and pockets of gristle also conduct heat differently than lean muscle fibers. When you push the probe into the bird, aim for the densest part of the meat while purposefully steering clear of joints and cartilage. A proper reading relies entirely on measuring the actual muscle tissue that takes the longest to cook.
Reading Digital Displays Versus Analog Dials
Interpreting your equipment depends heavily on the specific hardware design sitting on your counter. Digital screens make life simple by spitting out an exact numerical value in bright, glowing digits. You simply wait for the numbers to stop climbing and record your final metric.
Dial faces require a bit more patience and keen eyesight. You must watch the needle sweep across the gradient scale until it comes to a complete halt. Make sure your eye level aligns directly with the needle to avoid parallax errors that can skew your perception by a few crucial degrees.
Handling Different Cuts: Breasts Versus Thighs
Different parts of the bird cook at different rates because of fat distribution and bone density. White meat dries out rapidly if overcooked, while dark meat actually benefits from a slightly higher temperature to break down connective tissue. This structural reality changes how you approach different cuts on the cutting board.
While breasts hit peak perfection right at 165 degrees, many chefs prefer cooking dark meat to 175 degrees for a more tender, melt-in-your-mouth texture. When roasting a whole bird, you should target the thigh since it sits closer to the cavity and takes longer to finish than the breast meat.
- Breast meat: Aim for 165°F to prevent dryness and tough textures.
- Thigh meat: Tastes best when taken up to 175°F for tender results.
- Whole birds: Check both the breast and the inner thigh before removing from heat.
The Carryover Cooking Phenomenon
Heat doesn’t stop moving the moment you pull your skillet or roasting pan away from the heat source. Hot exterior layers continue transferring thermal energy inward toward the core during the resting phase. This process, known as carryover cooking, can raise your final internal temperature by as much as five degrees.
Factor this thermodynamic reality into your timing to avoid accidentally drying out your meal. Pulling your poultry out of the oven when it hits 160 or 162 degrees often allows it to coast up to the safe 165 mark while resting on the counter. Always let your meat rest under a loose tent of foil for at least ten minutes before slicing into it.
Common Mistakes That Lead to Bad Readings
Even with top-tier equipment, simple user errors can ruin your culinary efforts. Poking the probe all the way through the meat so the tip pokes out the other side exposes the sensor to hot oven air instead of the food. Always verify that the sensing portion—usually the bottom half-inch of the metal stem—rests squarely inside the center.
Failing to clean your probe between checks can also cross-contaminate surfaces or leave stubborn residue that insulates the metal. Wipe the stem down with a sanitized cloth before every insertion to ensure fast, uninhibited thermal transfer. Taking these small precautions guarantees reliable numbers every single time you cook.
Frequently Asked Questions
Should chicken be cooked to 145 or 165 degrees Fahrenheit?
Poultry must always reach 165 degrees Fahrenheit to ensure harmful bacteria like Salmonella are destroyed. While some culinary trends suggest lower thresholds for beef or pork, chicken requires the higher temperature for food safety reasons.
How do you find the exact center of a chicken breast?
Insert your thermometer probe horizontally through the side of the breast rather than vertically from the top. This technique allows the sensor to sit directly in the thickest part of the meat without touching the bottom of the pan.
Can I leave a digital thermometer in the chicken while it cooks in the oven?
Only use thermometers specifically rated as oven-safe leave-in probes. Standard instant-read digital models contain sensitive electronics in the housing that will melt or break if left inside a hot oven during the cooking process.
Why does my thermometer keep reading different temperatures in the same spot?
Inconsistent readings usually happen when the probe touches a bone, a pocket of fat, or when the tip isn’t pushed deep enough into the thermal center. Realign the probe carefully to ensure it sits entirely within dense muscle tissue.
Conclusion
Mastering the art of checking your poultry transforms your cooking from an anxious guessing game into a precise science. By paying close attention to probe placement, respecting the rules of carryover cooking, and investing in reliable equipment, you set yourself up for consistently delicious results. Treat your thermometer as an essential kitchen partner rather than an afterthought, and your meals will never be the same.
Take these techniques into your kitchen this week and test them out on your next roast or weeknight skillet meal. You’ll quickly notice how easy it is to achieve perfectly juicy poultry every single time you cook. Happy cooking, and enjoy your perfectly prepared meals!