

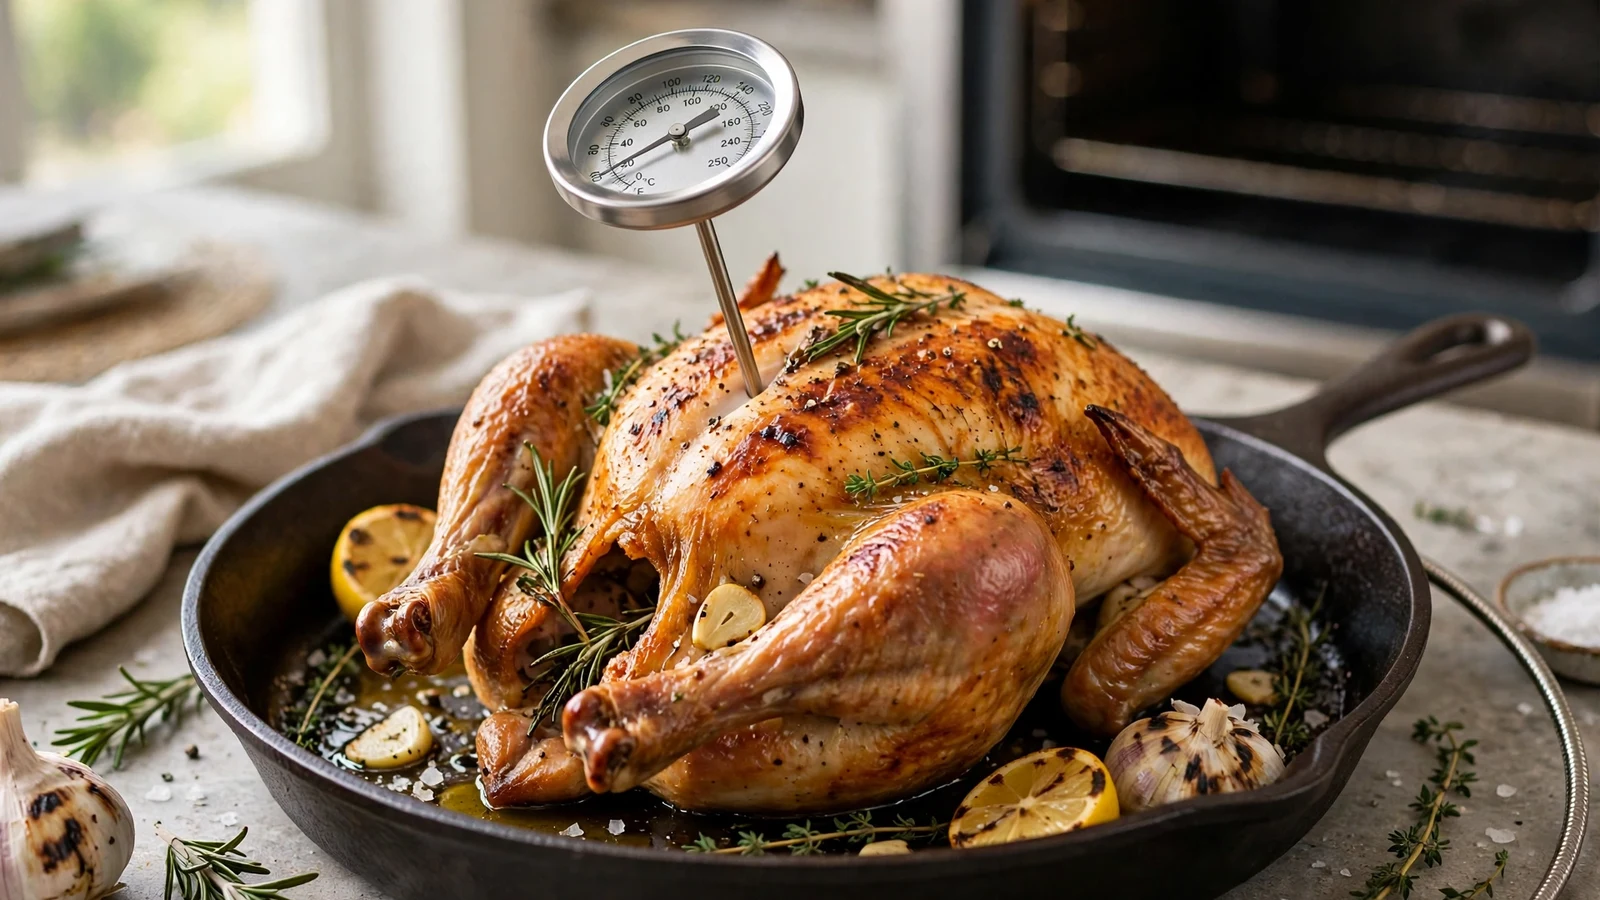
Leaving a temperature probe inside your roast while it cooks saves you from opening the door every few minutes, but guessing whether your gear can handle the heat is a recipe for disaster. Knowing how to tell if meat thermometer is oven safe prevents melted plastic, ruined food, and dangerous chemical leaks in your kitchen.
Every home cook has stared at a kitchen gadget at some point, wondering if it can survive high heat. When you need to monitor a roasting chicken or a massive beef brisket without constantly opening the door, figuring out how to tell if meat thermometer is oven safe becomes an urgent priority. Making a mistake here can ruin your dinner and wreck your equipment.
Understanding the Core Difference Between Probe Types
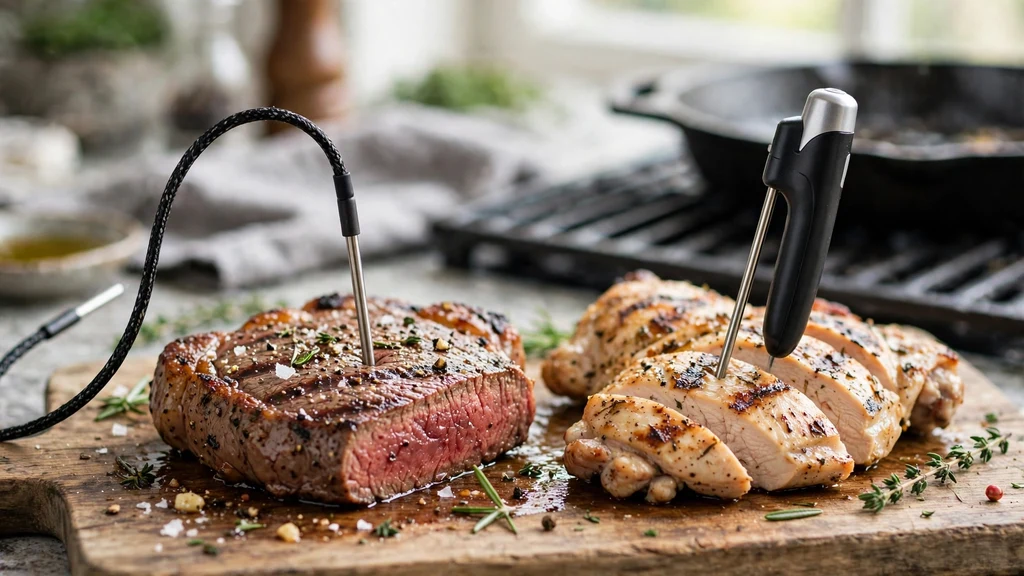
The biggest mistake people make is assuming every digital device works the same way. An instant-read device is built for quick checks and typically features a plastic housing or a digital display right at the end of the stem.
If you leave that plastic housing inside a hot oven, it will melt, warp, or catch fire. True leave-in tools separate the steel probe from the display unit using a heat-resistant cable.
Traditional dial gadgets are often fully metal, which might lead you to believe they can stay in place indefinitely. However, the internal mechanisms of cheap dials rely on bimetallic strips that lose their calibration when exposed to prolonged high heat. Always check whether the manufacturer explicitly designed the entire assembly to withstand roasting temperatures or just the metal stem itself.
Decoding Manufacturer Markings and Symbols
Manufacturers usually stamp or etch important usage instructions directly onto the metal stem or the back of the dial. Look for small icons that resemble a tiny oven, a flame, or an electric coil. If you see these symbols, you can generally trust that the unit is built to endure ambient heat while monitoring your food.
When markings are missing or worn off, finding the exact model number on the back of the unit or the packaging is your next step. You can cross-reference that number with the manufacturer’s website or check reliable resources like the USDA Food Safety and Inspection Service for official kitchen equipment guidelines. Never guess when it comes to high-heat exposure, as unclear labels usually mean the device belongs on the counter rather than inside the roasting pan.
Evaluating Material Construction and Cable Resilience
The materials used in your cooking gear dictate its heat tolerance. Stainless steel stems are standard, but the wire and the transition point where the metal meets the cable are common failure zones. High-end units feature braided stainless steel cables that can handle temperatures reaching up to 700 degrees Fahrenheit, making them ideal for smoking meat or high-heat roasting.
Cheap silicone or rubber coatings on the wire might withstand boiling water, but they will degrade quickly in a dry oven environment. If the cable smells like burning plastic during your initial test runs, pull it out immediately. Durable construction means every component, from the tip to the plug, uses materials engineered to resist thermal degradation.
The Boiling Water Test for Calibration and Safety
Testing your gear before a big cooking session gives you peace of mind regarding both safety and precision. Fill a small pot with water and bring it to a rolling boil, ensuring the temperature reaches 212 degrees Fahrenheit at sea level. Insert the probe into the middle of the boiling water without touching the sides or bottom of the container.
- Boiling water should register precisely 212°F (100°C) on a properly calibrated device.
- If the reading is off by more than two degrees, your tool needs adjustment or replacement.
- Never submerge the digital display housing or the cable junction box in the water.
- Check the manufacturer manual to see if your specific model allows for manual recalibration.
This simple procedure not only confirms accuracy but also highlights any structural flaws in the probe housing. If moisture seeps into the digital display during this test, the seal is broken and the unit is no longer safe for extended cooking use.
Comparing Leave-In versus Instant-Read Models
Choosing the right tool for the job prevents accidental damage and ensures reliable results. The following table highlights the key differences in construction and heat tolerance between common categories.
| Device Type | Design Features | Oven Safe? | Max Heat Tolerance |
|---|---|---|---|
| Instant-Read Digital | Integrated plastic body and digital readout | No | Only for brief insertions |
| Leave-In Probe | Steel stem with heat-resistant wire and remote base | Yes | Up to 500°F–700°F (probe/wire) |
| Traditional Dial | All-metal construction with analog face | Sometimes | Varies by internal spring quality |
Understanding these hardware limitations ensures you never expose a fragile gadget to an environment that exceeds its design limits. Matching the tool to your cooking method keeps your kitchen running smoothly.
Common Pitfalls That Destroy Cooking Probes
Even equipment rated for high heat can fail if you abuse it during daily kitchen tasks. Slamming an oven door on a delicate wire cable will crush the internal insulation and short out the sensor instantly. Always route the cable carefully through the door hinge rather than forcing it through a tight seal where it can get pinched.
Another major killer of kitchen electronics is thermal shock. Plunging a glowing hot steel probe directly into a sink full of ice-cold water warps the metal casing and shatters internal sensors. Let your roasting gear cool down naturally on the counter before washing it by hand, and never submerge non-waterproof housings in your dishwater.
Proper Placement and Insertion Techniques
Getting an accurate reading requires more than just poking your roast at random. Slide the metal tip straight into the thickest part of the food, making sure it stays away from large bones, fat pockets, and hollow cavities. Hitting a bone gives you a falsely elevated reading because bone conducts heat much faster than muscle tissue.
When cooking poultry, insert the probe into the meatiest part of the thigh without letting it pierce all the way through to the cavity. Proper depth ensures the sensing element in the tip is right where it needs to be. This guarantees your food reaches the proper internal benchmark safely and consistently every time.
Frequently Asked Questions
Can my meat thermometer stay in the oven?
Only if the manufacturer explicitly rates the model as a leave-in or oven-safe device. Standard digital instant-read tools with plastic bodies will melt or break if left inside a hot cooking environment.
What happens if you leave an instant read thermometer in the oven?
The plastic housing will melt, the internal digital display will fry, and toxic chemicals or smoke may contaminate your food. Never leave non-leave-in models inside a running appliance.
How do I know the maximum temperature limit of my probe?
Check the product manual or search the model number online. Most heavy-duty braided steel cables and stainless steel probes handle up to 500 degrees Fahrenheit comfortably, but limits vary widely.
Can I use a meat thermometer in a smoker?
Yes, provided it is a leave-in model designed for low-and-slow cooking. Smoker environments require durable cables and moisture-resistant probes that can withstand hours of heat and smoke exposure.
Conclusion
Mastering how to tell if meat thermometer is oven safe protects your investment and ensures your meals turn out cooked to perfection. Take a moment to check your equipment markings and verify material limits before starting your next roast. Treat your kitchen tools with care, and they will reward you with reliable performance for years of delicious meals ahead.