

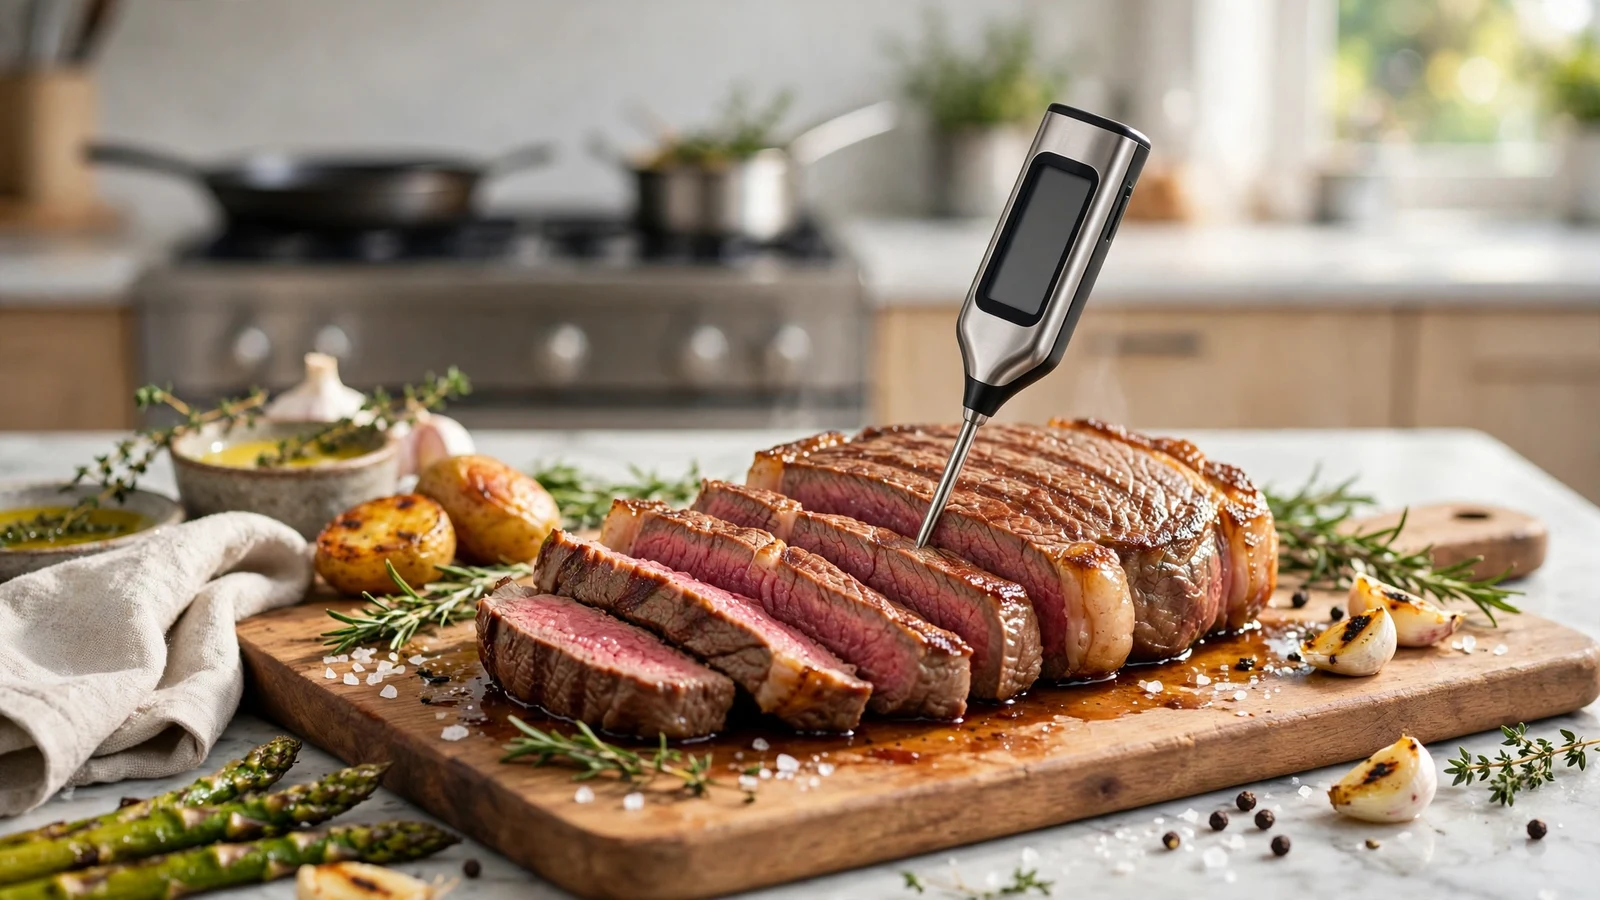
Cooking meat to the right temperature stops being a guessing game the moment you start using a digital thermometer for meat. Overcooked chicken and undercooked pork vanish from your kitchen routine entirely once you master this simple tool. Let us dive into the mechanics of proper placement, temperature thresholds, and everyday kitchen habits that ensure safe and delicious meals every single time.
Choosing the Right Meat Thermometer for Your Kitchen
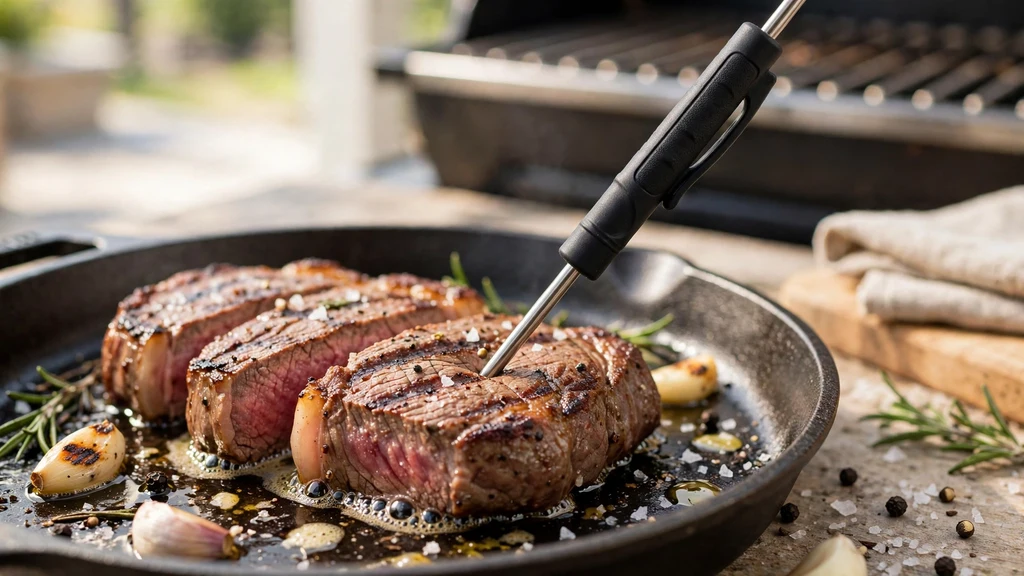
You will find several styles of meat thermometers on the market, but two main varieties dominate home cooking. Instant-read digital models give you a fast reading in a few seconds, which makes them ideal for flipping steaks, checking burgers, or pulling pork chops off a hot skillet. Leave-in probe thermometers feature a heat-resistant cable attached to a metal spike. You insert the probe before cooking, place the meat inside the oven or smoker, and monitor the internal temperature continuously on an external display without opening the door.
When you shop for these tools, look for features that match your cooking style. Magnetic backs, waterproof bodies, and back-lit screens make a massive difference when you are grilling outside in the evening. Some advanced models even feature smart Bluetooth capabilities, letting you track your cook from your smartphone across the backyard.
Locating the Center and Thickest Part of the Cut
Success depends entirely on where you place the metal spike. You need to target the center thickest region of the muscle, avoiding any contact with fat pockets or gristle.
Fat conducts heat differently than muscle tissue, which leads to false readings that trick you into thinking your food is done early. If you are cooking a massive turkey or a bone-in roast, visualize the deepest core of the protein before you make your move.
Always steer clear of bones while inserting the probe. Bones conduct heat rapidly, meaning the meat directly touching the bone heats up much faster than the surrounding flesh. If your probe accidentally hits bone, pull it back slightly and redirect it into the surrounding tissue to secure an accurate measurement of the actual meat.
Mastering Insertion Depth and Technique
Proper insertion requires a steady hand and a clear understanding of your cut’s geometry. For thin cuts like chicken breasts or pork chops, slide the probe in horizontally from the side.
This technique ensures the tip reaches the true geometric center rather than passing all the way through to the hot pan below. For large roasts or whole poultry, enter from the top at a slight angle.
Many digital models feature a small indentation or line on the metal shaft known as the dimple. This mark indicates how deep you need to insert the probe to ensure the internal sensor actually captures the temperature. If you do not push the probe in far enough, the ambient air cooling the exposed metal will give you a artificially low reading.
Navigating Specific Cuts and Proteins
Different proteins demand different handling techniques when you are checking doneness. A thick ribeye steak requires a quick poke from the side, while a whole chicken needs its temperature checked in the inner thigh without touching the bone. For ground meat patties, slide the thin probe directly into the edge of the burger until the tip rests firmly in the middle.
Pork roasts and lamb legs behave similarly to beef roasts, benefiting greatly from leave-in probes that track slow transformations over several hours. Understanding the unique anatomy of each protein prevents common kitchen mishaps and guarantees juicy, flavorful results across your entire menu.
- Steaks and Chops: Insert from the side to reach the exact center.
- Whole Poultry: Check the thickest part of the thigh and breast, avoiding bone.
- Ground Meat: Slide the probe horizontally into the side of patties.
- Large Roasts: Target the deepest part of the muscle mass, away from fat caps.
Understanding Safe Cooking Temperatures
Monitoring heat levels is ultimately about balancing food safety with culinary texture. Government health guidelines outline strict minimum targets to eliminate harmful pathogens, but professional chefs often pull meat slightly early to account for carryover cooking. For detailed safety standards, you can consult the USDA safe temperature chart to verify standard benchmarks for every type of poultry, beef, and pork.
Carryover cooking is the phenomenon where meat continues to cook after you remove it from the heat source because residual thermal energy travels inward. If you want a medium-rare steak that reads 135 degrees Fahrenheit on the plate, you should pull it off the grill when the thermometer hits about 130 degrees.
| Protein Type | Minimum Safety Target | Recommended Culinary Doneness |
|---|---|---|
| Ground Beef & Pork | 160°F (71°C) | 160°F (71°C) |
| Whole Poultry | 165°F (74°C) | 165°F (74°C) |
| Steaks (Medium-Rare) | N/A | 130°F – 135°F |
| Pork Chops (Medium) | 145°F (63°C) | 145°F with a rest |
Maintaining and Calibrating Your Device
Even the most expensive digital tool loses accuracy over time if you drop it or expose it to extreme thermal shock. Testing your device takes less than two minutes using an ice water bath.
Fill a glass with crushed ice, top it off with cold water, and stir gently. Submerge the probe tip without touching the sides of the glass; the display should read exactly 32 degrees Fahrenheit (0 degrees Celsius).
If your device reads significantly higher or lower, look for a calibration button or reset function on the housing. Never submerge the entire digital unit in dishwater unless the manufacturer explicitly rates it as fully waterproof. Wipe the probe clean with warm soapy water immediately after each use to prevent stubborn buildup from scorching during your next cooking session.
Common Mistakes to Avoid
Kitchen habits die hard, but a few adjustments will protect your culinary efforts. Do not leave standard instant-read models inside a hot oven, as the plastic housing will melt and ruin the internal electronics. Only use leave-in probes designed specifically for high-ambient oven or smoker environments.
Another frequent error involves checking meat while it sits directly over an open flame without shielding your hand. Always pull the pan or cut away from direct heat sources for a moment before taking your measurement. This prevents steam and flare-ups from skewing your digital reading and protects your hands from accidental burns.
Frequently Asked Questions
Do you leave the digital thermometer in meat while cooking?
You only leave leave-in probe thermometers inside the meat while it cooks. Standard instant-read digital models are meant for checking temperatures quickly at the end of the cooking process and will melt if left inside a hot oven or smoker.
How do I know if my digital meat thermometer is accurate?
Test your thermometer by submerging the probe tip into a glass filled with a mixture of crushed ice and water. A properly calibrated device will read 32 degrees Fahrenheit within about thirty seconds of stirring.
Should I worry if the probe touches a bone?
Yes, touching a bone will ruin your measurement because bones conduct heat much faster than muscle tissue. If your probe hits a hard surface, pull it back slightly and angle it toward the fleshy center of the cut.
What is carryover cooking and why does it matter?
Carryover cooking happens when meat continues to rise in temperature after you remove it from the heat source. Factoring this residual heat into your cooking schedule prevents you from accidentally overcooking expensive cuts of meat.
Conclusion
Mastering the use of a digital thermometer for meat transforms your cooking from an unpredictable guessing game into a reliable culinary science. By focusing on proper probe placement, respecting target safety zones, and keeping your equipment calibrated, you unlock consistent results every time you fire up the stove or grill. Put these straightforward habits into practice on your next weeknight dinner, and enjoy perfectly cooked meals with total confidence.