

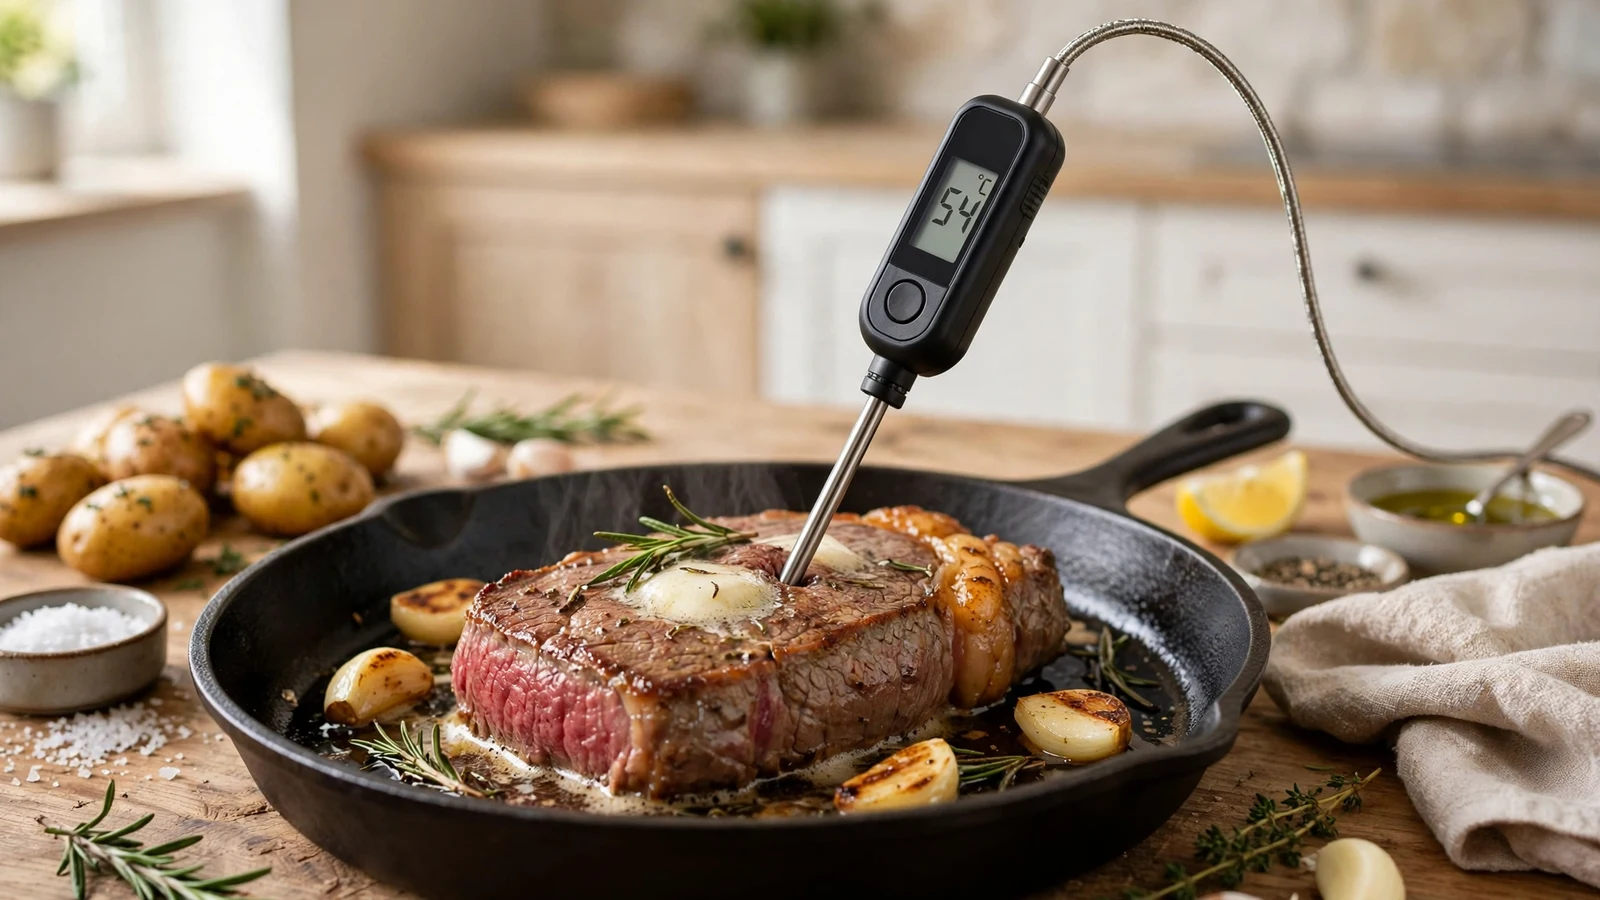
Cooking dinner shouldn’t feel like playing Russian roulette with your poultry, which is why mastering how to use a meat probe thermometer completely changes your kitchen game. Dropping guesswork entirely ensures your food is safe to eat and perfectly juicy every single time you cook.
You will finally stop hacking into thick cuts of beef or pork on the cutting board just to see if they are done. Let us dive into the mechanics, placement rules, and calibration steps that turn your cooking around.
Understanding Your Digital Meat Thermometer
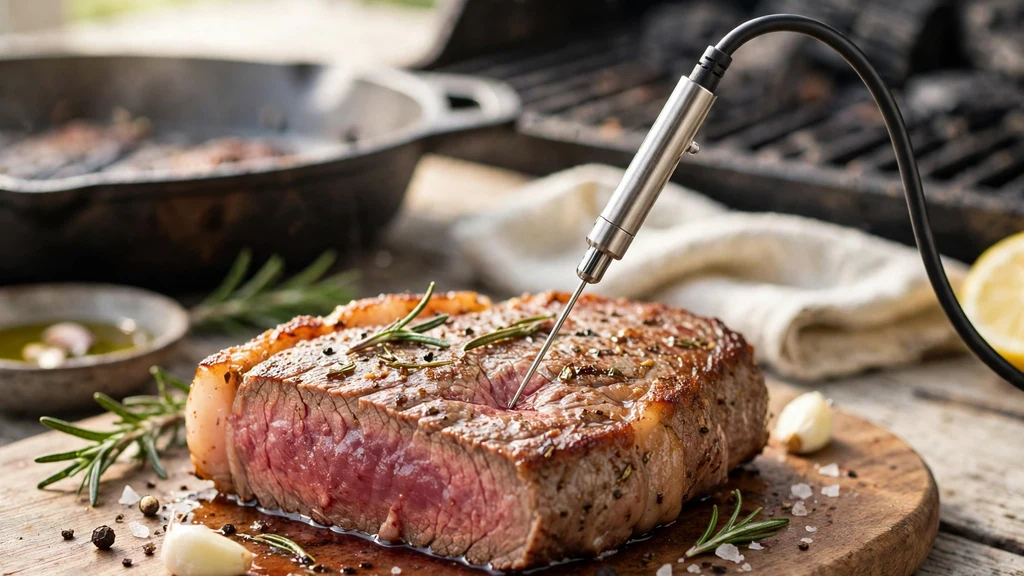
A digital meat thermometer gives you a real-time reading of what is happening inside your food. Unlike the old dial thermometers that took forever to register heat, modern versions use a thin metal stem attached to a digital display via a heat-resistant wire, or they come as instant-read pocket units.
The thin metal stem houses a tiny sensor right near the tip. This design matters immensely because you need that specific point positioned correctly to get an accurate reading. Some models even feature an ambient probe that tracks the heat of your oven or grill grate alongside your food’s internal progress.
Finding the Thickest Part of the Meat
Where you place your probe thermometer dictates whether your meal succeeds or fails. You always want to target the thickest part of the cut, staying well away from any massive fat caps or direct bone contact. Bones conduct heat much faster than muscle tissue, which tricks your device into showing a falsely high temperature while the surrounding meat remains undercooked.
For poultry, the meatiest section of the breast or the deep thigh joint works best. With steaks and roasts, aim for the literal center of the mass. If your cut has an irregular shape, find the deepest part and push the tip right in there without poking all the way through to the other side.
Here are the primary areas to target for common proteins:
- Whole poultry: The deepest part of the thigh muscle, avoiding the bone.
- Steaks and chops: The exact geometric center of the cut.
- Pork roasts: The thickest portion, away from the fat layer.
- Whole briskets: The thickest part of the flat muscle, avoiding the fat seam.
Correct Insertion Technique for Accurate Readings
Inserting a probe thermometer takes a tiny bit of care if you want reliable numbers. Push the metal stem straight in rather than at an awkward angle, making sure the sensing tip lands dead center. If you slide the probe in sideways through the side of a thin steak, you increase your chances of hitting the hot pan or missing the core.
For wired remote units, you can leave the probe in the food while it cooks inside the oven, smoker, or grill. Just make sure the cable can handle the heat levels and that the door closes cleanly without pinching or crushing the wire. Many kitchen tools feature guidelines on thermal limits, and you can review proper food safety practices over at the USDA Food Safety and Inspection Service for complete target metrics.
Calibrating Your Probe for Precision
Even high-end probe thermometers fall out of calibration over time due to accidental drops or battery wear. Testing your device takes less than two minutes and guarantees your readings are completely trustworthy. The easiest method involves a simple ice water bath.
Fill a glass tightly with crushed ice, then top it off with cold water. Stir the mixture gently, then insert your thermometer stem into the middle of the glass without touching the sides or bottom.
Your display should read precisely thirty-two degrees Fahrenheit, or zero degrees Celsius. If it reads a few degrees off and your model lacks an adjust button, you simply add or subtract that offset during your cooking sessions.
| Calibration Test | Target Temperature (F) | Target Temperature (C) |
|---|---|---|
| Ice Water Bath | 32°F | 0°C |
| Boiling Water | 212°F | 100°C |
Managing Different Types of Cooking Environments
Different cooking methods demand specific adaptations for your probe thermometer. When using an oven, wired units let you monitor the progress from your kitchen counter without opening the door and losing valuable heat. Grills and smokers present unique challenges because wind and flare-ups can cause wild fluctuations in ambient heat.
If you are pan-searing a thick ribeye, an instant-read thermometer usually serves you better than a leave-in corded probe. You simply pull the pan off the heat for a second, slide the stem into the side of the steak, check the number, and get back to searing.
Knowing Safe Internal Temperatures
Cooking meat safely requires hitting specific target temperatures to kill harmful bacteria. Poultry requires a higher internal reading than beef or pork because of how pathogens live within the muscle fibers. Relying on color alone is a recipe for disaster, as meat can turn brown before it is fully safe, or stay pink even when it is completely done.
Keep these baseline safe targets in mind:
- Poultry (chicken, turkey, duck) reaches safe levels at one hundred sixty-five degrees.
- Ground meats need to hit one hundred sixty degrees.
- Whole cuts of beef, pork, lamb, and veal are safe at one hundred forty-five degrees followed by a three-minute rest.
Avoiding Common Measuring Mistakes
Plenty of home cooks struggle with their thermometers simply due to minor operational errors. Touching a hot cast-iron skillet with the tip of your probe will instantly spike the digital readout and trick you into thinking your food is done. Always clear the cooking surface before taking a measurement.
Another frequent mistake involves leaving a non-oven-safe wired probe exposed to direct, open flames on a grill. The plastic housing or cable insulation will melt immediately, ruining the equipment. Read the manufacturer manual to confirm whether your specific hardware is designed for high-heat ambient environments or strictly for internal food monitoring.
Resting Your Meat After Cooking
Taking your food off the heat source does not mean the cooking process stops immediately. Residual heat continues to cook the center of a roast or steak for several minutes after you pull it. This phenomenon is called carryover cooking, and it can easily raise your final internal temperature by five to ten degrees.
Pull your protein slightly below your target temperature if you plan to let it rest on a cutting board or warm platter. This resting period allows the muscle fibers to relax and reabsorb all those delicious juices instead of bleeding out all over your plate the second you slice into them.
Frequently Asked Questions
Do you leave a meat thermometer in the meat while it cooks?
You can leave leave-in probe thermometers inside the meat while it cooks in the oven or smoker. However, instant-read pocket thermometers are designed only for a quick spot check and should be removed immediately after taking the measurement.
What temperature should meat be probed at?
You should probe meat right before you plan to pull it off the heat source, or continuously throughout the cooking process if you are using a wired remote thermometer inserted into the thickest part of the cut.
How do I know if my digital meat thermometer is accurate?
Test your thermometer by placing the metal tip into a cup filled with crushed ice and cold water. It should read thirty-two degrees Fahrenheit. You can also test it in boiling water, which should register at two hundred twelve degrees Fahrenheit.
Can I use my meat thermometer in a frying pan?
Yes, but avoid letting the tip touch the hot metal surface of the pan or the bottom of the skillet. Doing so will give you an artificially high reading that reflects the pan temperature rather than the food.
Conclusion
Mastering how to use a meat probe thermometer takes the guesswork out of daily cooking and guarantees safe, juicy results every time. By paying attention to correct placement and regular calibration, you elevate your kitchen confidence immediately. Grab your thermometer, check your next roast, and enjoy cooking with absolute precision.