

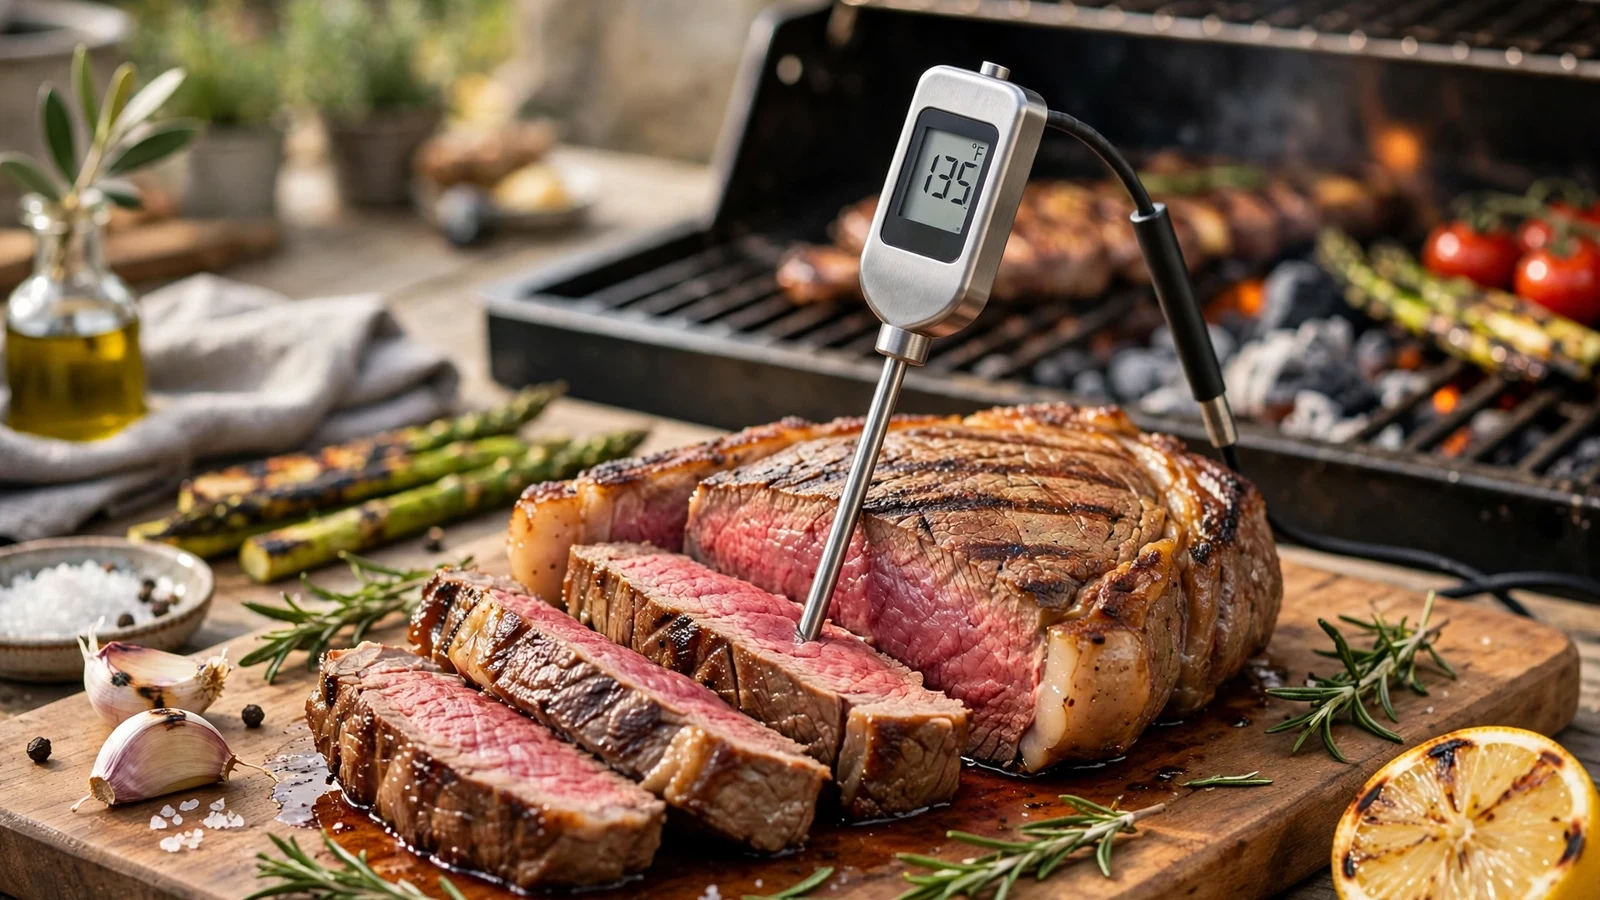
Mastering the art of cooking a great cut of beef often comes down to internal temperature, and knowing how to use a meat thermometer for steak takes all the guesswork out of the process. If you have ever cut into an expensive ribeye only to find a dry, grey center, you know how frustrating it is to rely on touch or arbitrary timers. Good kitchen tools bridge the gap between amateur mistakes and restaurant-quality results at home.
Why Eyeballing Your Steak Never Works
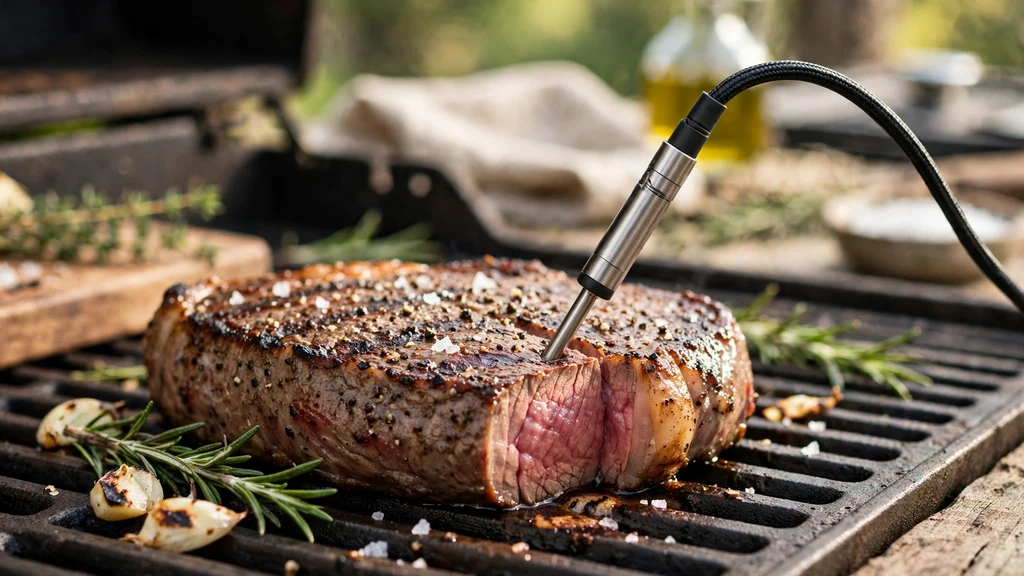
Visual cues and finger tests are notoriously unreliable in the kitchen. Every piece of beef is shaped differently, has varying fat content, and absorbs heat at its own rate.
Relying on guesswork often leads to overcooked meat or food safety concerns. Taking the mystery out of searing starts with trusting objective data.
Professional chefs rarely rely on luck. They use precise measurement tools to monitor thermal changes as proteins tighten and juices redistribute. This discipline prevents the kitchen anxiety that ruins dinner parties and wastes expensive proteins.
Choosing the Right Tool for the Job
The market offers various measuring devices, but digital instant-read models remain the gold standard for beef. Analog dial probes are sluggish and often miscalibrated. A fast-responding digital probe registers changes in a few seconds, letting you minimize heat loss while the skillet is hot.
When shopping for equipment, look for features that matter in a busy kitchen. A clear LCD screen, a thin probe tip, and auto-calibration capabilities make a massive difference. For deep dives into culinary science, resources like Serious Eats offer extensive breakdowns of how different tools perform under high heat.
- Instant-Read Digital: Delivers a temperature reading in under four seconds.
- Leave-In Probes: Stays inside the cut while it cooks in an oven or smoker.
- Infrared Thermometers: Measures surface heat, which is completely useless for checking the inside of a cut.
- Dial Thermometers: Slow to react and difficult to calibrate accurately.
Anatomy of a Steak and Where to Insert the Probe
Where you place the metal stem determines whether your reading is accurate or completely useless. You need to target the exact center of the muscle mass, avoiding pockets of pure fat and hard bone. Bone conducts heat faster than meat, giving you a falsely high reading if the tip touches it.
Enter from the side rather than the top whenever possible. This technique ensures the sensor passes directly through the thermal core rather than just dipping a millimeter into the upper layers. If you are cooking a thick cut like a filet mignon, side insertion is practically mandatory to get it right.
Target Temperatures for Every Level of Doneness
Personal preference dictates how rare or well-done your beef should be, but science dictates the exact cutoff points. Pulling the beef off the heat slightly early accounts for carryover cooking. The internal heat will continue to rise while the meat rests on the cutting board.
| Doneness Level | Pull Temperature | Final Resting Temp |
|---|---|---|
| Rare | 120°F to 125°F | 130°F |
| Medium Rare | 130°F to 135°F | 140°F |
| Medium | 140°F to 145°F | 150°F |
| Well Done | 155°F+ | 160°F+ |
Mastering the Reverse Sear Technique
Thick cuts benefit immensely from a gentle low-heat start followed by a blazing-hot finish. This method cooks the interior evenly from edge to edge without forming a thick, overcooked gray band just beneath the crust. A leave-in digital probe becomes your best friend during the oven phase.
Set your oven low, insert the probe into the thickest part, and monitor the display until it sits about fifteen degrees below your target. Pull it out, pat the surface bone dry, and drop it into a screaming hot cast-iron skillet with butter and garlic to build an incredible crust in minutes.
Avoiding Common Measurement Mistakes
Even with good gear, simple errors ruin the reading. Touching the cooking grate with the tip of the probe will spike the display and trick you into thinking the beef is done. Always lift the skillet off the burner briefly to steady your hand before inserting the metal stem.
Another frequent mistake involves cleaning the device incorrectly. Submerging electronic units in water ruins the internal wiring. Wipe the metal stem down with a warm, soapy cloth immediately after use, keeping the digital housing completely dry.
Letting the Meat Rest Before Slicing
Measuring the internal peak is only half the battle; resting is where the magic happens. Muscle fibers contract tightly under intense heat, pushing all the natural juices toward the center of the cut. Slicing immediately causes those juices to pool uselessly on your cutting board.
Give a standard ribeye or strip about five to ten minutes on a warm plate or cutting board before bringing out the knife. This window lets the proteins relax and reabsorb moisture, ensuring every single bite remains tender and juicy.
Frequently Asked Questions
Should you leave the thermometer in the steak while cooking?
It depends entirely on the device you are using. Standard instant-read models will melt if left inside a hot skillet or oven. Only specialized leave-in probe thermometers rated for high heat should remain inside the beef during the cooking process.
How far into the steak should the probe go?
The tip of the metal stem needs to reach the geometric center of the thickest muscle mass. Pushing it straight through to the other side and pulling it back slowly until the display peaks helps you locate the exact hot spot.
Why does my steak keep overcooking even with a thermometer?
Carryover cooking is usually the culprit. Residual heat trapped in the outer layers continues to cook the interior after you remove it from the heat source. Pull the beef five degrees below your target temperature to compensate.
Can you use a meat thermometer on thin cuts?
It is very difficult to use a traditional probe on cuts thinner than an inch. Inserting horizontally through the side is the only way, but visual cues or a reliable timer often work better for thin skirt or flank steaks.
Conclusion
Perfecting your technique takes a bit of practice, but investing the time to measure internal heat accurately changes your cooking forever. By choosing reliable equipment and paying close attention to target numbers, you eliminate the guesswork from every backyard barbecue or weeknight dinner. Grab your digital probe, watch those thresholds closely, and enjoy consistently incredible results every single time you fire up the stove.