

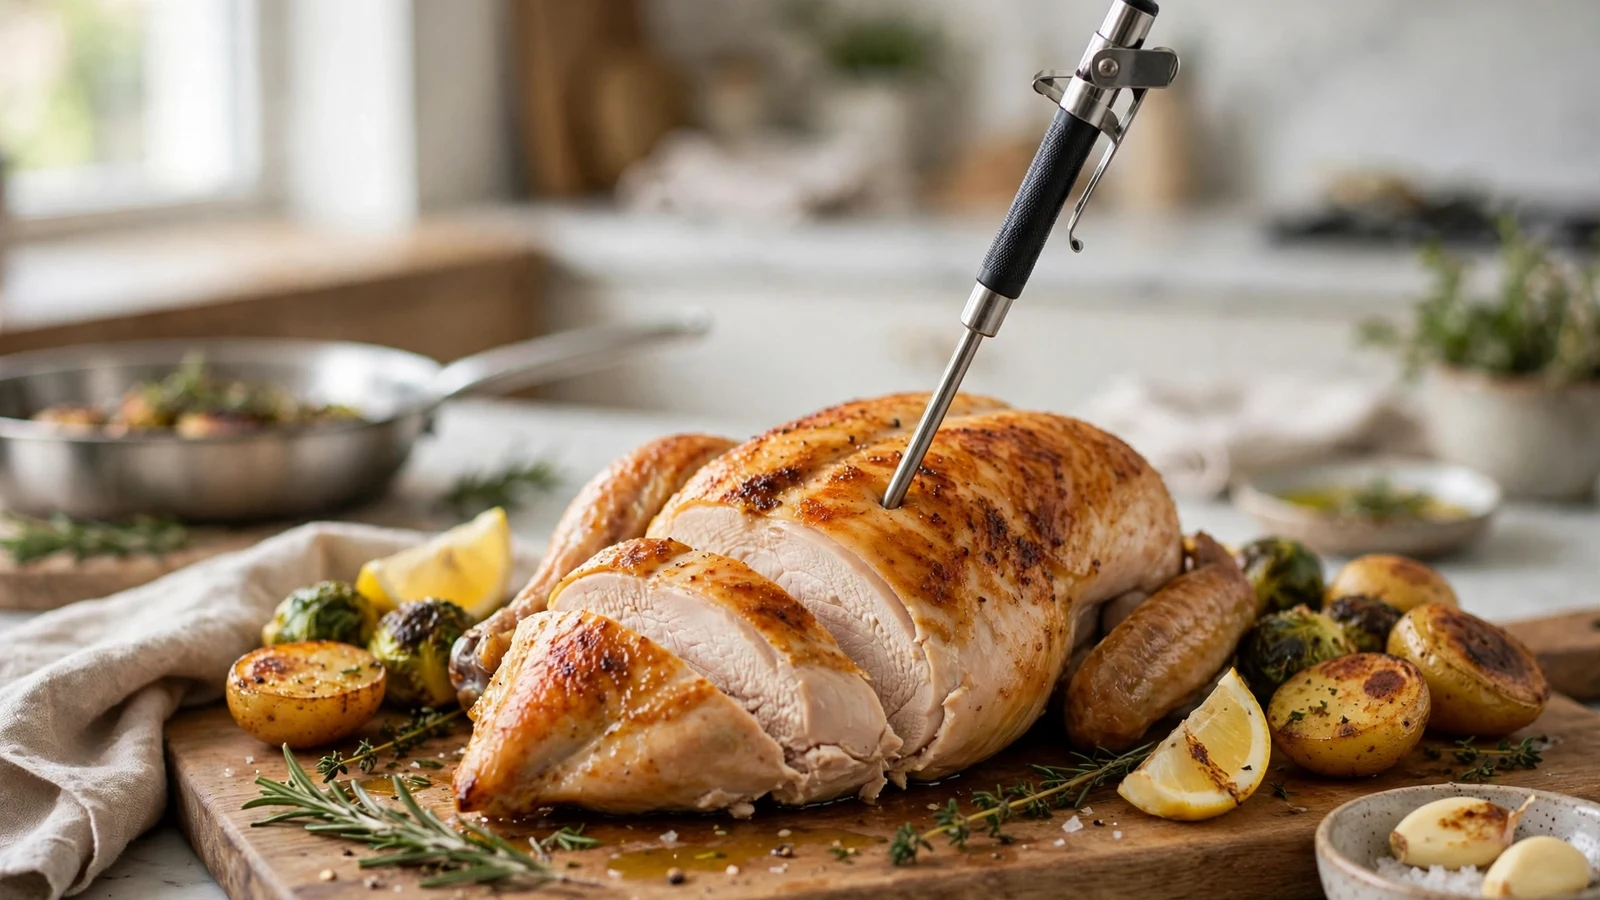
Getting dinner on the table shouldn’t feel like a guessing game, especially when poultry is involved. Figuring out how to use a meat thermometer for chicken takes away all the stress and guarantees safe, juicy results every single time.
Understanding the Basics of Poultry Temperature Safety

Food safety guidelines are clear for a reason. Bacteria like salmonella lurk in raw poultry, making proper cooking non-negotiable. Internal temperature serves as your only foolproof metric.
Forget touching the surface or checking juices. Those old kitchen myths lead to mistakes, causing overcooked meat or, worse, foodborne illness.
Pathogens die instantly at 165 degrees Fahrenheit. Reaching this threshold eliminates danger while preserving moisture. Many home cooks rely on guesswork, which usually results in rubbery, dry poultry.
A digital probe removes that uncertainty. You get exact readings in seconds.
Choosing the Right Tool for Your Kitchen
Market options vary widely, from old-school dial gauges to lightning-fast digital models. Instant-read digital thermometers stand out as the gold standard for home cooking. They feature thin probes that penetrate meat easily and display numbers within three to four seconds.
Dial thermometers require insertion up to a specific dimple line. They take twenty seconds to register, letting valuable heat escape.
Smart leave-in probes work well for roasting whole birds in the oven. They connect to external displays via wire cables, alerting you when dinner hits the target.
Consider these main types when shopping:
- Digital Instant-Read: Fast, accurate, and versatile for any cooking method.
- Dial Thermometers: Inexpensive, but slower and harder to calibrate accurately.
- Leave-In Probe Thermometers: Ideal for long roasting sessions and continuous monitoring.
- Infrared Models: Surface-only tools that cannot measure internal temperatures.
Mastering Chicken Breast Techniques
White meat dries out faster than any other cut. Chicken breasts lack fat, meaning a few minutes too long in the oven ruins dinner. Probe placement dictates your success here. Slide the metal tip into the thickest part of the breast.
Avoid touching bone or gristle. Bone conducts heat faster than flesh, giving you a falsely high reading. If your probe hits bone, push it slightly deeper or angle it toward the center.
Pull the bird from the heat source right at 160 degrees. Residual heat finishes the job during resting.
Navigating Thighs, Wings, and Dark Meat
Dark meat behaves differently than breast meat. Thighs and drumsticks contain more fat and connective tissue. Because of this, overcooked meat or, worse, the connective tissue breaks down, making dark meat actually taste better at slightly higher temperatures.
Aim for 175 degrees in chicken thighs. This extra heat renders collagen and fat, yielding tender bites. Wings present a sizing challenge.
The meat is thin, making precise insertion difficult. Stick the probe parallel to the bone in the meatiest part of the drumette.
Checking Whole Roasted Birds
Roasting an entire bird requires checking multiple zones. The cavity creates uneven heating dynamics. Proper placement means testing the thickest part of the breast and the inner thigh without touching the skeletal structure.
Insert the probe into the thickest part of the breast first. Next, check the joint where the thigh meets the body. The thigh reads higher than the breast during roasting.
Ensure the thigh hits 175 degrees while the breast reaches 165 degrees. For official guidelines on safe handling, visit the USDA Food Safety and Inspection Service.
Here is a quick reference for target temperatures across different cuts:
| Cut of Chicken | Target Internal Temperature | Resting Recommendation |
|---|---|---|
| Chicken Breast | 165°F | 5 to 8 minutes |
| Chicken Thighs | 175°F | 5 minutes |
| Whole Bird (Breast) | 165°F | 15 minutes |
| Whole Bird (Thigh) | 175°F | 15 minutes |
Why Letting the Meat Rest Matters
Pulling your dinner off the heat marks only the halfway point. Cutting a hot bird immediately causes juices to pool on the cutting board, leaving you with dry meat. Resting allows muscle fibers to relax and reabsorb moisture.
Cover the platter loosely with foil. Smaller cuts need five minutes.
Large whole birds require up to twenty minutes of downtime. Temperature continues rising during this rest phase, often climbing three to five degrees.
Common Calibration and Maintenance Mistakes
Even expensive gadgets fail when ignored. Thermometers lose accuracy over time due to drops and high heat exposure. Test your device in ice water to ensure it reads 32 degrees, or boiling water for 212 degrees.
Never submerge digital units entirely in dishwater unless the manufacturer specifies waterproof ratings. Wipe probes clean with warm soapy water immediately after use. Store them in protective sleeves to protect fragile tips.
Troubleshooting Weird Readings
Erratic numbers ruin cooking confidence. If your thermometer reads room temperature while stuck in a hot oven, the battery likely died or moisture entered the digital housing.
Slow response times usually point to a weak battery or a dirty probe covered in cooked-on grease. Clean the metal shaft thoroughly. If readings jump around erratically, replace the coin cell battery inside the unit.
Frequently Asked Questions
Should chicken be cooked to 145 or 165 degrees?
Chicken must reach an internal temperature of 165 degrees Fahrenheit to ensure harmful bacteria like salmonella are killed instantly. While some chefs experiment with lower temperatures for specific culinary textures, 165 degrees remains the standard safety recommendation.
Where do you place a meat thermometer in a whole chicken?
Insert the thermometer into the thickest part of the breast, making sure to avoid the bone. You should also check the inner thigh where it meets the cavity, pushing the probe into the meatiest section without hitting the hip joint.
Do you leave a meat thermometer in the meat while it cooks?
It depends on the device model. Leave-in probe thermometers are designed to stay inside the bird throughout the entire cooking process. Standard instant-read digital models should only be inserted at the end of cooking to check readiness.
Can you calibrate a digital meat thermometer?
Many digital thermometers feature a calibration button or auto-calibration mode. You can test accuracy by plunging the probe into an ice-water slurry. If it reads something other than 32 degrees Fahrenheit, adjust it according to the manufacturer manual.
Conclusion
Mastering poultry preparation transforms everyday cooking from a guessing game into a precise craft. By using a meat thermometer for chicken correctly, you protect your household while serving up juicy, flavorful meals. Keep your tool clean, know your target temperatures, and never skip the resting phase.
Grab your digital probe for your next recipe and taste the difference precision makes. Leave a comment below if you have any questions about your specific cooking setup.