

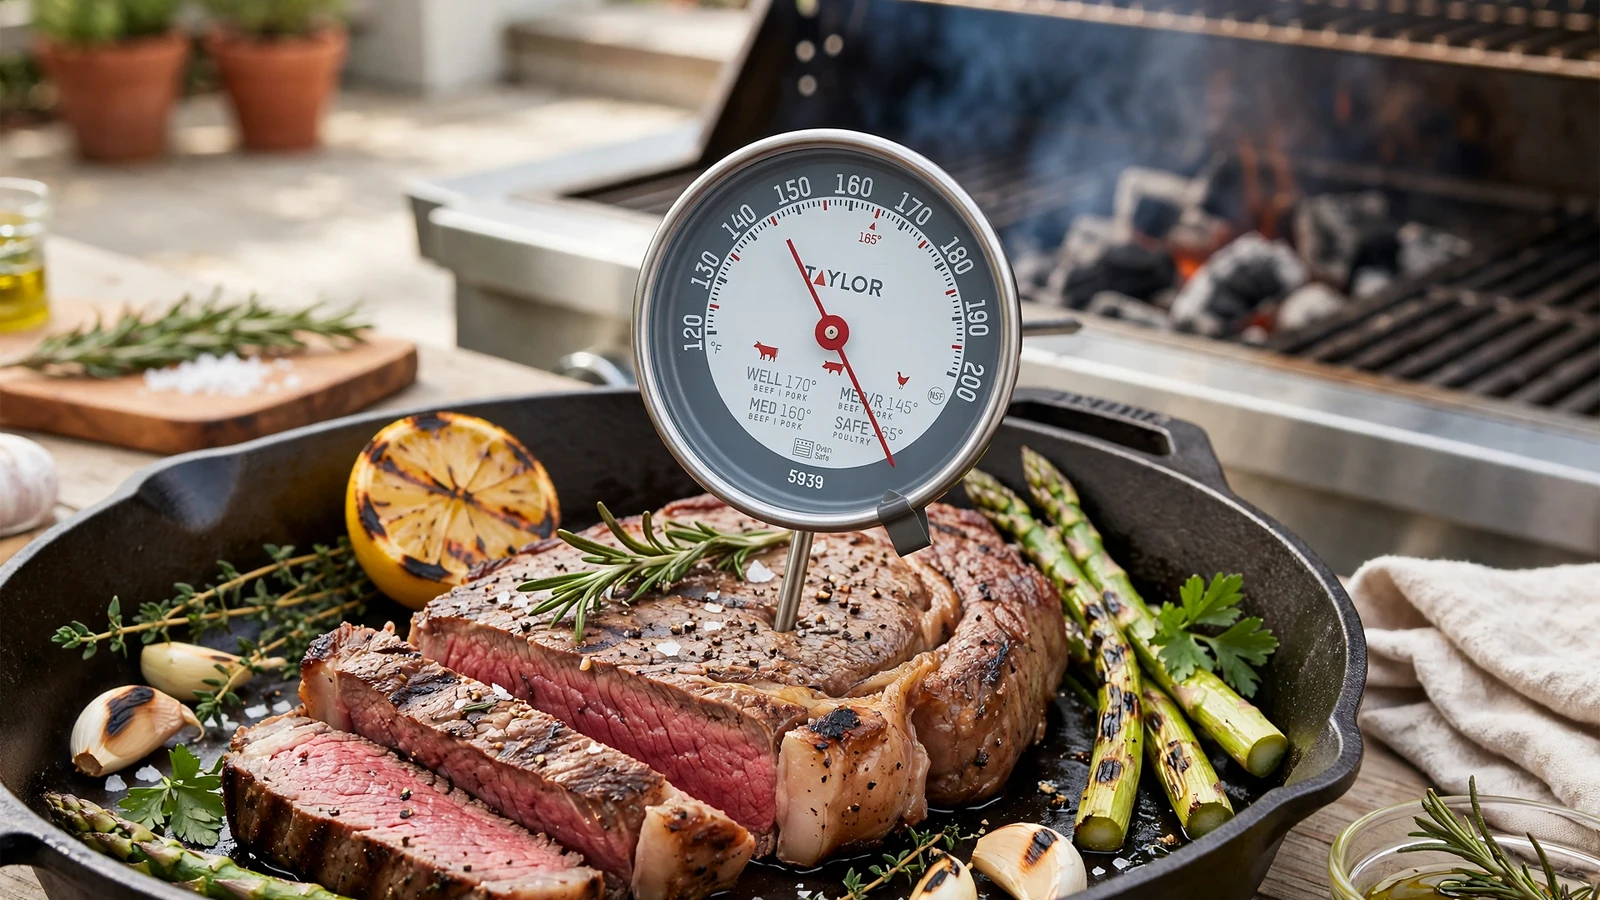
Getting your dinner right often comes down to knowing the exact internal temperature of your protein, and mastering how to use taylor meat thermometer models takes the guesswork out of your kitchen routine. Whether you are roasting a whole chicken for Sunday dinner or searing thick ribeye steaks on a cast-iron skillet, trusting your instincts alone rarely yields consistent results.
Knowing how to use taylor meat thermometer tools effectively ensures your food is safe to eat without drying out. This guide covers everything from initial setup to calibration and everyday care.
Understanding Your Taylor Thermometer Model
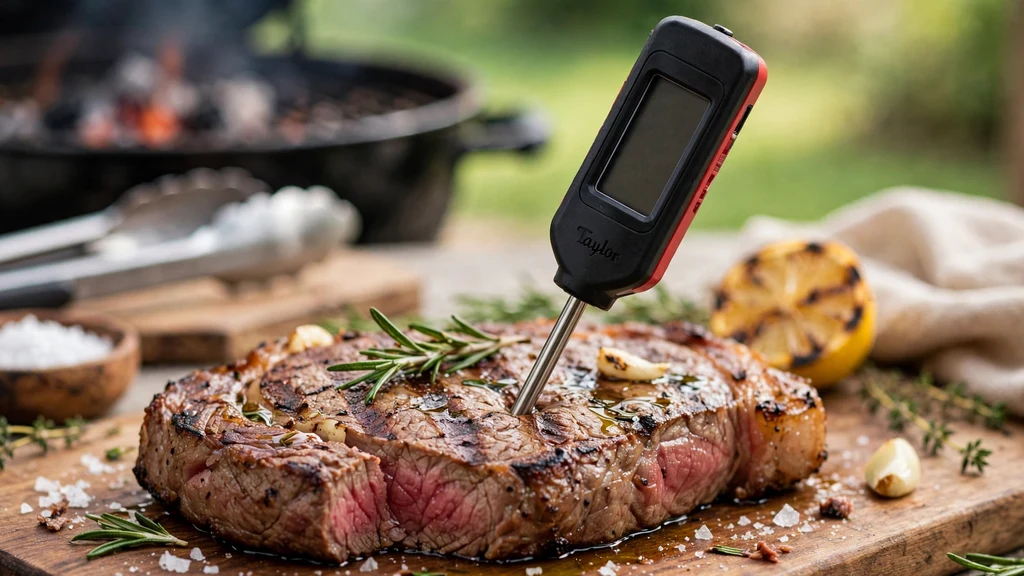
Before you poke that probe into your expensive cut of beef, take a moment to look at your specific device. Taylor manufactures a wide variety of kitchen tools, ranging from traditional dial face designs to instant-read digital gadgets. Every device comes with its own quirks, and the operating manual offers specific guidance for your exact purchase.
If you lost the paper instructions that came inside the retail box, you can usually find digital copies online by searching your model number. Knowing whether your device is water-resistant, oven-safe, or meant only for checking food at the very end of cooking will save you from melting plastic over a hot burner.
Preparing the Thermometer Before Cooking
A dirty or uncalibrated probe will give you false readings, so always prep your equipment before turning on the stove. Clean the metal stem with warm, soapy water and a sponge, making sure to avoid submerging digital components unless the product specifications say it is fully waterproof.
If you are using a dial model, check that the needle rests at room temperature before you start cooking. Should it be pointing at fifty degrees while sitting on your kitchen counter, you will need to adjust the calibration nut on the back. Taking these quick steps prevents ruined meals and ensures your cooking times stay accurate.
Inserting the Probe Correctly
Where you place the metal tip matters just as much as checking the gauge itself. Always slide the probe into the thickest part of the meat, making sure it avoids large bones, gristle, and pockets of pure fat. Bones conduct heat much faster than muscle tissue, which will give you a falsely high reading and leave your food undercooked.
For thin cuts like pork chops or chicken breasts, insert the probe horizontally from the side so the tip rests precisely in the geometric center. If you push the needle all the way through to the other side, slowly pull it back until the digital screen or dial peaks at its highest number.
Reading Digital Versus Dial Displays
Digital and dial thermometers require different techniques when you are standing over a hot oven or grill. Digital units usually give a reading within a few seconds, meaning you can check the meat quickly and close the oven door to keep the heat inside.
Dial models take a bit longer to react, sometimes requiring ten to fifteen seconds for the metal coil inside the stem to expand and move the needle.
- Digital models: Fast response times, require batteries, highly accurate, and often feature auto-shutoff functions.
- Dial models: No batteries needed, require physical calibration over time, and must be read at eye level to avoid parallax errors.
- Leave-in probes: Designed to stay inside the meat during long roasting sessions, featuring heat-resistant cords connected to an external base unit.
- Instant-read wands: Best for quick spot checks at the end of cooking rather than continuous monitoring inside a closed oven.
Calibrating for Maximum Accuracy
Even reliable kitchen tools drift out of alignment after months of heavy use or accidental drops on the kitchen floor. The ice water method remains the gold standard for checking and adjusting your device at home. Fill a tall glass with crushed ice and top it off with cold water, stirring the mixture for a few seconds to let the temperature stabilize at thirty-two degrees Fahrenheit.
Insert the probe into the icy slurry without letting the tip touch the sides or bottom of the glass. If your digital or dial display reads anything other than thirty-two degrees, adjust it according to your manual instructions or note the offset so you can factor it into your cooking.
Following USDA Temperature Guidelines
Food safety standards exist to protect you and your family from harmful foodborne pathogens. The United States Department of Agriculture provides clear guidelines for safe minimum internal temperatures across different types of meat and poultry.
Ground meats require higher heat than whole cuts because bacteria get mixed throughout the product during the grinding process.
| Meat Type | Minimum Internal Temp | Resting Time |
|---|---|---|
| Poultry (Whole or Ground) | 165°F (74°C) | None required |
| Ground Beef, Pork, Lamb | 160°F (71°C) | None required |
| Steaks and Chops (Beef, Pork) | 145°F (63°C) | 3 Minutes |
| Roasts (Beef, Pork, Lamb) | 145°F (63°C) | 3 Minutes |
| Fresh Ham | 145°F (63°C) | 3 Minutes |
For additional safety standards and official food handling practices, consult the USDA Food Safety and Inspection Service for comprehensive guidelines on safe cooking temperatures.
Cleaning and Proper Storage Techniques
Treating your equipment with care ensures it will last through years of holiday roasts and backyard barbecues. Wash the probe immediately after every use with hot water and dish soap, but never toss the entire unit into a dishwasher unless the manufacturer explicitly states it is dishwasher safe.
Store your thermometer in a clean kitchen drawer or hang it by its loop in a dry spot away from moisture and direct heat. Taking care of your tools means they will be ready to perform the next time you need to check a roast.
Troubleshooting Common Thermometer Issues
When a thermometer acts up in the middle of preparing dinner, a few quick troubleshooting steps can save the meal. If a digital screen stays blank or fades out completely, the battery is usually depleted and needs to be replaced with a fresh one.
For erratic readings that jump around wildly, moisture might have seeped into the digital housing; try leaving it in a dry place for a day. If a dial needle sticks in one position, gently tap the side of the metal stem or check if grease buildup is jamming the internal spring mechanism.
Frequently Asked Questions
Why isn’t my Taylor meat thermometer working?
A blank screen usually means dead batteries, while erratic numbers often point to moisture trapped inside the casing. Check the battery compartment for corrosion, replace the cells, or ensure the probe wire isn’t frayed if you are using a digital leave-in model.
How do I calibrate my Taylor meat thermometer?
Fill a glass with crushed ice and cold water, then insert the probe into the slush without touching the container walls. If it doesn’t read thirty-two degrees Fahrenheit, adjust the calibration nut on dial models or use the reset button on digital versions.
Can I leave my Taylor thermometer in the oven?
It depends entirely on the specific model you own. Oven-safe probes and leave-in digital units with heat-resistant cords can stay inside during cooking, but standard instant-read wands will melt and break if left in high heat environments.
Are Taylor meat thermometers accurate?
Yes, they provide highly reliable readings when properly maintained and calibrated. Regular testing against an ice water bath ensures your equipment remains accurate for everyday kitchen tasks and specialized roasting projects.
Conclusion
Mastering the use of a reliable kitchen probe transforms how you approach everyday cooking and holiday feasts alike. By following proper calibration routines, checking internal temperatures in the thickest sections, and respecting food safety guidelines, you can serve perfectly cooked meals every single time. Take care of your equipment, keep it clean, and enjoy the confidence that comes with precision cooking.