

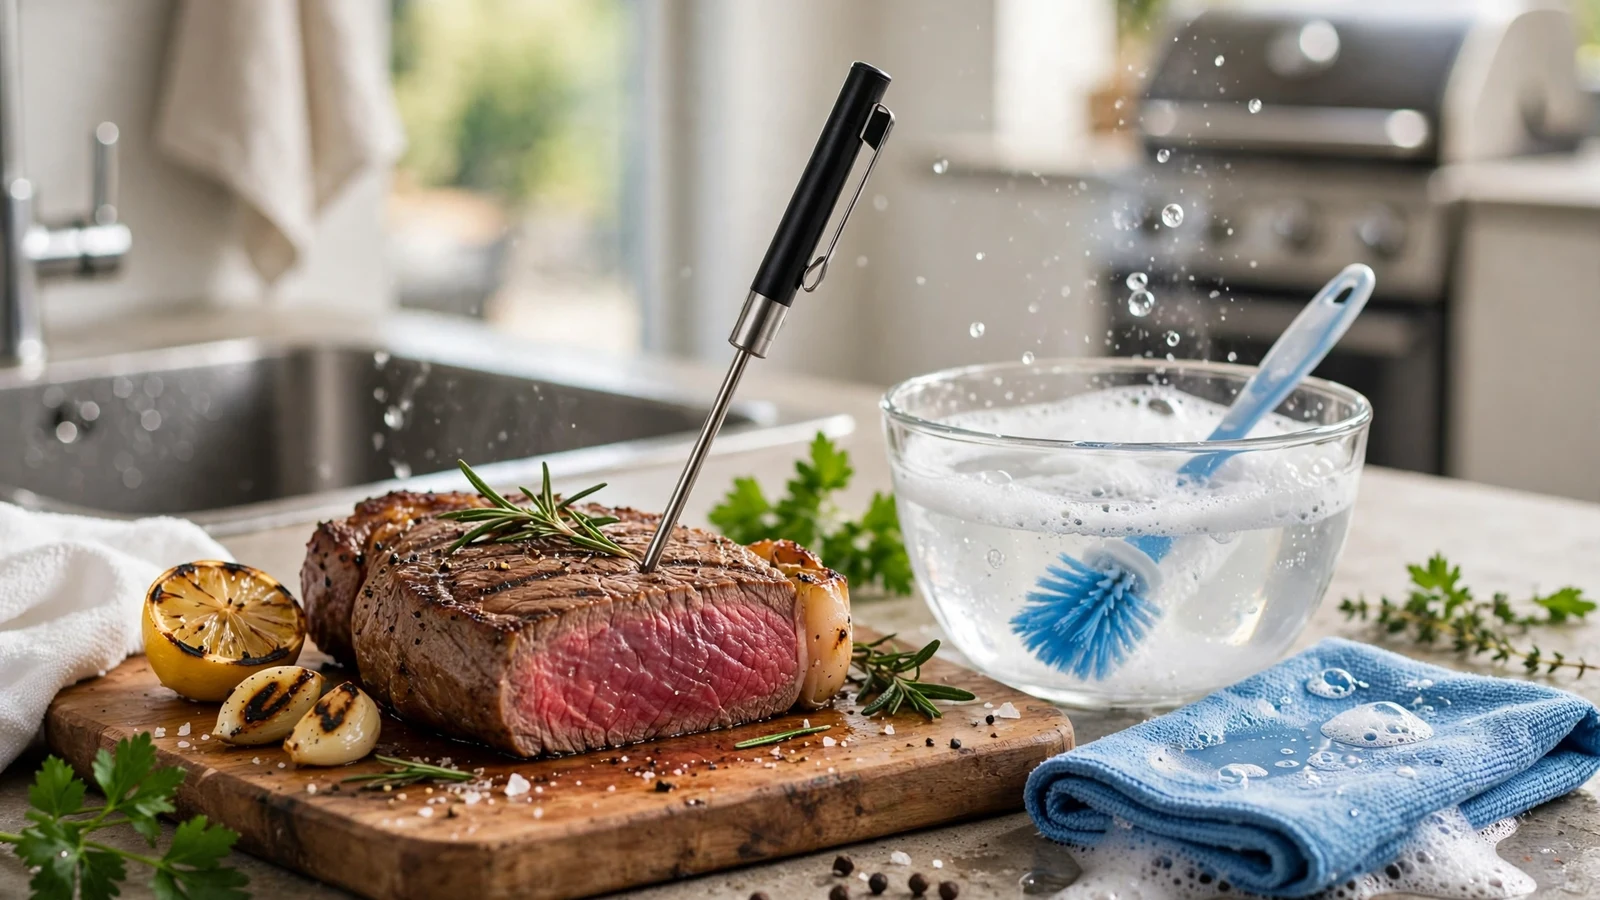
Figuring out how to wash meat thermometer correctly keeps your family safe and protects your cooking gear. Taking a few seconds to clean things properly prevents nasty foodborne illnesses from ruining your next family dinner.
You rely on your kitchen tools to deliver delicious meals, but skipping proper hygiene turns a helpful gadget into a breeding ground for germs. Let us dive into the best methods for keeping your cooking probes spotless, hygienic, and ready for action.
Why Proper Thermometer Maintenance Matters
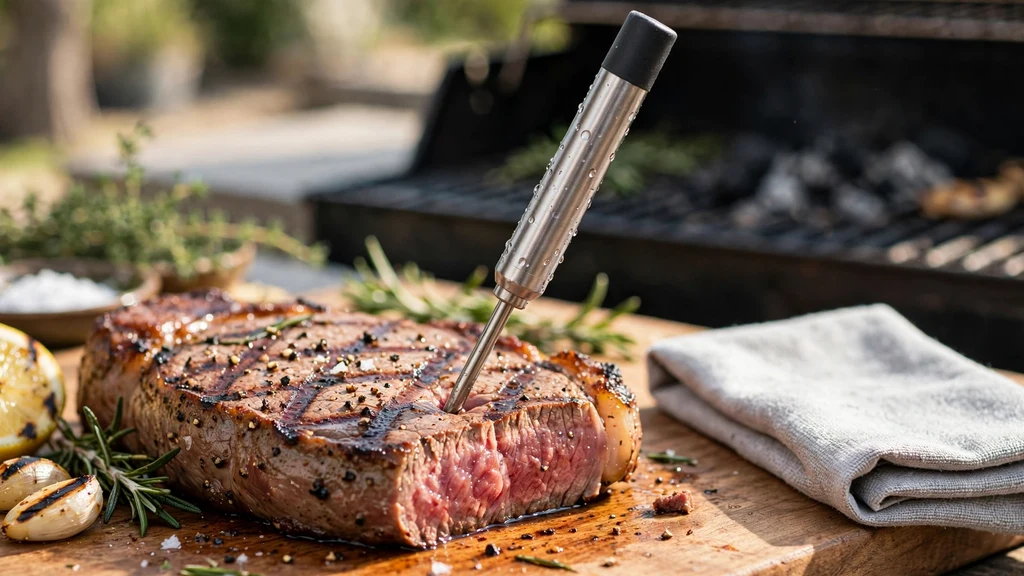
Ignoring basic hygiene when handling kitchen gadgets leads straight to food safety hazards. Every time you push a metal probe into raw poultry or beef, microscopic pathogens cling to the steel. Failing to wash meat thermometer components right away gives those bugs a chance to multiply.
Food safety guidelines from sources like the Centers for Disease Control and Prevention emphasize keeping cooking tools immaculate. You cannot rely on high oven heat alone to kill everything left behind on a dirty casing. Protecting your household starts with rigorous cleaning habits every single time you cook.
Immediate Post-Use Cleaning Habits
Tackling cleanup right after cooking prevents juices and fats from hardening onto the metal. Waiting too long turns a simple wipe-down into a frustrating scrubbing session. Grab a damp cloth or paper towel immediately after removing the device from your roast.
Wipe away grease before it cools and solidifies. This quick initial step makes the deeper sanitization process much easier and keeps your cooking gear looking brand new.
Choosing the Right Cleaning Solutions
Harsh chemical sprays have no place near your culinary gear because toxic residues easily transfer into your food. Warm water paired with a mild dish soap provides all the cleaning power you actually need. Mix up a gentle soapy solution in your sink or a small bowl.
Dip a cloth or sponge into the mixture and wring it out so it remains damp rather than dripping wet. Mild detergents cut through grease effortlessly without damaging sensitive electronic casings or display screens.
Step-by-Step Washing Technique for Digital Probes
Digital devices require a gentle touch to avoid water damage. Take your time and follow a structured routine to protect the internal wiring while getting the stainless steel gleaming.
- Wipe the metal stem with a warm, soapy cloth to strip away grease.
- Scrub gently near the tip where the actual temperature sensor sits.
- Rinse the probe under a gentle stream of running tap water.
- Dry the entire unit completely with a clean kitchen towel before storing it.
Never submerge the digital display housing unless the manufacturer explicitly states the device is fully waterproof. Water leaking into the battery compartment ruins the circuitry instantly.
Sanitizing Versus Basic Washing
Washing removes visible grease and food particles, but sanitizing kills the invisible microbes that cause food poisoning. You should sanitize your cooking probe whenever it touches high-risk proteins like poultry or pork. Rubbing alcohol works wonders for quick sanitization.
Dampen a cotton pad with isopropyl alcohol and wipe down the metal stem. Let the alcohol air-dry completely before inserting the probe into your next meal.
Avoiding Common Cleaning Mistakes
Throwing your favorite digital kitchen gadget into the automatic dishwashing machine seems convenient, but it usually ends in disaster. High water pressure and extreme heating cycles warp plastic casings and destroy delicate internal sensors. Never soak an entire digital unit in a sink full of water either.
Keep moisture away from the dial and battery hatch. Taking shortcuts with your gear drastically shortens its lifespan and compromises accuracy.
Comparing Cleaning Methods
| Cleaning Method | Best Used For | Safety Level |
|---|---|---|
| Warm Soapy Water | General daily cleanup | High |
| Rubbing Alcohol Wipe | Killing surface bacteria | Very High |
| Dishwasher Cycle | Never recommended | Unsafe for electronics |
Storage Best Practices After Washing
Putting away a damp kitchen tool invites mold and rust into your utensil drawer. Ensure every part of the device is bone dry before sliding it back into its protective sheath or case.
Store your gadgets in a clean, dust-free environment away from heavy pots and pans that might bend the delicate metal stem. Proper storage preserves both calibration accuracy and physical integrity for years of reliable cooking.
Frequently Asked Questions
Are you supposed to wash a meat thermometer after every single use?
Yes, you must wash and sanitize your cooking probe every single time it touches food. This practice stops cross-contamination between different meals and keeps harmful bacteria from spreading across your kitchen.
Can you put a meat thermometer in the dishwasher?
Most models cannot handle an automatic dishwasher. The intense heat, harsh detergents, and heavy water pressure will ruin the electronic components and warp the plastic housing.
How do you sanitize a thermometer without rubbing alcohol?
You can dip the metal stem in boiling water for about one minute to kill most surface pathogens. Alternatively, use a specialized food-safe sanitizing wipe designed specifically for kitchen utensils.
Is it safe to use soap on a digital food probe?
Using a small amount of dish soap on the metal stem is completely safe and necessary for cutting grease. Just make sure you avoid getting liquid inside the digital display housing.
Conclusion
Mastering how to wash meat thermometer gear protects your loved ones from foodborne illnesses and extends the life of your favorite kitchen tools. Simple habits like wiping down the metal stem immediately after cooking and avoiding the dishwasher make all the difference.
Treat your culinary gadgets with care, and they will reward you with perfectly cooked meals for years to come. Grab your soapy sponge and keep your kitchen running smoothly today.